

 Exactly, here we are to our 3rd tutorial!
As seen the success of THIS clutch, that is so comfy and beautiful, I wanted to do this tutorial ( the photos were taken when I was making my first clutch order ) because of explaining you some of the cons&pros of using some kinds of leather!
—
Ebbene sì, nuovo tutorial per voi!
Visto il successo di QUESTA clutch, e devo dire che è effettivamente bellissima e comodissima, ho voluto fare questo tutorial ( le cui foto appartengono a una delle prime due borse che ho venduto ) in cui voglio presentarvi i pro e i contro dell’utilizzo di alcuni tipi di pelle!
WHAT YOU NEED:
- a big piece of LEATHER ( the color you like );
- a piece of SATIN/TAFFETA in the color you like;
- a piece of adesive cotton;
- ZIP of the color you choose the leather;
- one RING;
- THREAD;
- leather NEEDLS;
- a PEN;
- a RULER;
- a TAPE MEASURE.
CHE COSA VI OCCORRE:
- un pezzo grande di PELLE;
- un pezzo di RASO/TAFFETA molto spesso;
- un pezzo di stoffa di cotone adesivo a caldo;
- delle ZIP dei colori di cui avete scelto la pelle;
- un ANELLINO;
- COTONE;
- AGHI per la PELLE;
- una PENNA;
- una SQUADRETTA;
- un METRO da sarto.
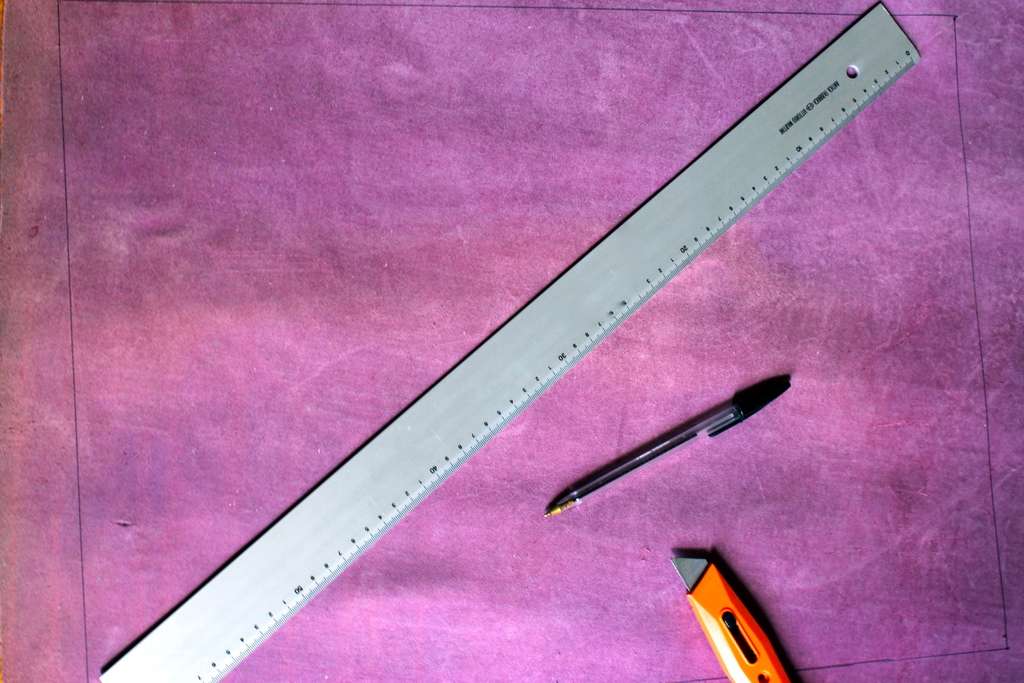
1st STEP:
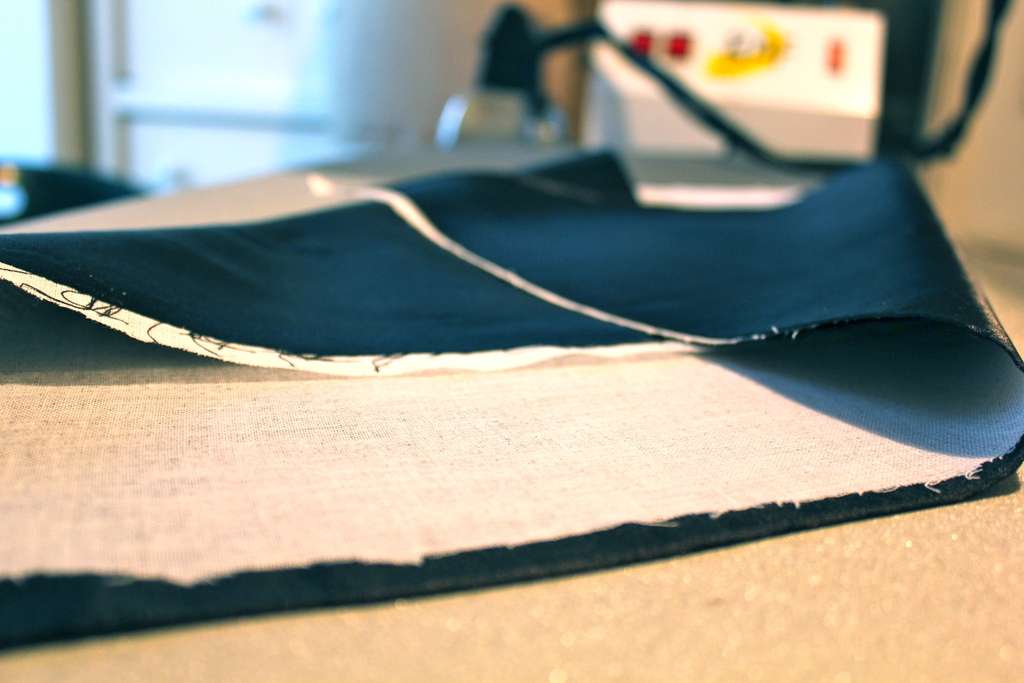
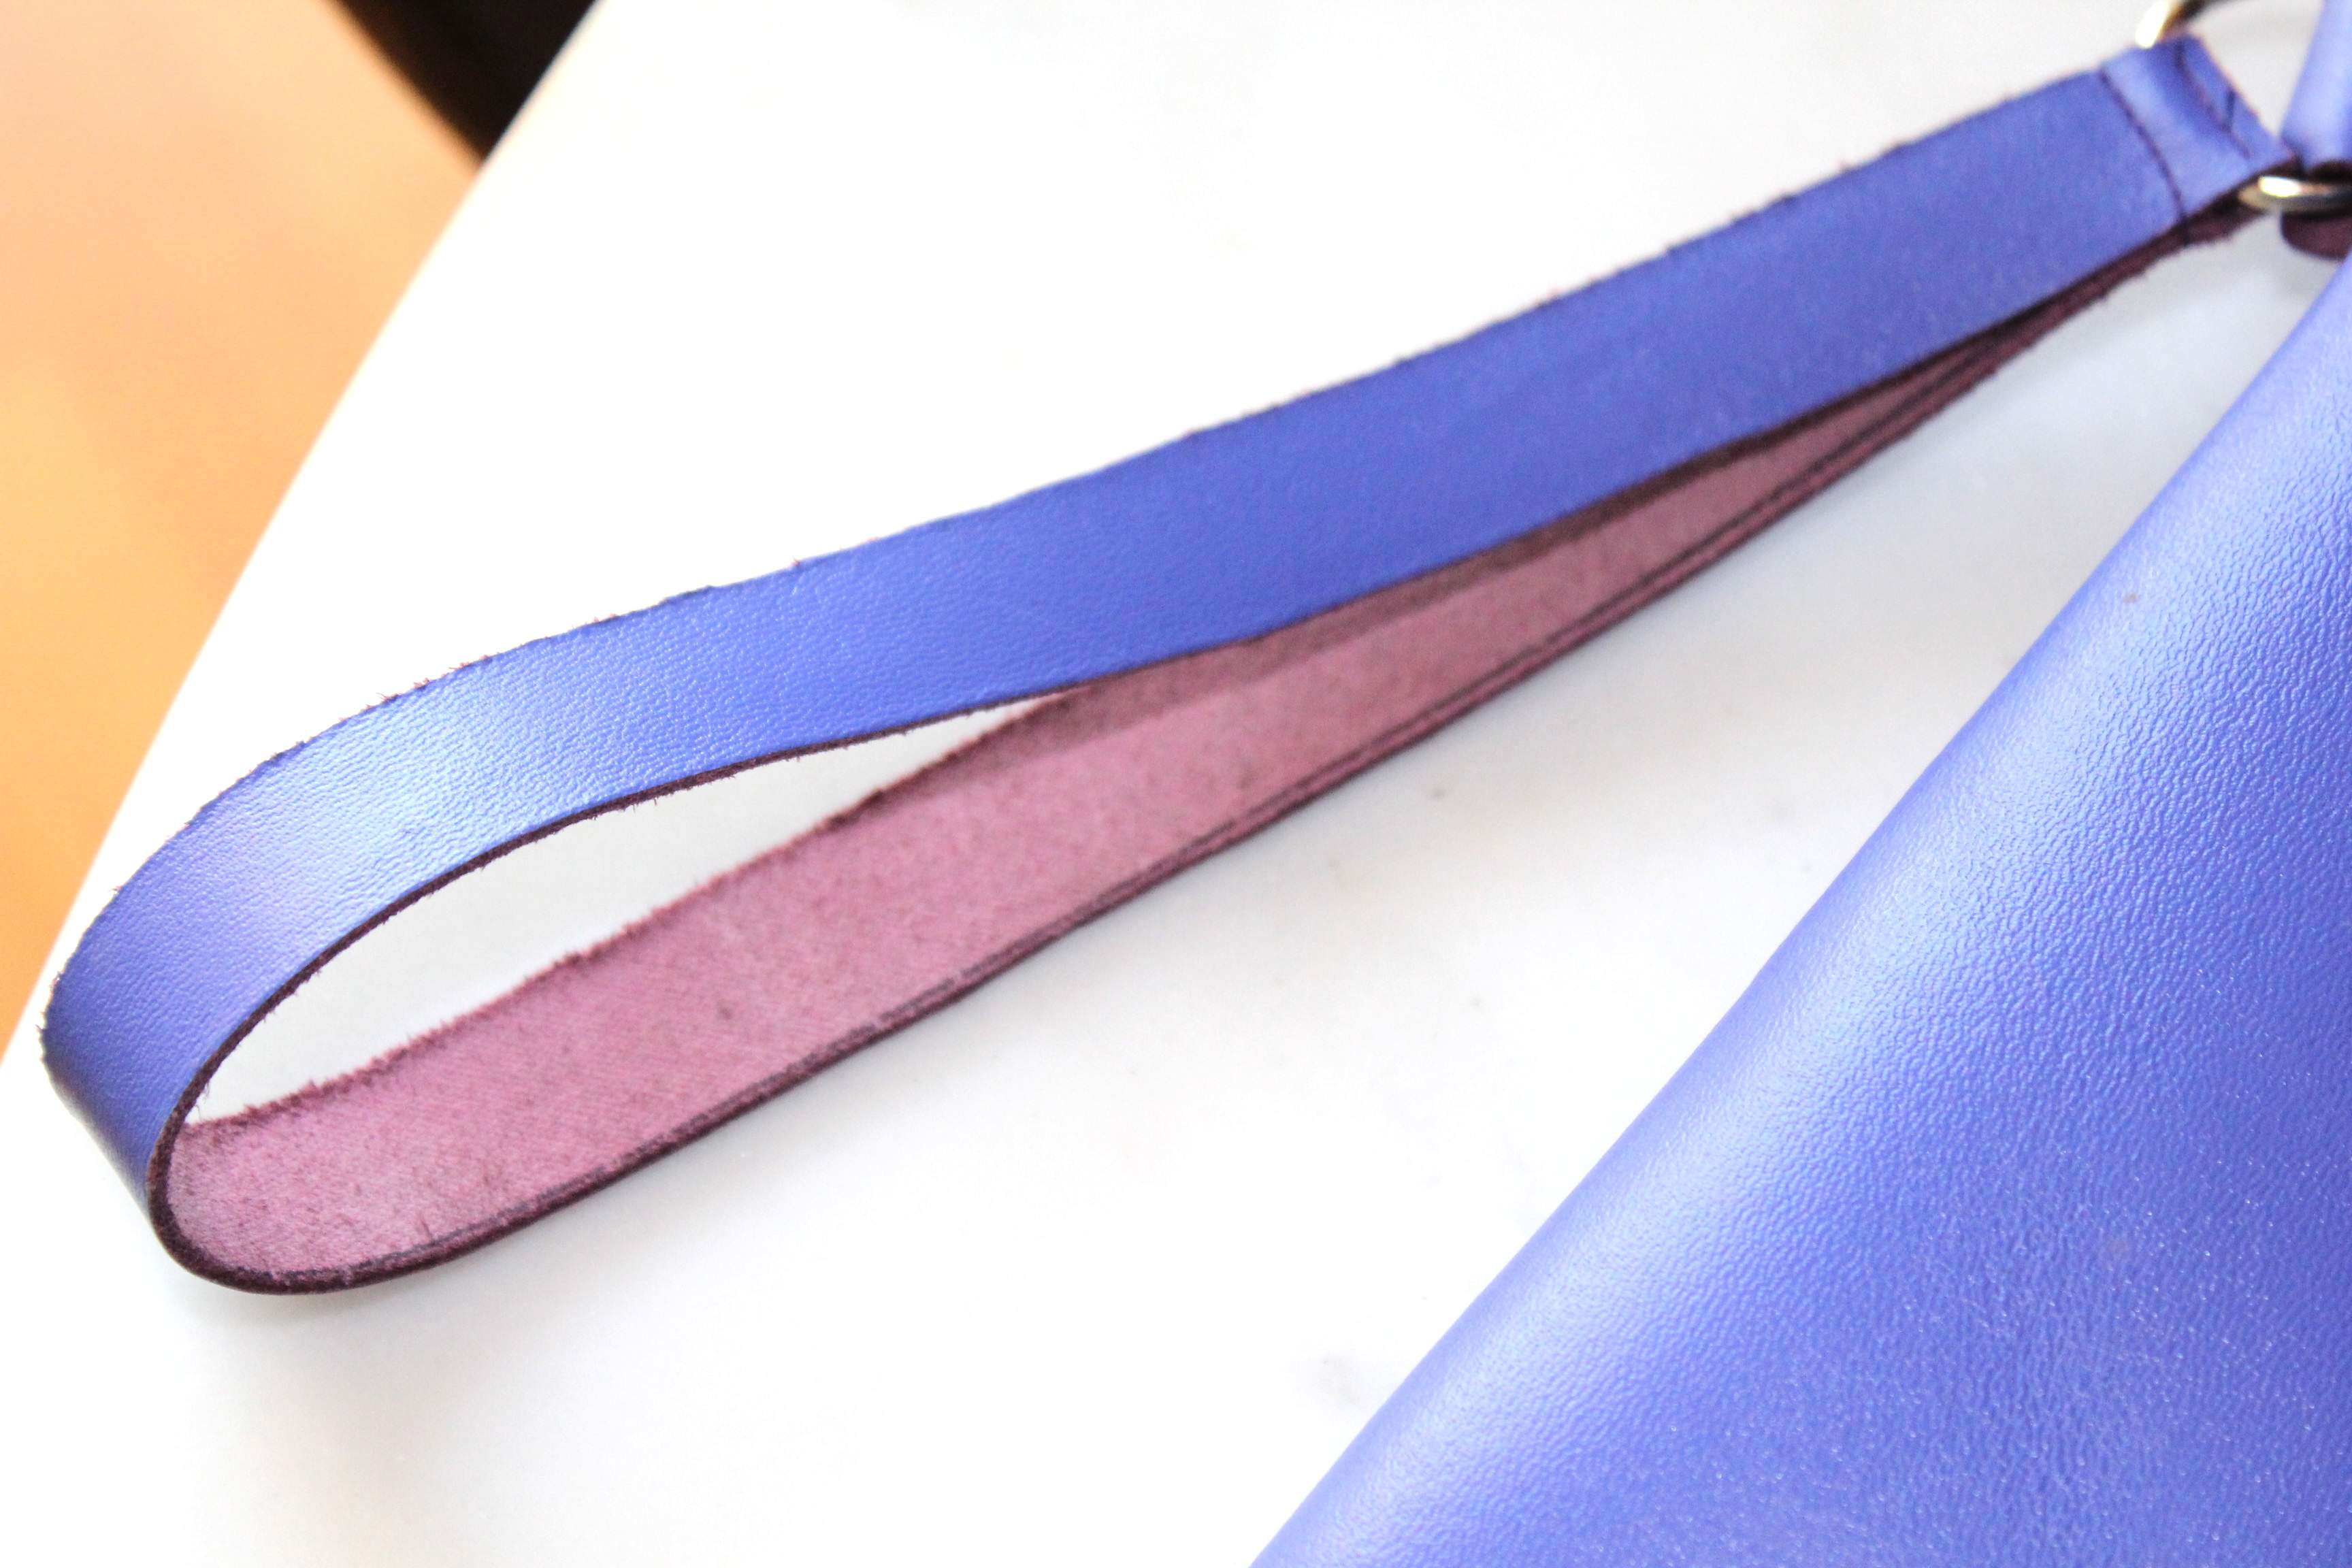
Sew first the leather ( once you’ve chosen the measures and cut the piece of leather you’ll need ) in both the sides of the bag! Then sew the satin lining, because it will be a little bit smaller then the bag!
The leather has to be sewed in the side that will be inside; then you will fold it up! The lining has to be sewed always in the back side, but you won’t fold it up!
Then place the lining into the almost-bag for the next step!
—
1° FASE:
Cucite la pelle ( una volta che avete scelto le misure e tagliato il pezzo di pelle che vi occorrerà per costruire la vostra borsa ) su entrambi i lati! Quindi cucite la fodera di raso che dovrà essere appena appena più piccola del pezzo di pelle! La pelle va cucita al rovescio e poi rigirata! La fodera va anch’essa cucita la rovescio, ma non la rigirerete su di essa perchè la parte lucida sarà quella visibile all’interno della borsa! Ora ponete la fodera al’interno della quasi-borsa per prepararci alla fase successiva.
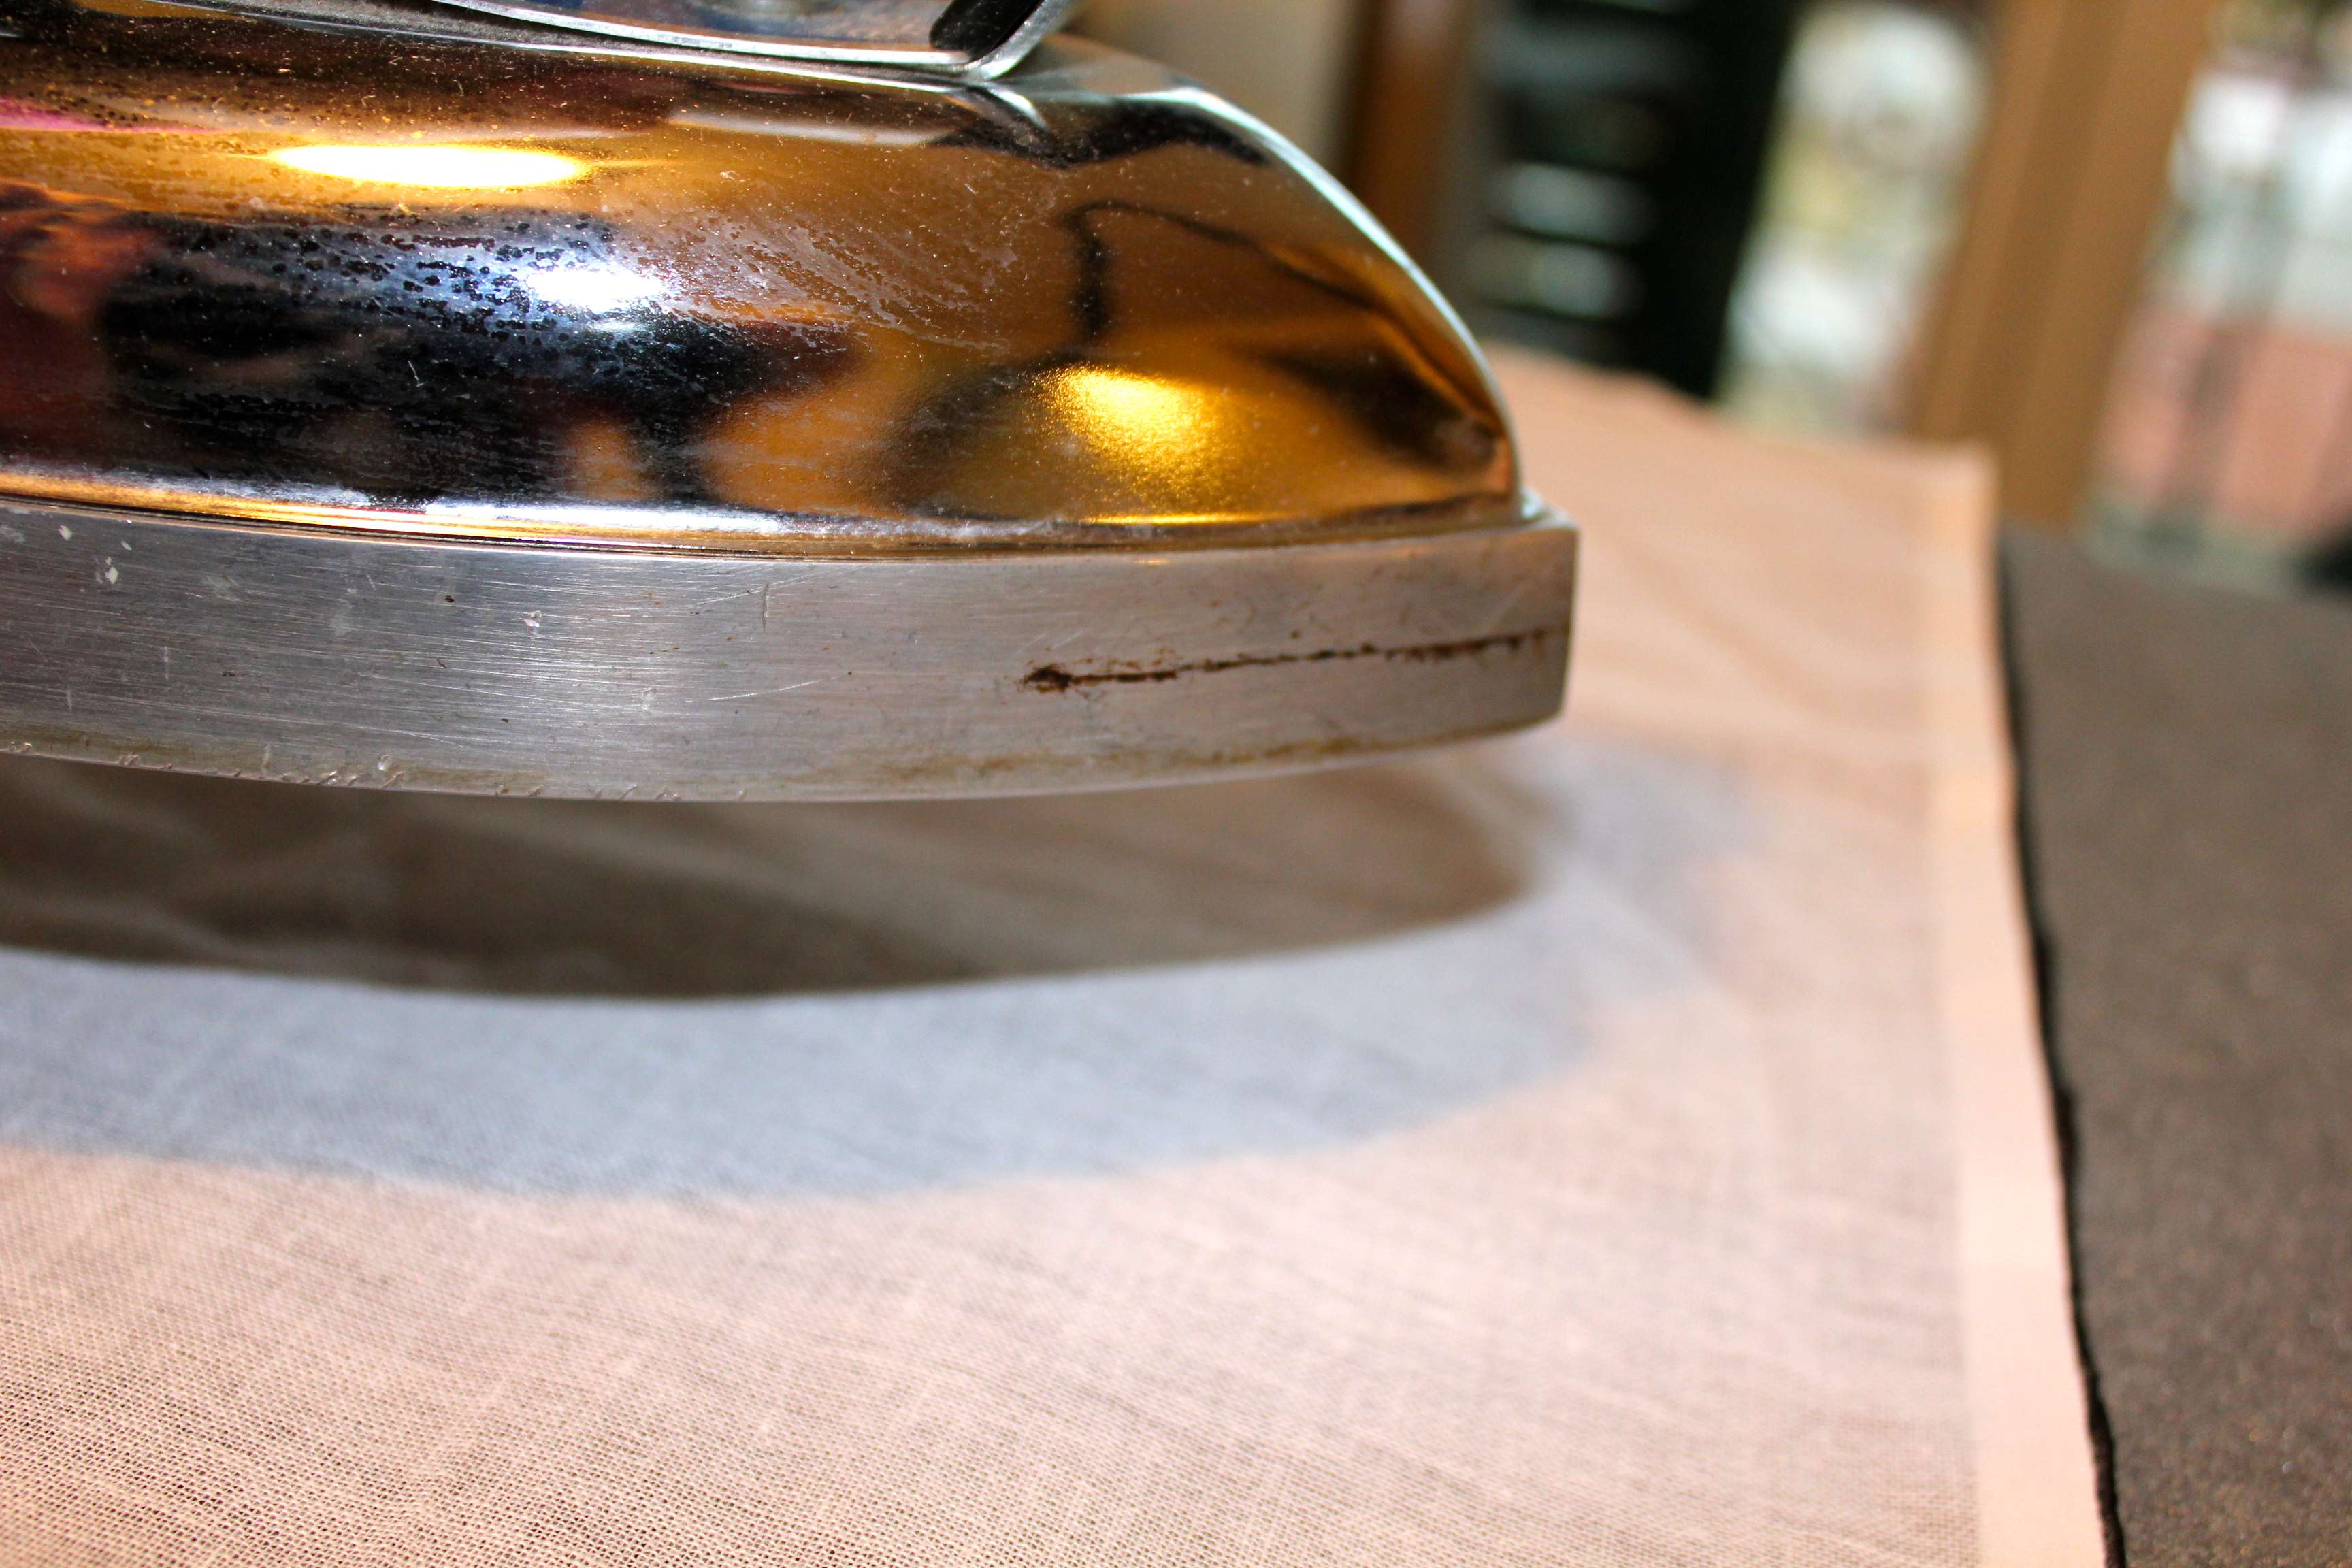
Cut a piece of cotton and a piece of satin, place one on the other and iron them together!
Tagliate un pezzo di cotone della stessa misura di quello di raso, ponetelo sopra il pezzo di raso e stirateli assieme!


2nd STEP:
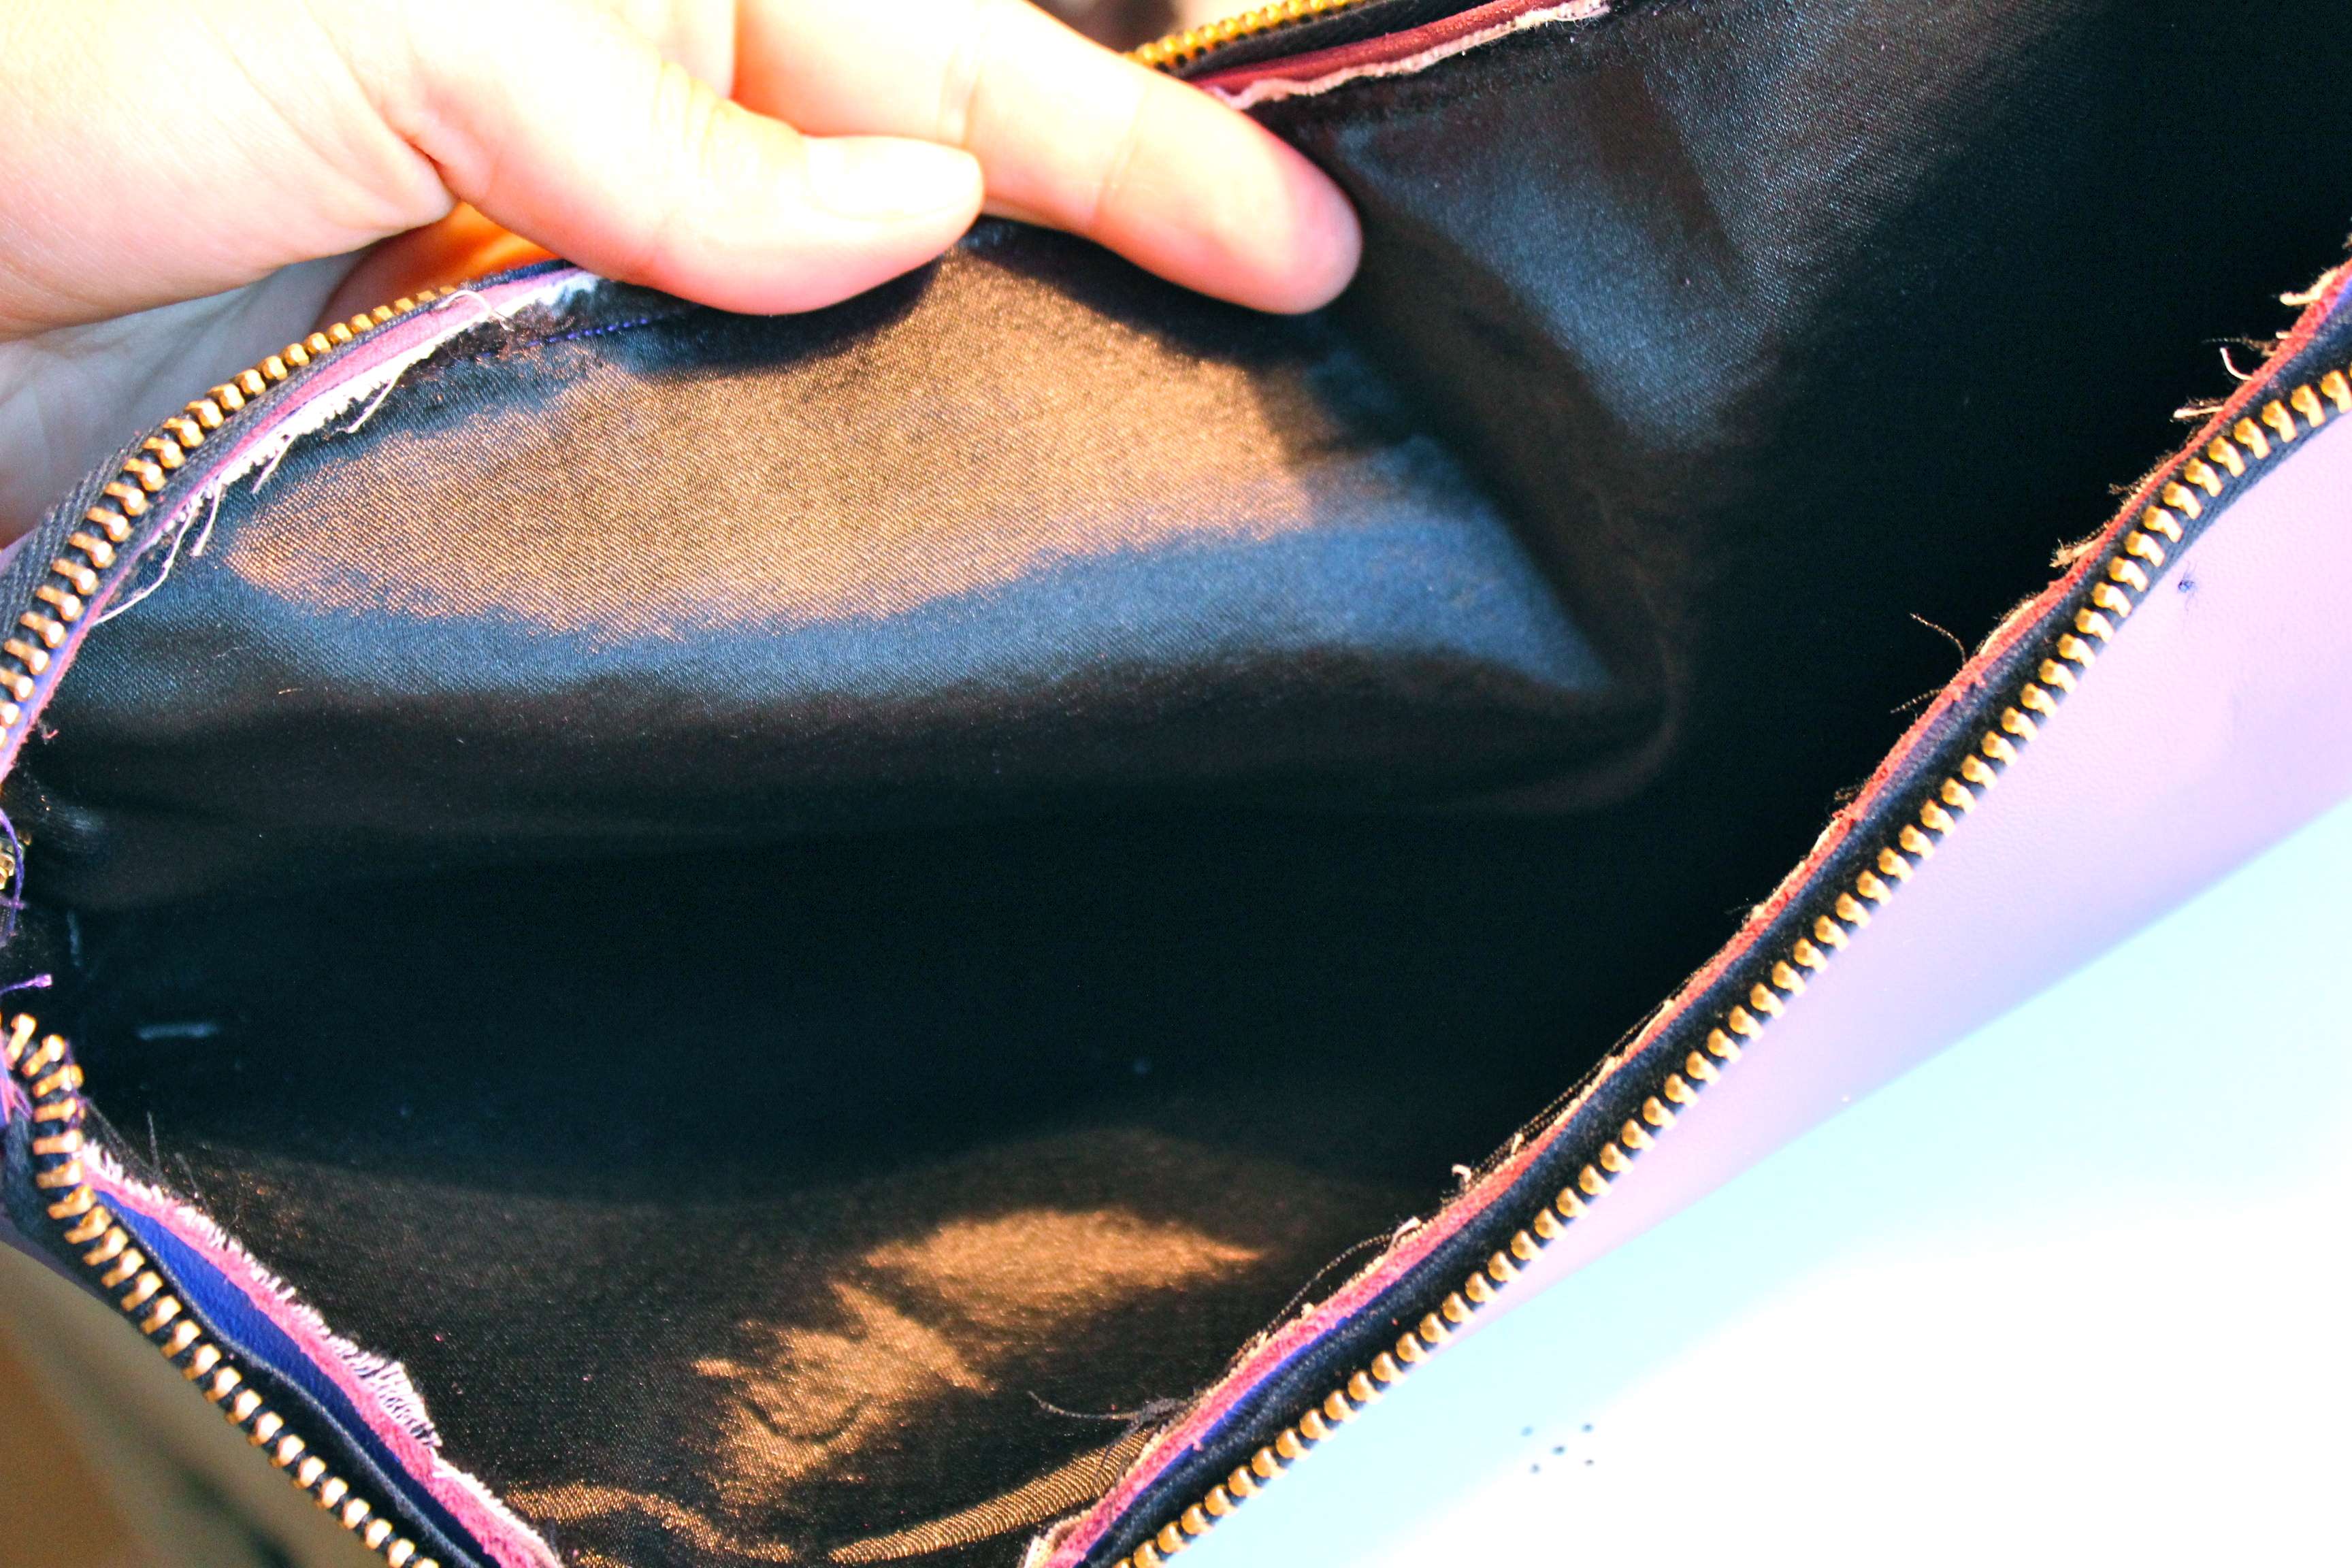
After you’ve placed your lining into the bag, place the zipper on the border of the bag and sew it! I remember you to leave a piece of zipper going out from the bag, then you will sew it inside as last!
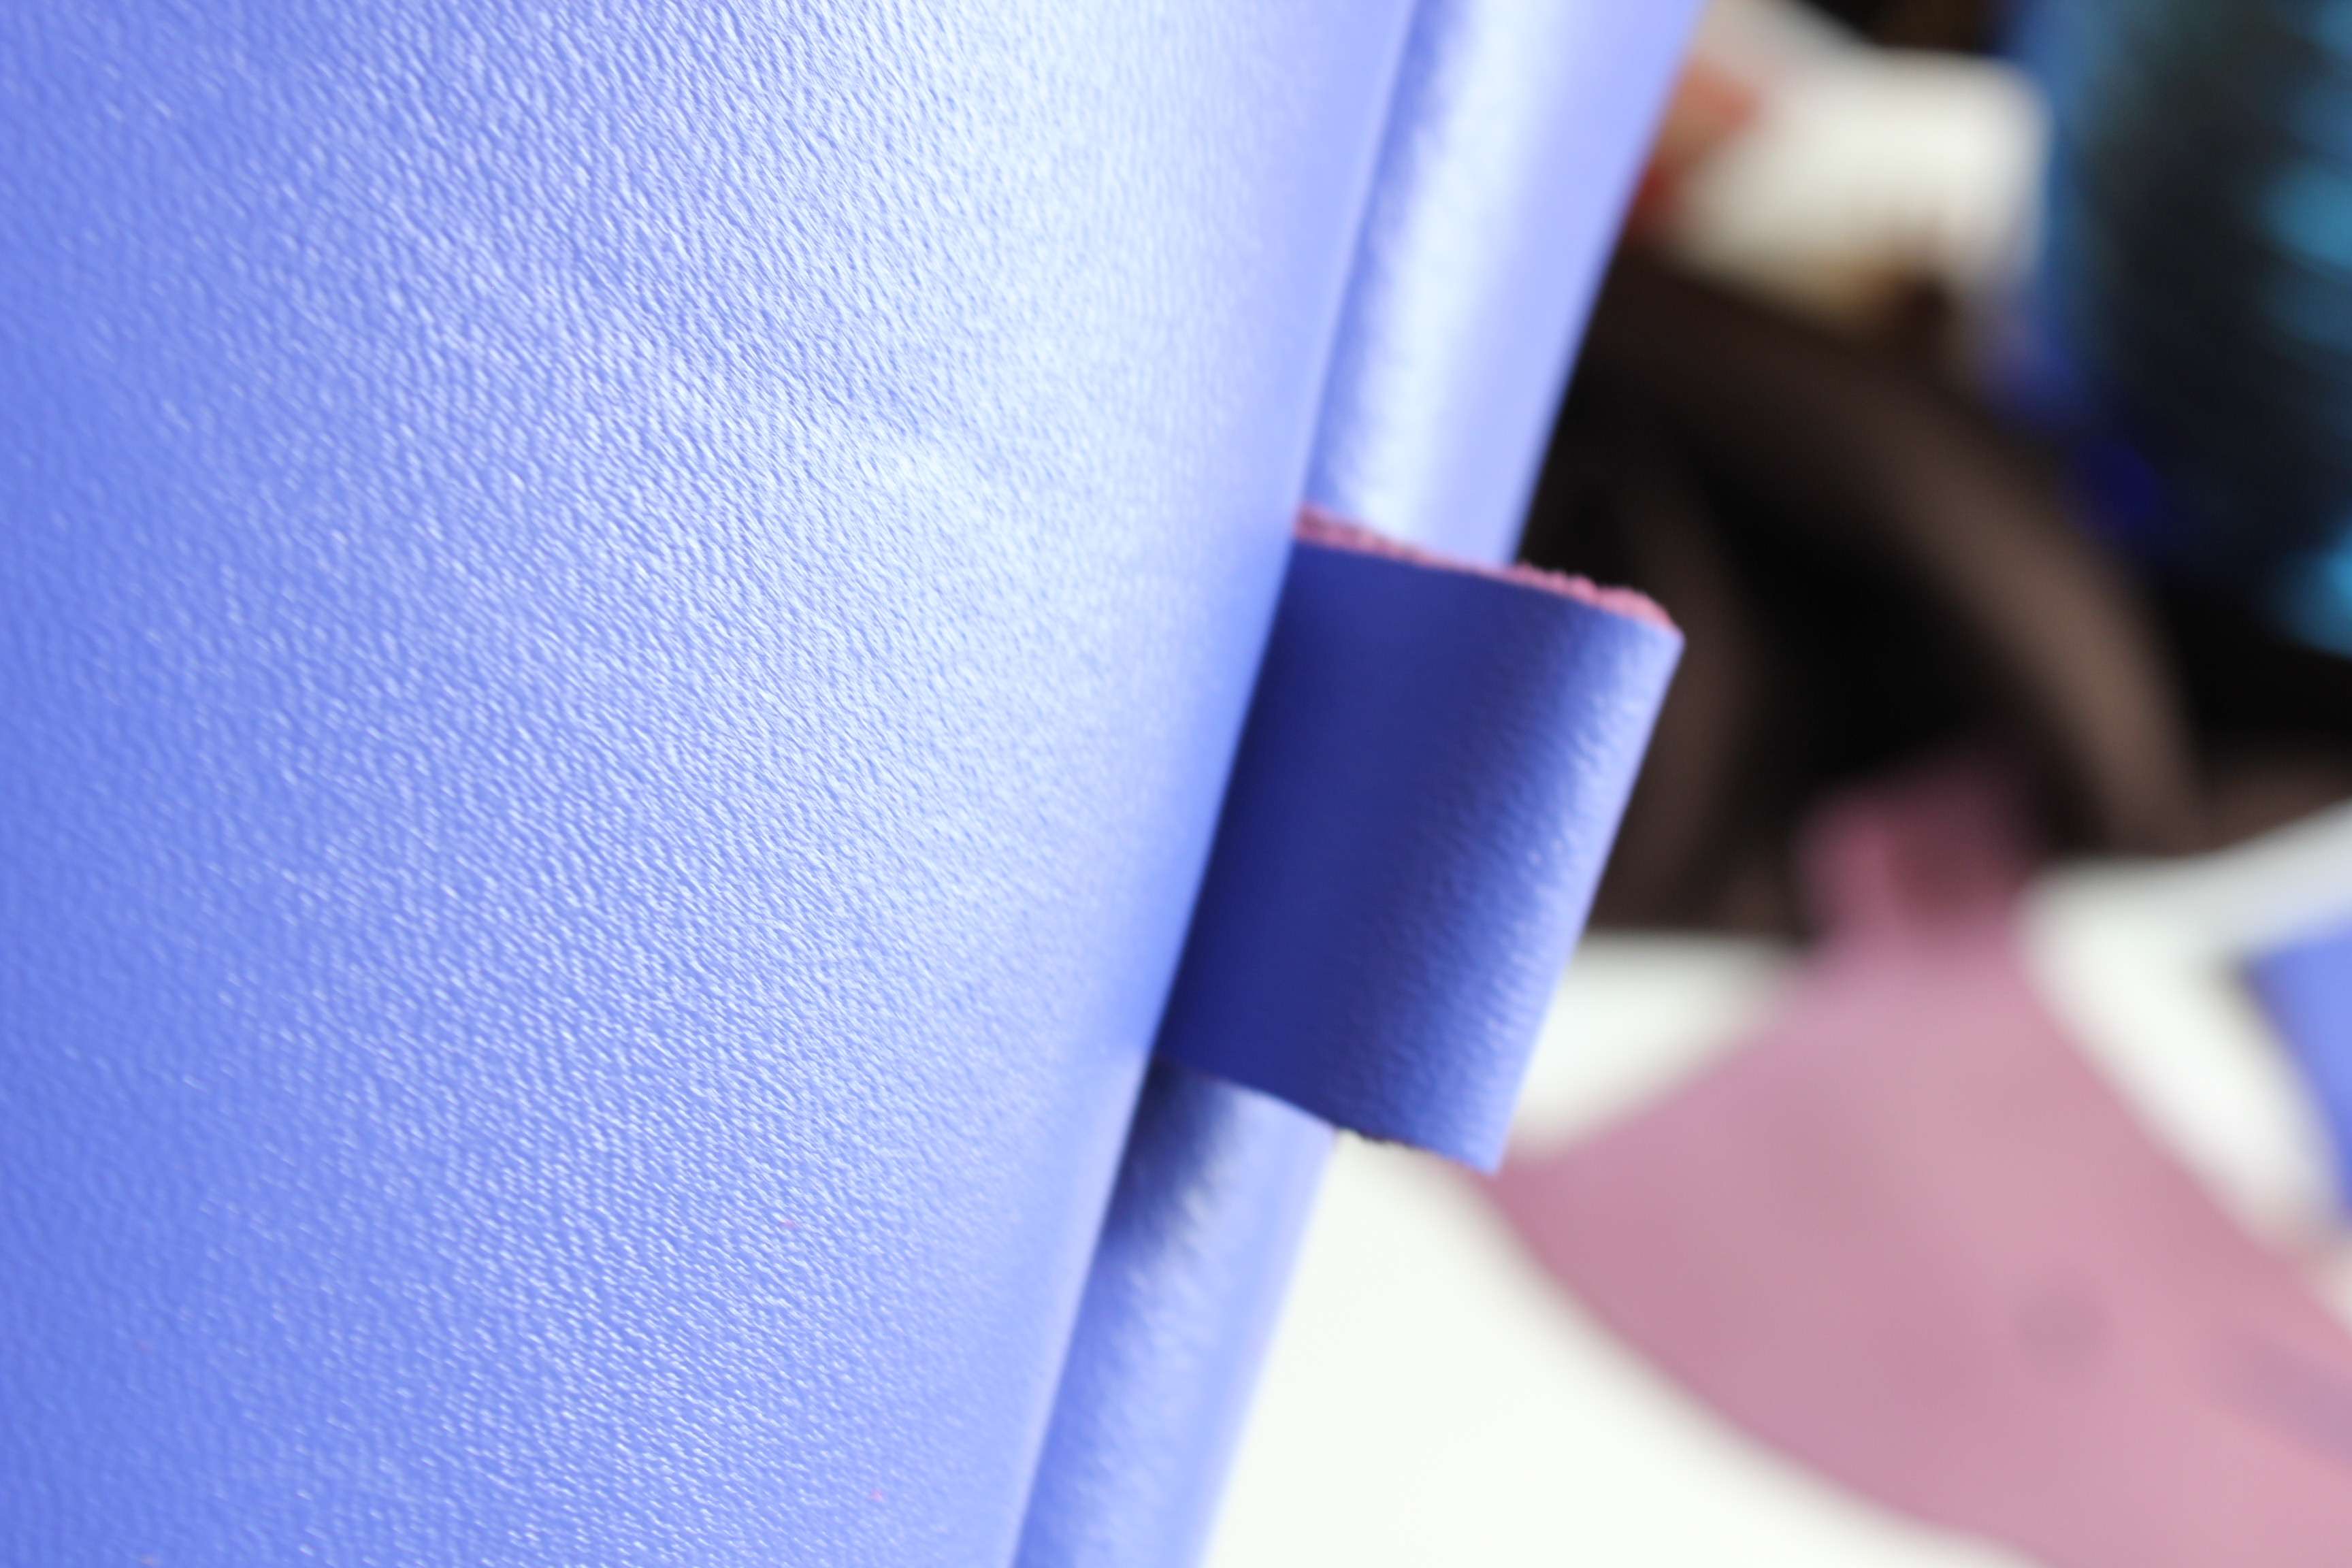
Do not forget to cut a slice of leather, that you’ll need to put the chain or lace of leather for your bag.
—
2° FASE:
Dopo che avete posto la fodera all’interno della borsa, ponete sul bordo la zip e cucitela! Ricordatevi di lasciare un pò di zip in più ai due lati, in modo che possiate infine cucirla all’interno della borsa!
Non dimenticate di tagliare un pezzettino di pelle in più ri piegarlo su se stesso e porlo all’altezza della borsa cui volete mettere il manico in moda che poi fuoriesca dalla borsa.
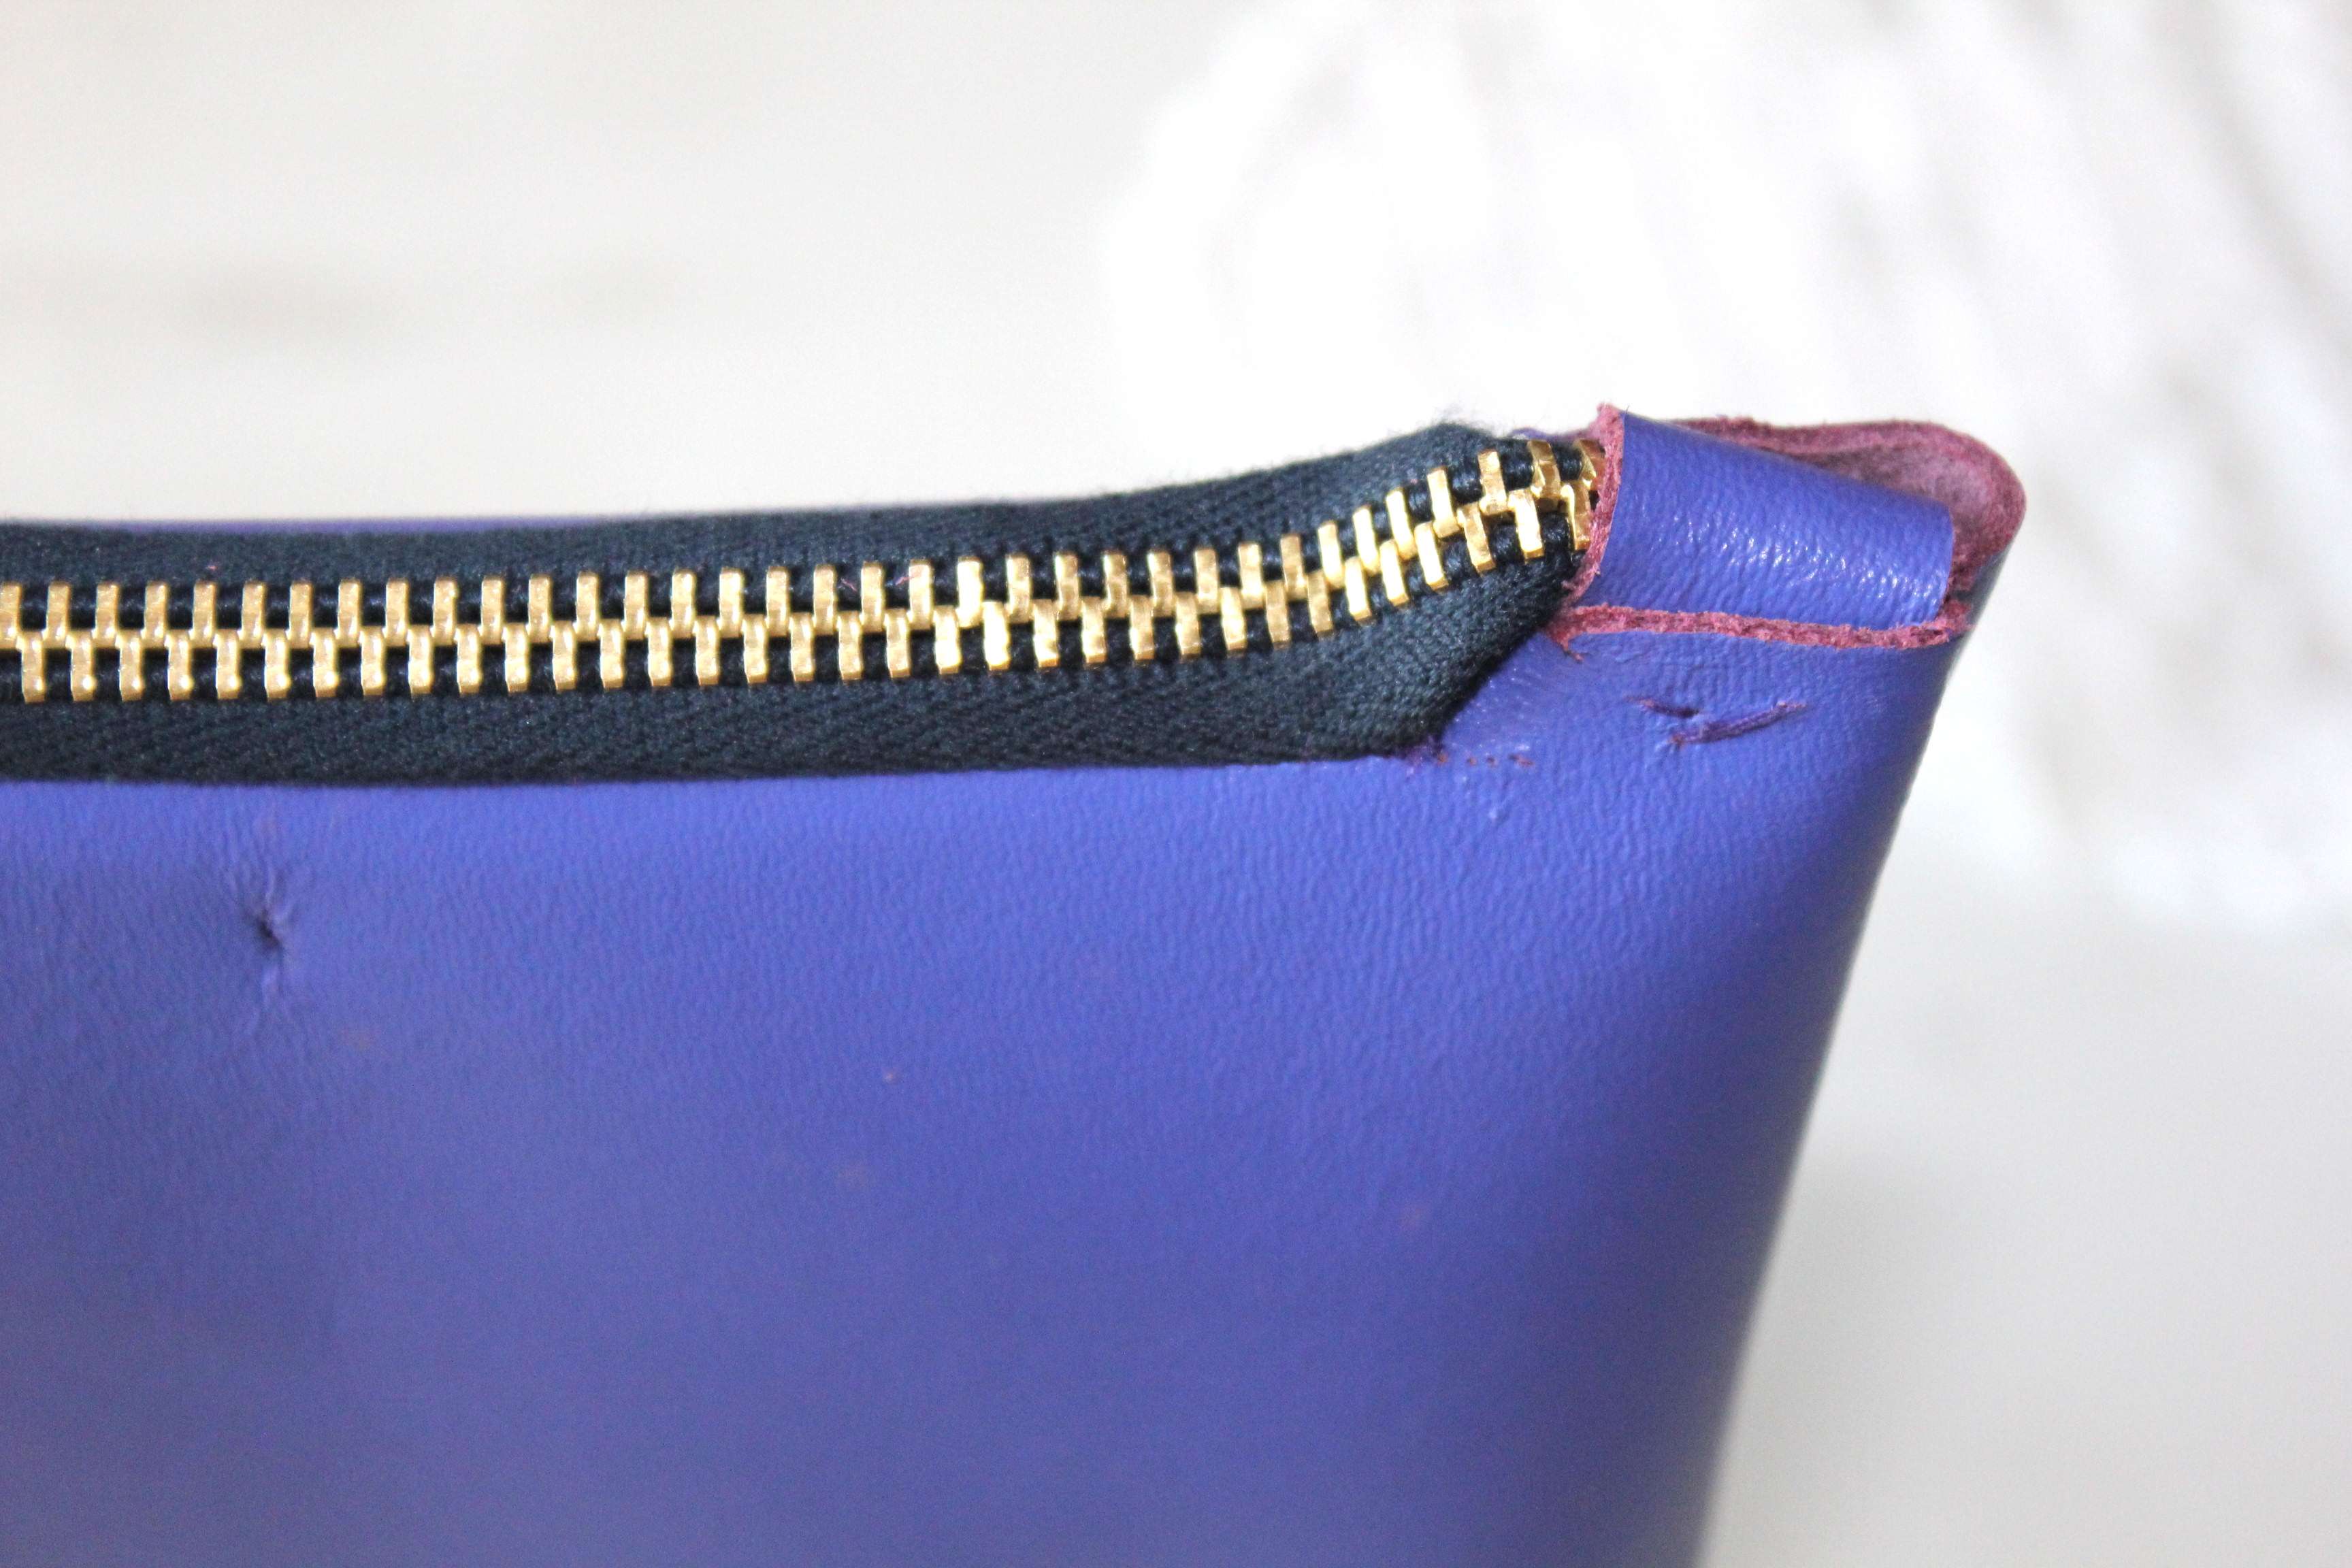
3rd STEP:
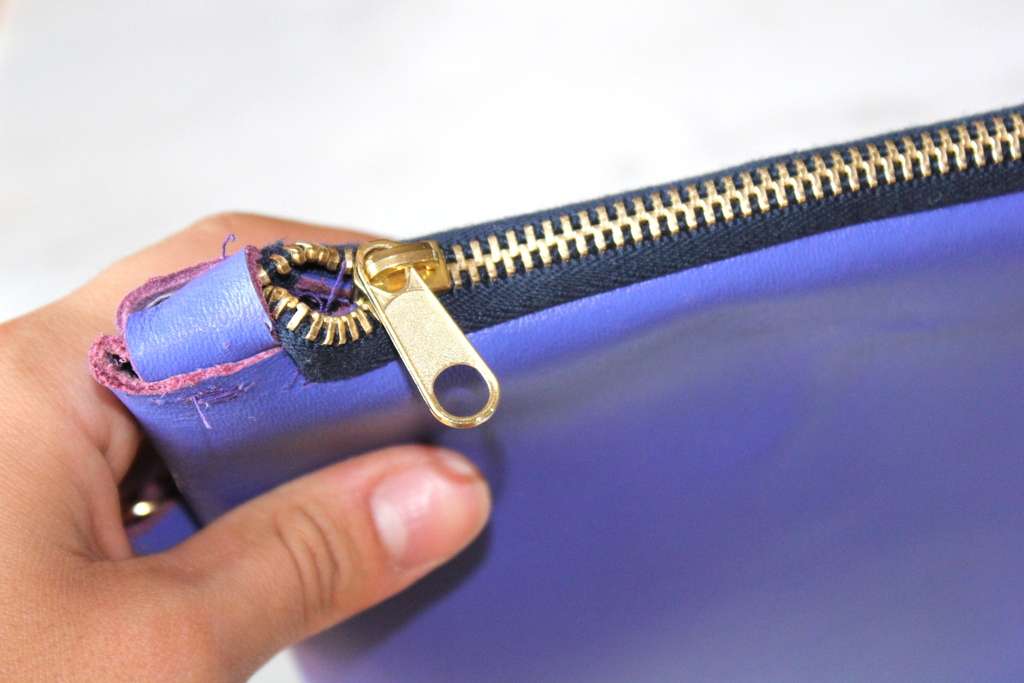
Last step, cut two little pieces of leather and sew them by hands at both the sides of the bag!
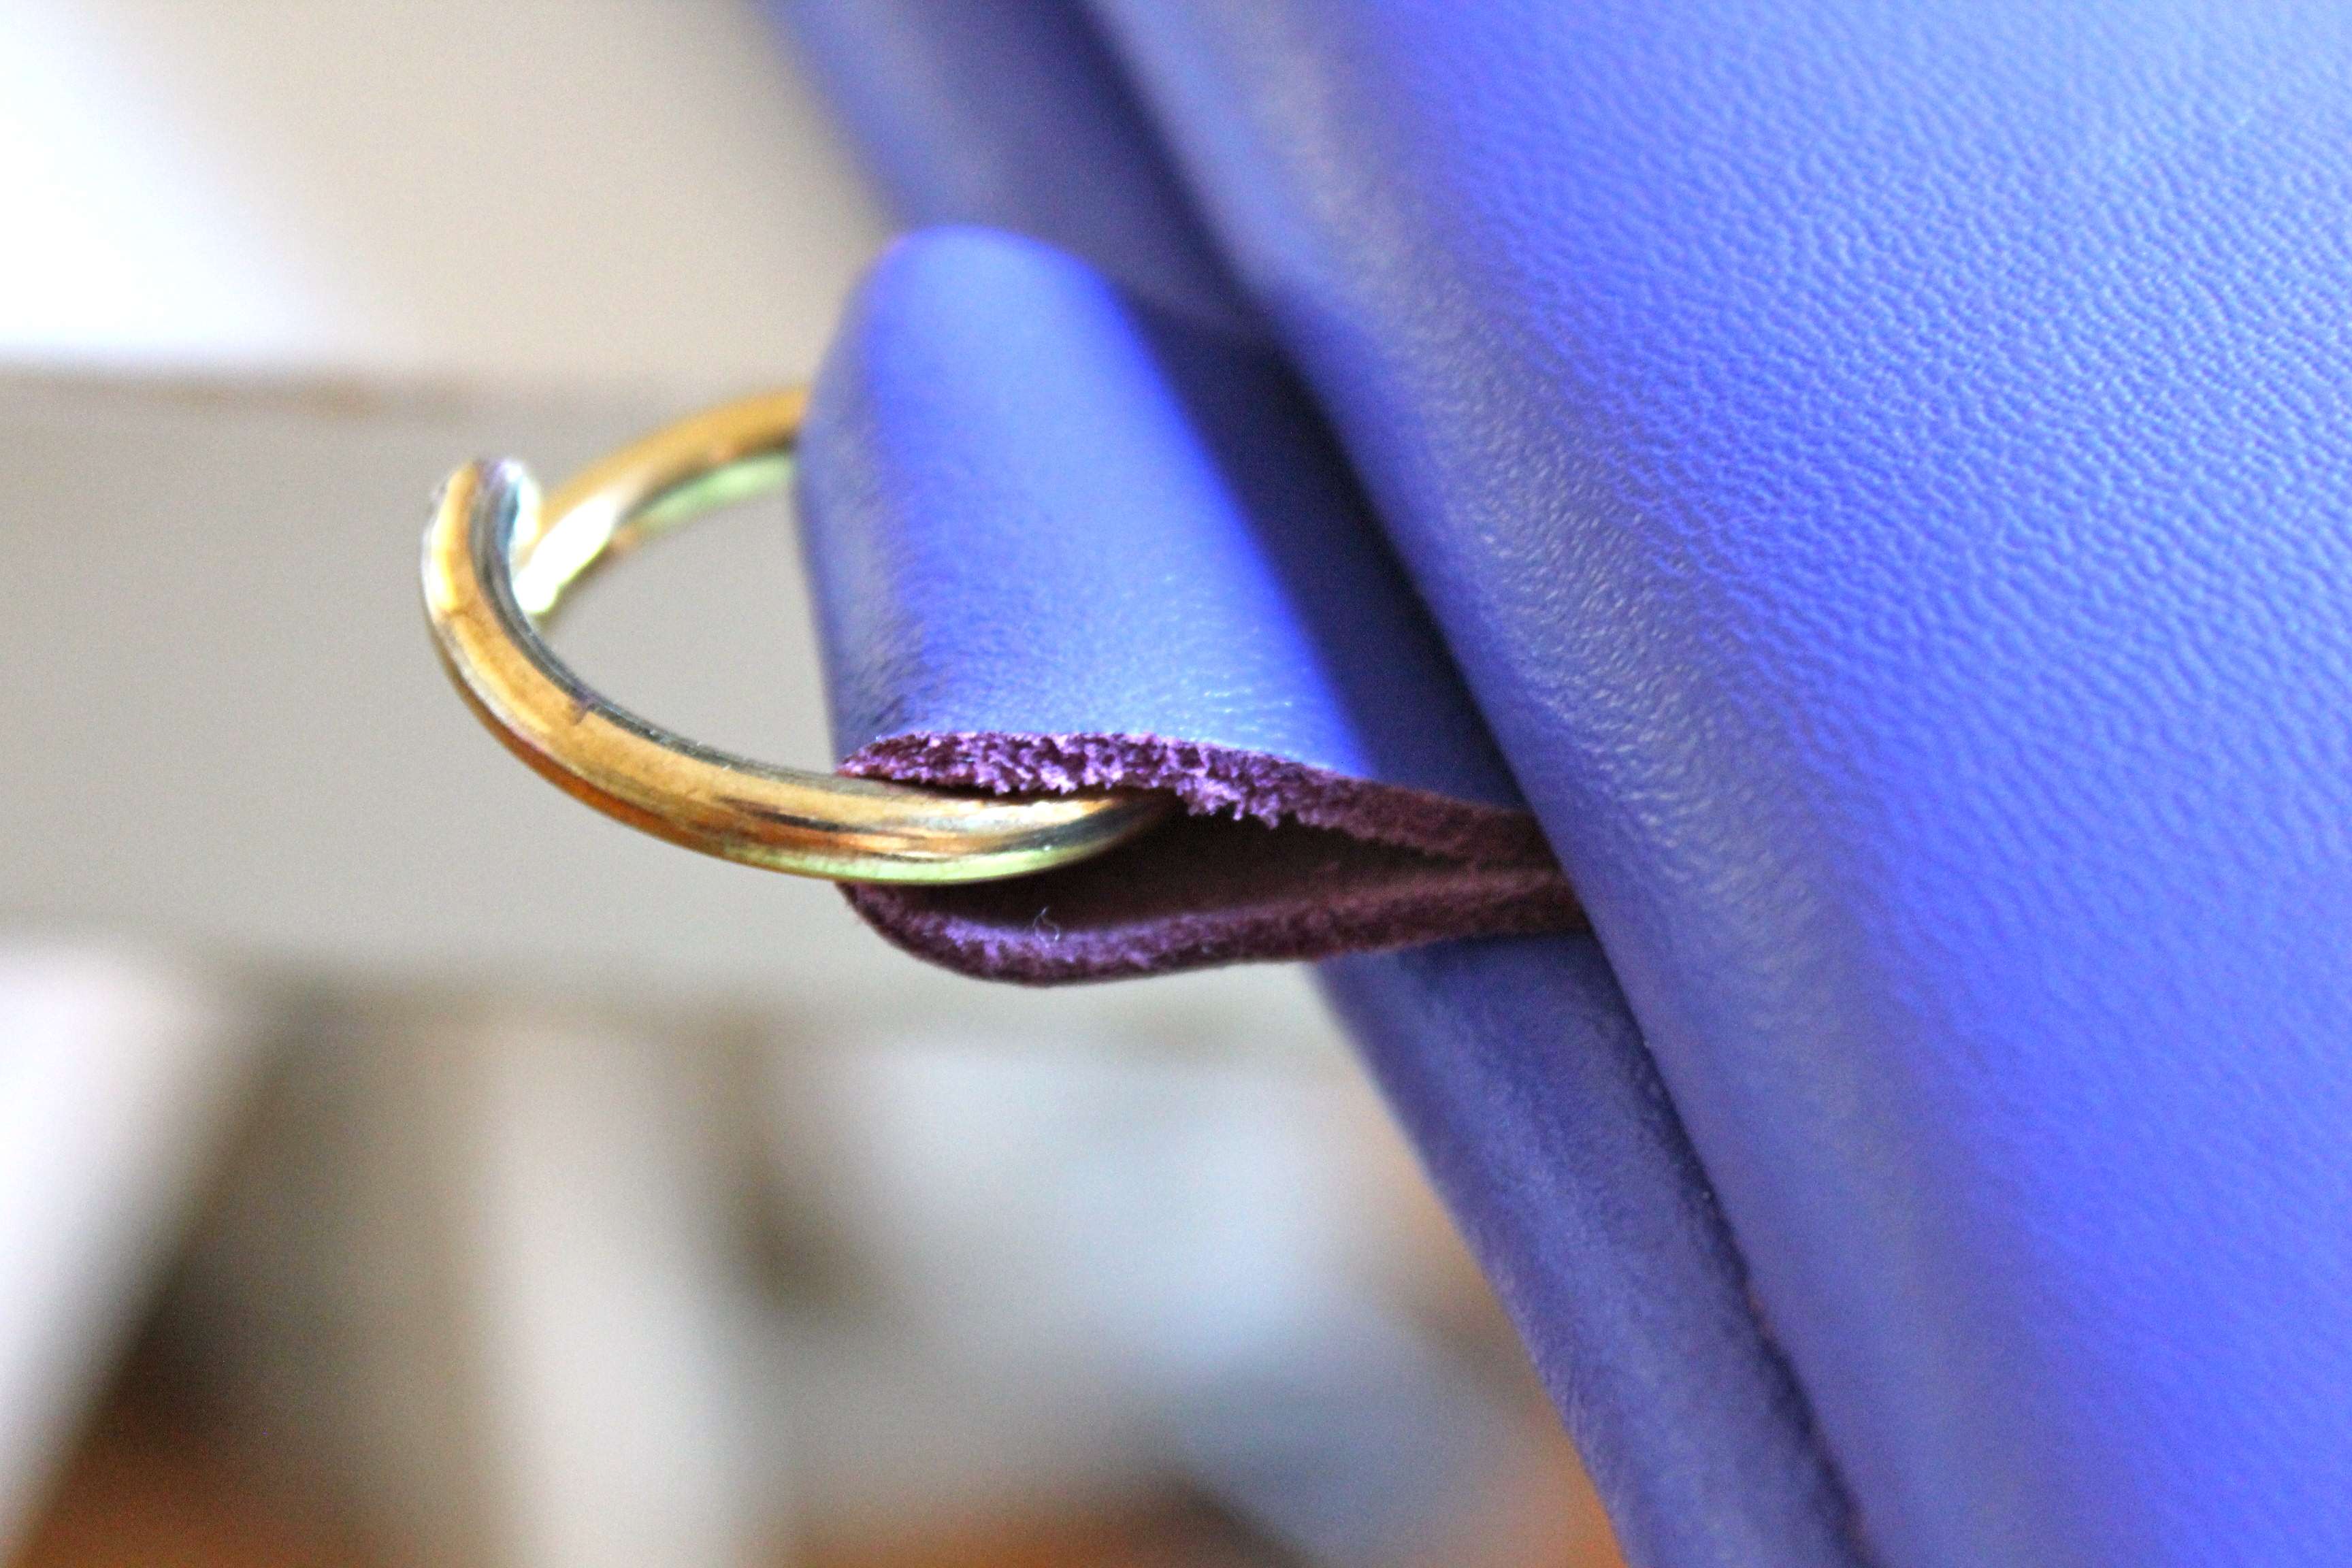
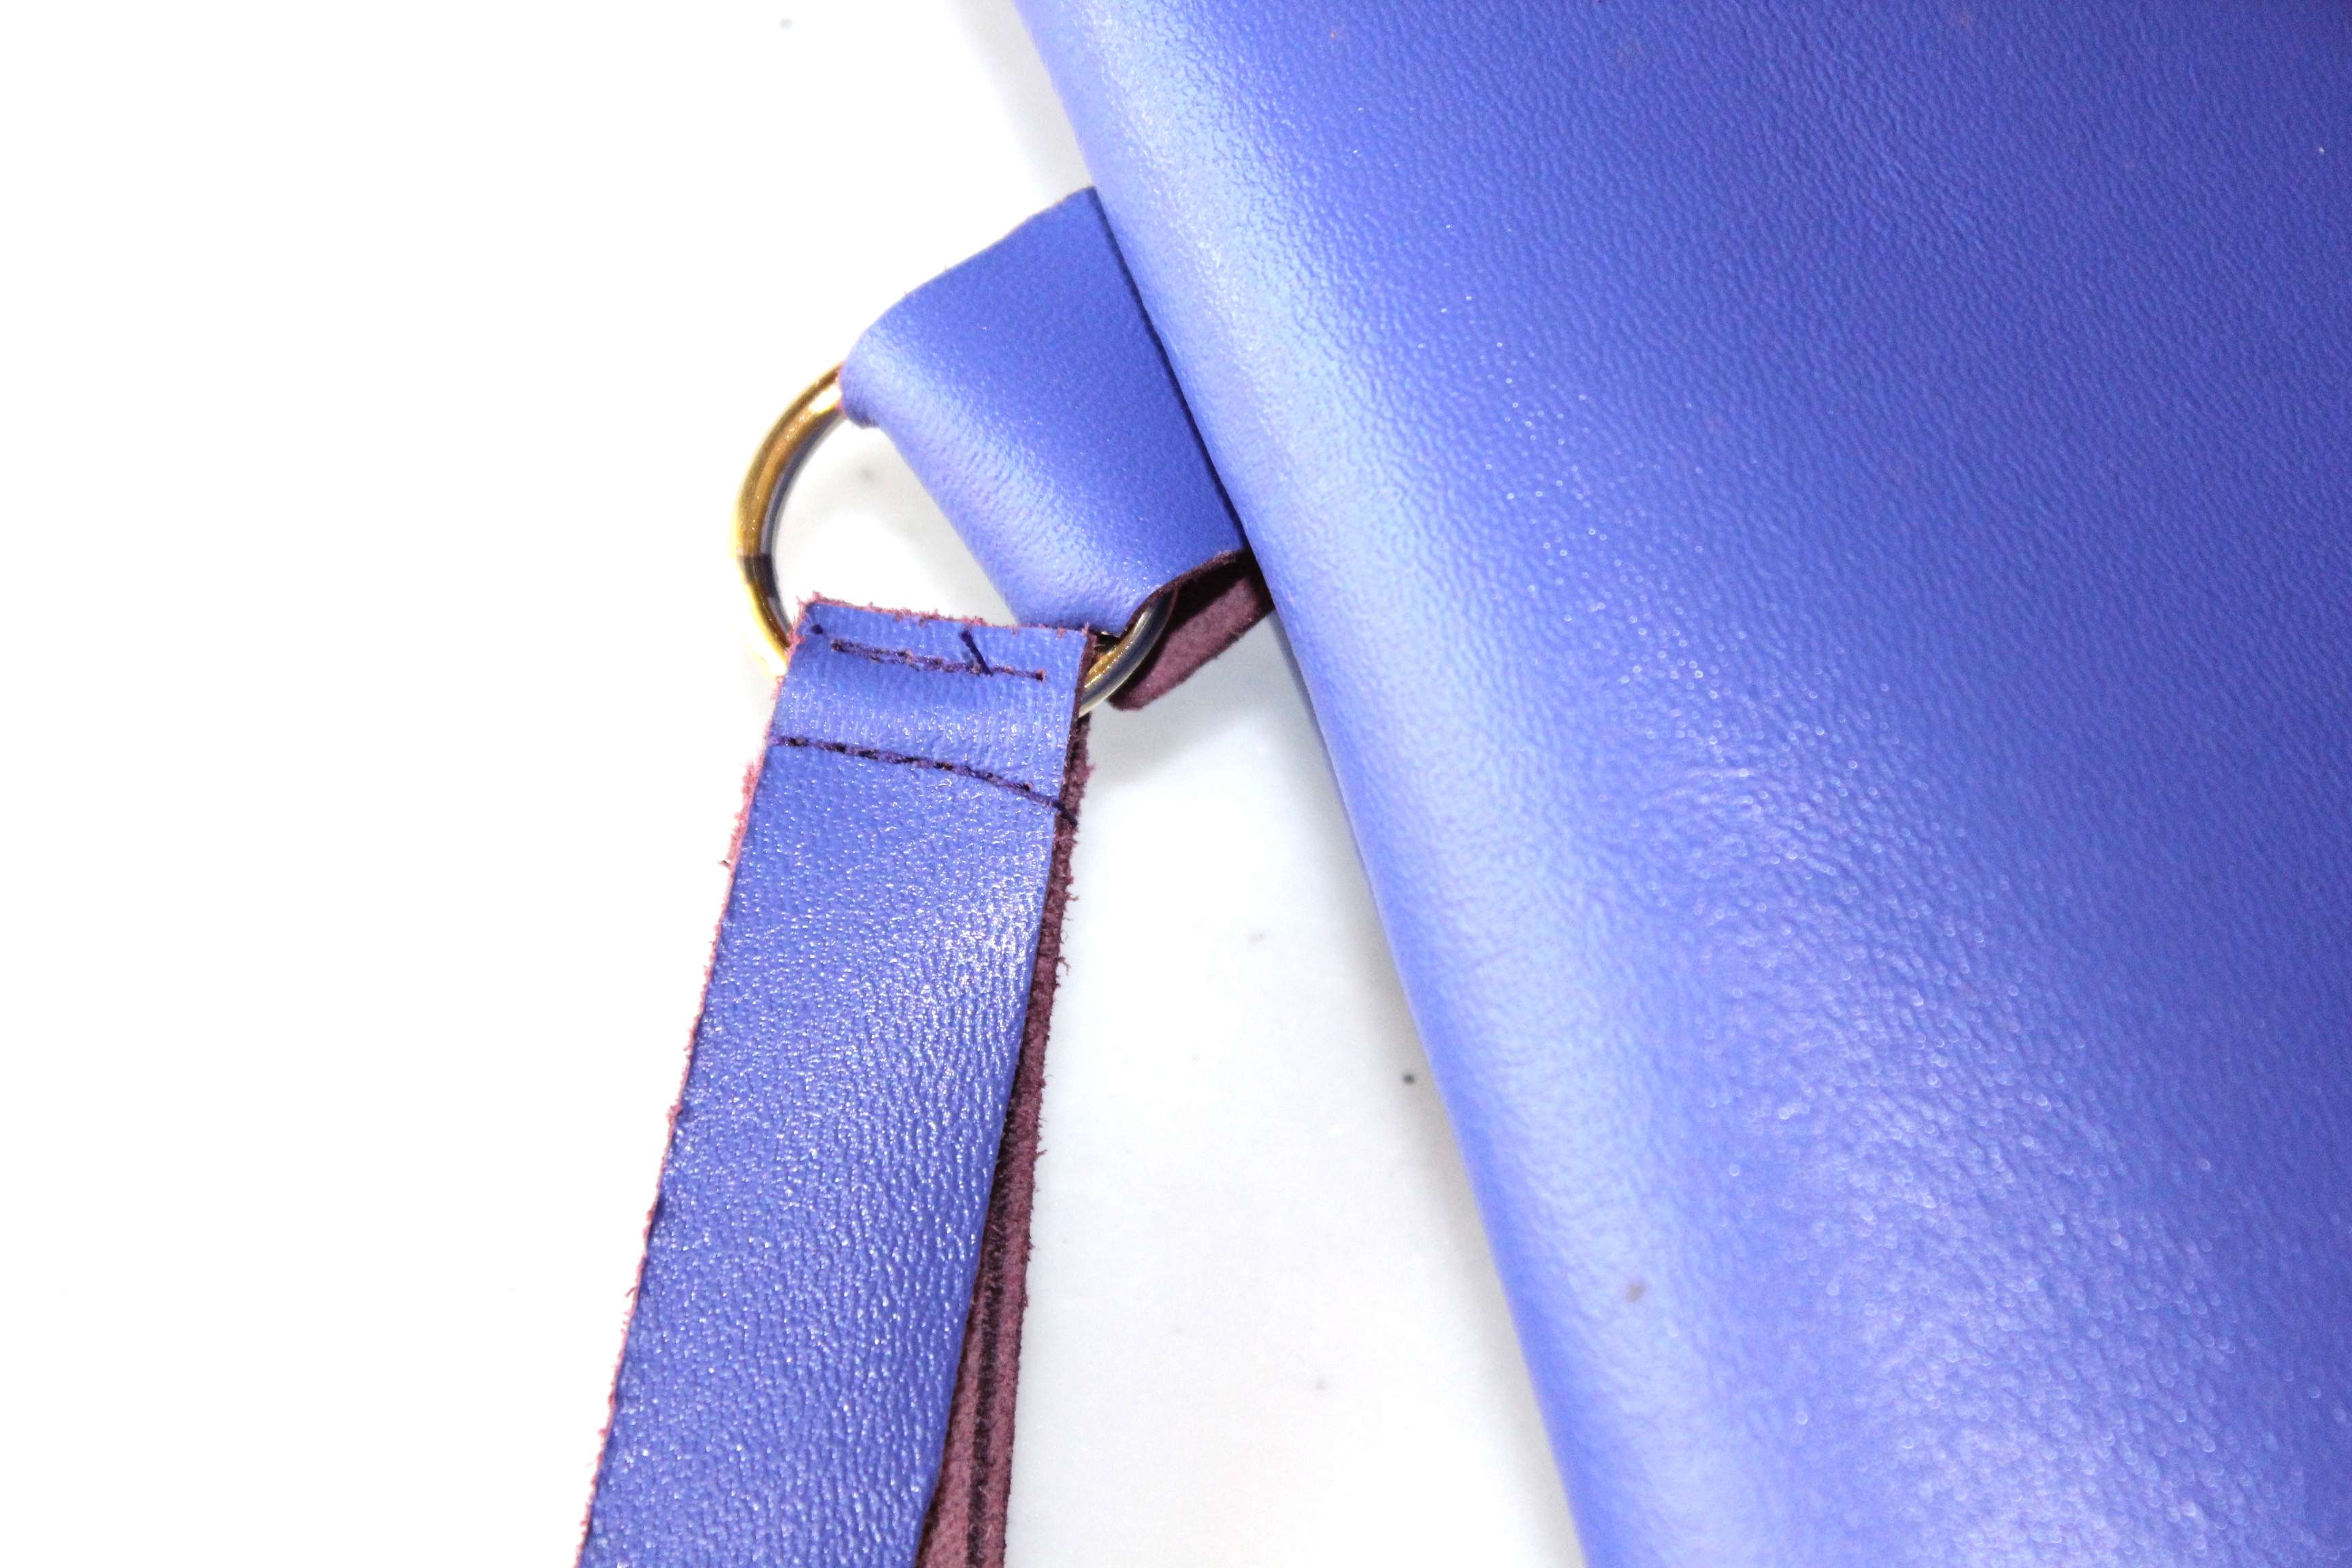
Then put the ring where you put the piece of leather before, cut a long slice of leather, a thin one, and sew it in two parts where the ring will go on.
—
3° FASE:
Ultimo passo, tagliate due pezzettini rettangolari di pelle che porrete ad entrambi i lati della zip, per nasconderla e rifinirla meglio!
Poi prendete l’anellino e inseritelo in quel lembo che fuoriesce dalla borsa, poi tagliate una striscia lunga e sottile di pelle e cucitela in due punti, all’interno dei quali passerà l’anellino!
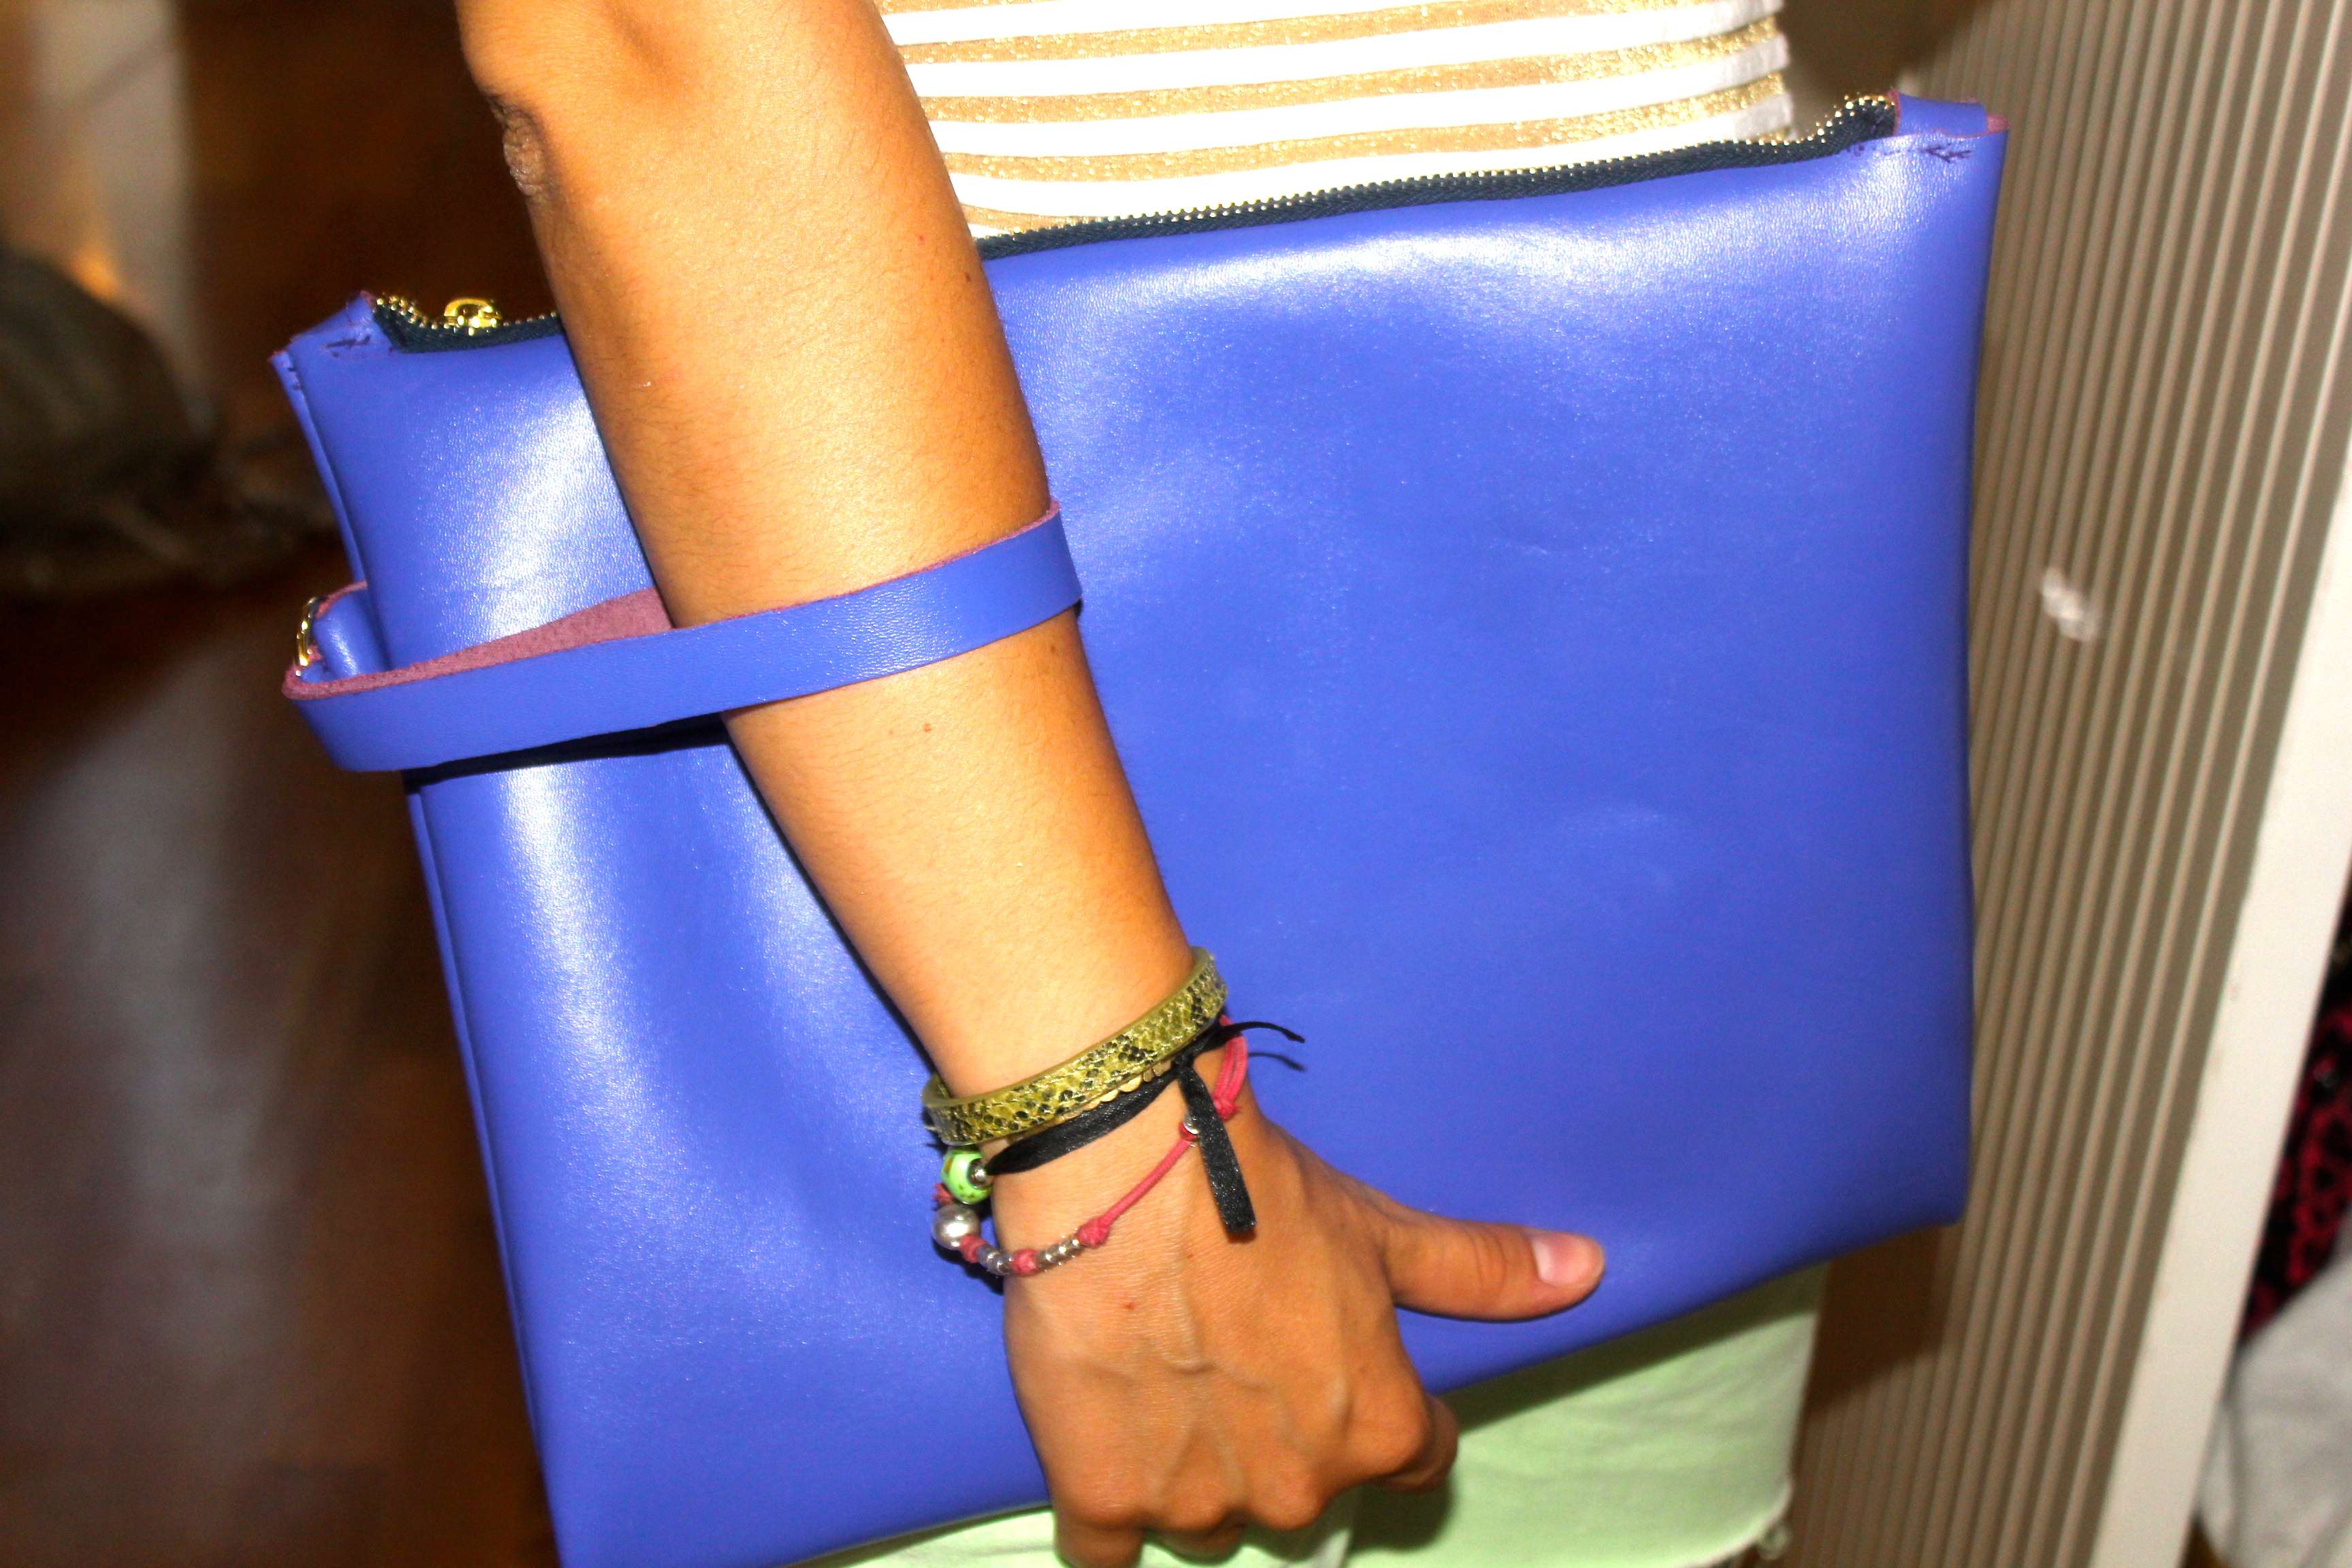
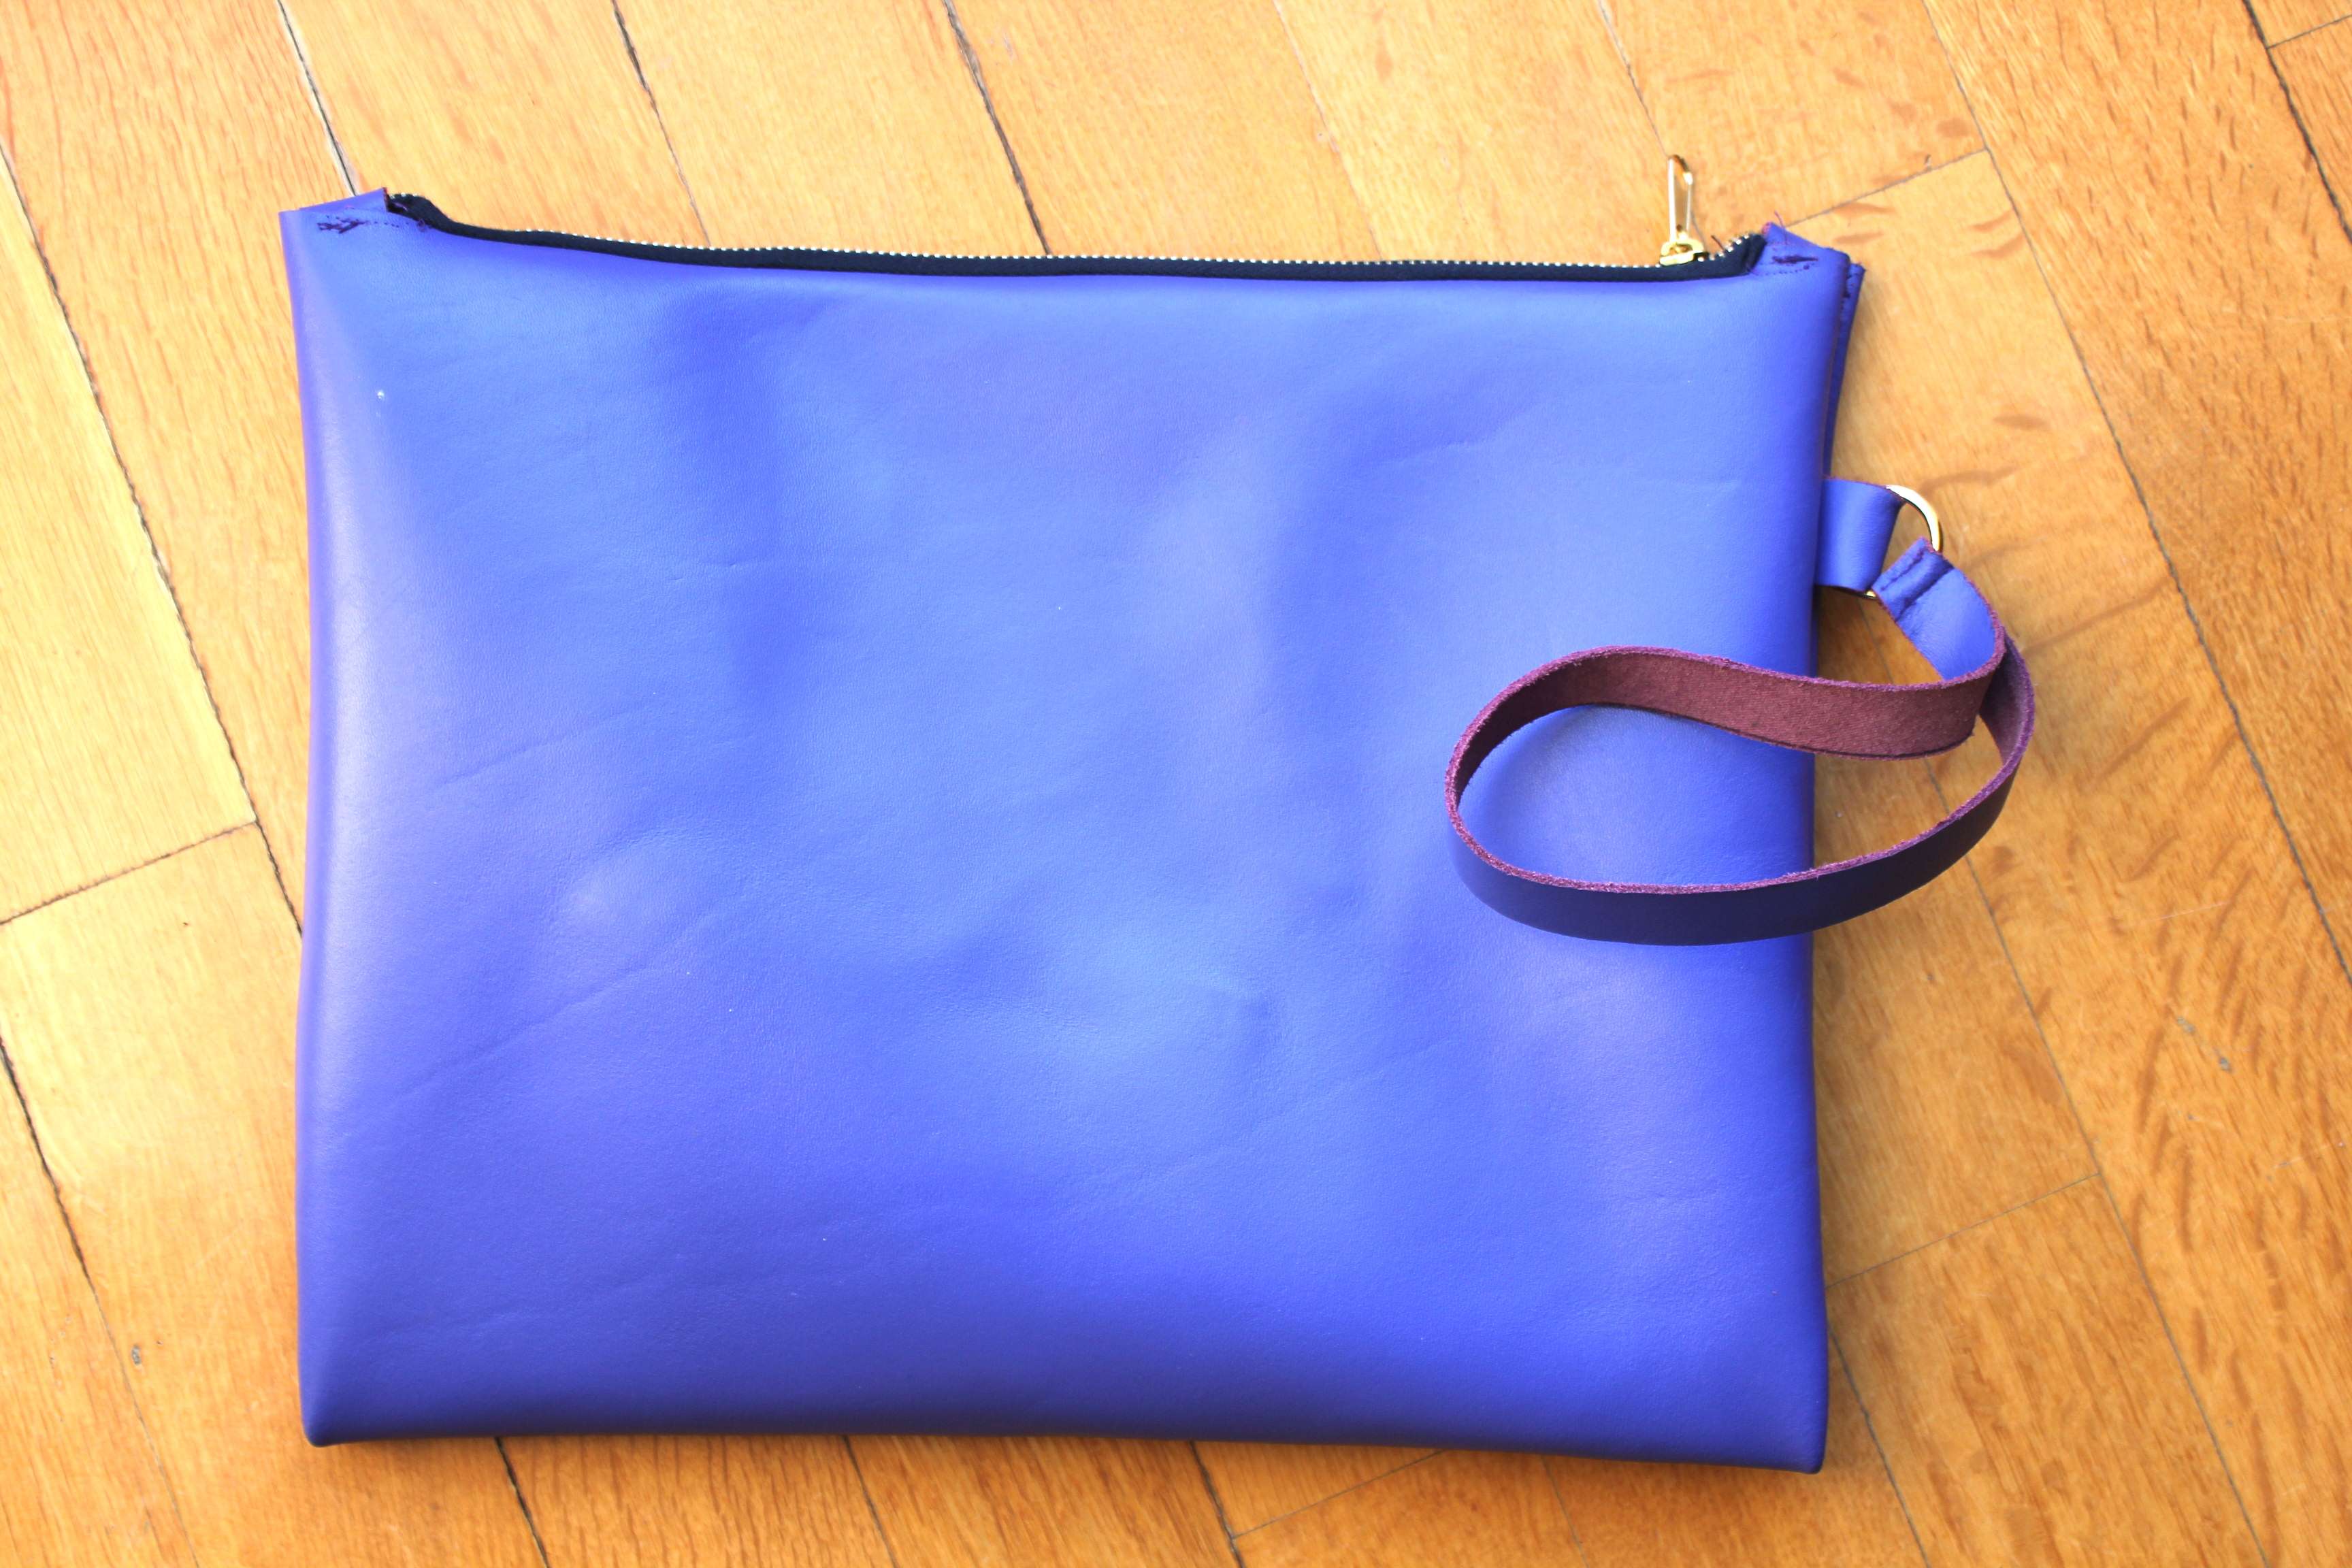
As you could seen in these photos, the bag is ultra chic and nice, but I found some cons!
The leather I bought, even if beautiful , was too thick, and I found so hard working at it!
I had lot of pain to my fingers and the sewing machine was too stressed!
So I my suggestion is : buy ONLY the softest and thinnest leather, or simply don’t buy it!
If you are not practice with sewing leather, you will only scream for the pain!
;)
—
Come potete vedere dalle foto, la borsa è davvero ultra chic e carina, ma ho trovato alcuni contro!
La pelle che ho acquistato, anche se stupenda, era troppo spessa, ed è stato complicatissimo lavorarla!
Mi sono fatta un sacco male alle dita e la macchina da cucire era troppo sotto stress!
Quindi il mio consiglio è questo: comprate SOLo la pelle più sottile e morbida che trovate, altrimenti non la acquistate! Se non siete pratici nel cucire la pelle, finirete solo per urlare dal dolore!
;)
–
and for the laziest ones I opened my DIY SHOP!
I’ll wait for you there!
e per i più pigri, ho aperto il mio DIY SHOP!
Vi aspetto lì!

–
PS: IF ANYONE OF YOU TRIED OUT TO MAKE A CLUTCH FOLLOWING MY INSTRUCTIONS, TAKE IT A PICTURE AND SEND IT TO rossella@thefashiontwice.com ! I WOULD BE PLEASED TO SEE THEM AND MAKE A POST WITH YOUR CREATIONS TOO :)
PS: SE QUALCUNO DI VOI HA PROVATO A FARE UNA BORSA SEGUENDO LE ISTRUZIONI DEI MIEI TUTORIAL, FATEGLI UNA FOTO E INVIATELA A rossella@thefashiontwice.com ! MI FAREBBE DAVVERO PIACERE VEDERE LE VOSTRE CREAZIONI E POTRNE FARE POI UN BEL POST :)


Chiara Lanero
31/08/2011Tutorial fantastico tesoro!! Il colore di questa pelle è bellissimo!!
Books in my bags
VALENTINA COCO
31/08/2011Rossi ma è bellissima….proverò a farla anche io!!!!!!!!!mi piace un sacco, ma sei super!!!!!!!!!
baci
http://www.zagufashion.com
Deborah D
31/08/2011sei così brava,io la scors volta ci ho provato maè venuta fuori una cosa agghiacciante :)
baci da Fashion review
Elena
31/08/2011:)
the chilicool
31/08/2011Ros sei la maga del DIY, ornai!! Numero 1!!! Un bacione! Alessia
http://www.thechilicool.com
Particulière ♥
31/08/2011Oddio che bella!
Magari riuscissi anche io a creare queste belle cose!
xoxo,
V.
particuliereblog.blogspot.com
andrea
31/08/2011davvero bella , complimenti tesoro è davvero bello questo tutorial
Kisses Andy
http://www.fashionscarfboy.com/
cooksappe
31/08/2011grazie per il tutorial! ;)
Caterina
31/08/2011Complimenti!davvero bella e il colore che hai scelto mi piace molto!! Seguimi sul mio blog: http://www.mirtilloechampagne.it
Gioielli Bigiotteria
01/09/2011Ciao!
Tutto ok quest’Estate?
Da pochi giorni ho messo online un nuovo fashion blog sulla bigiotteria. Parlo soprattutto di bijoux online e accessori.
Che dici? Collaboriamo?
Ho alcune idee in mente per avere su entrambi i siti il massimo dei vantaggi.
Ti va?
Ok? Aspetto la tua mail a blog@gioiellibijoux.it