

 Welcome to my clutch tutorial #2!
Today we will learn to make a little clutch with a chain on the border, that is so cool for the night and the day, of course! let’s start!
—
benvenuti al mio secondo tutorial!
Oggi impareremo a fare una clutch piccolina con la catena applicata sul bordo e che faccia da manico, è molto carina da indossare sia per la sera che per il giorno!
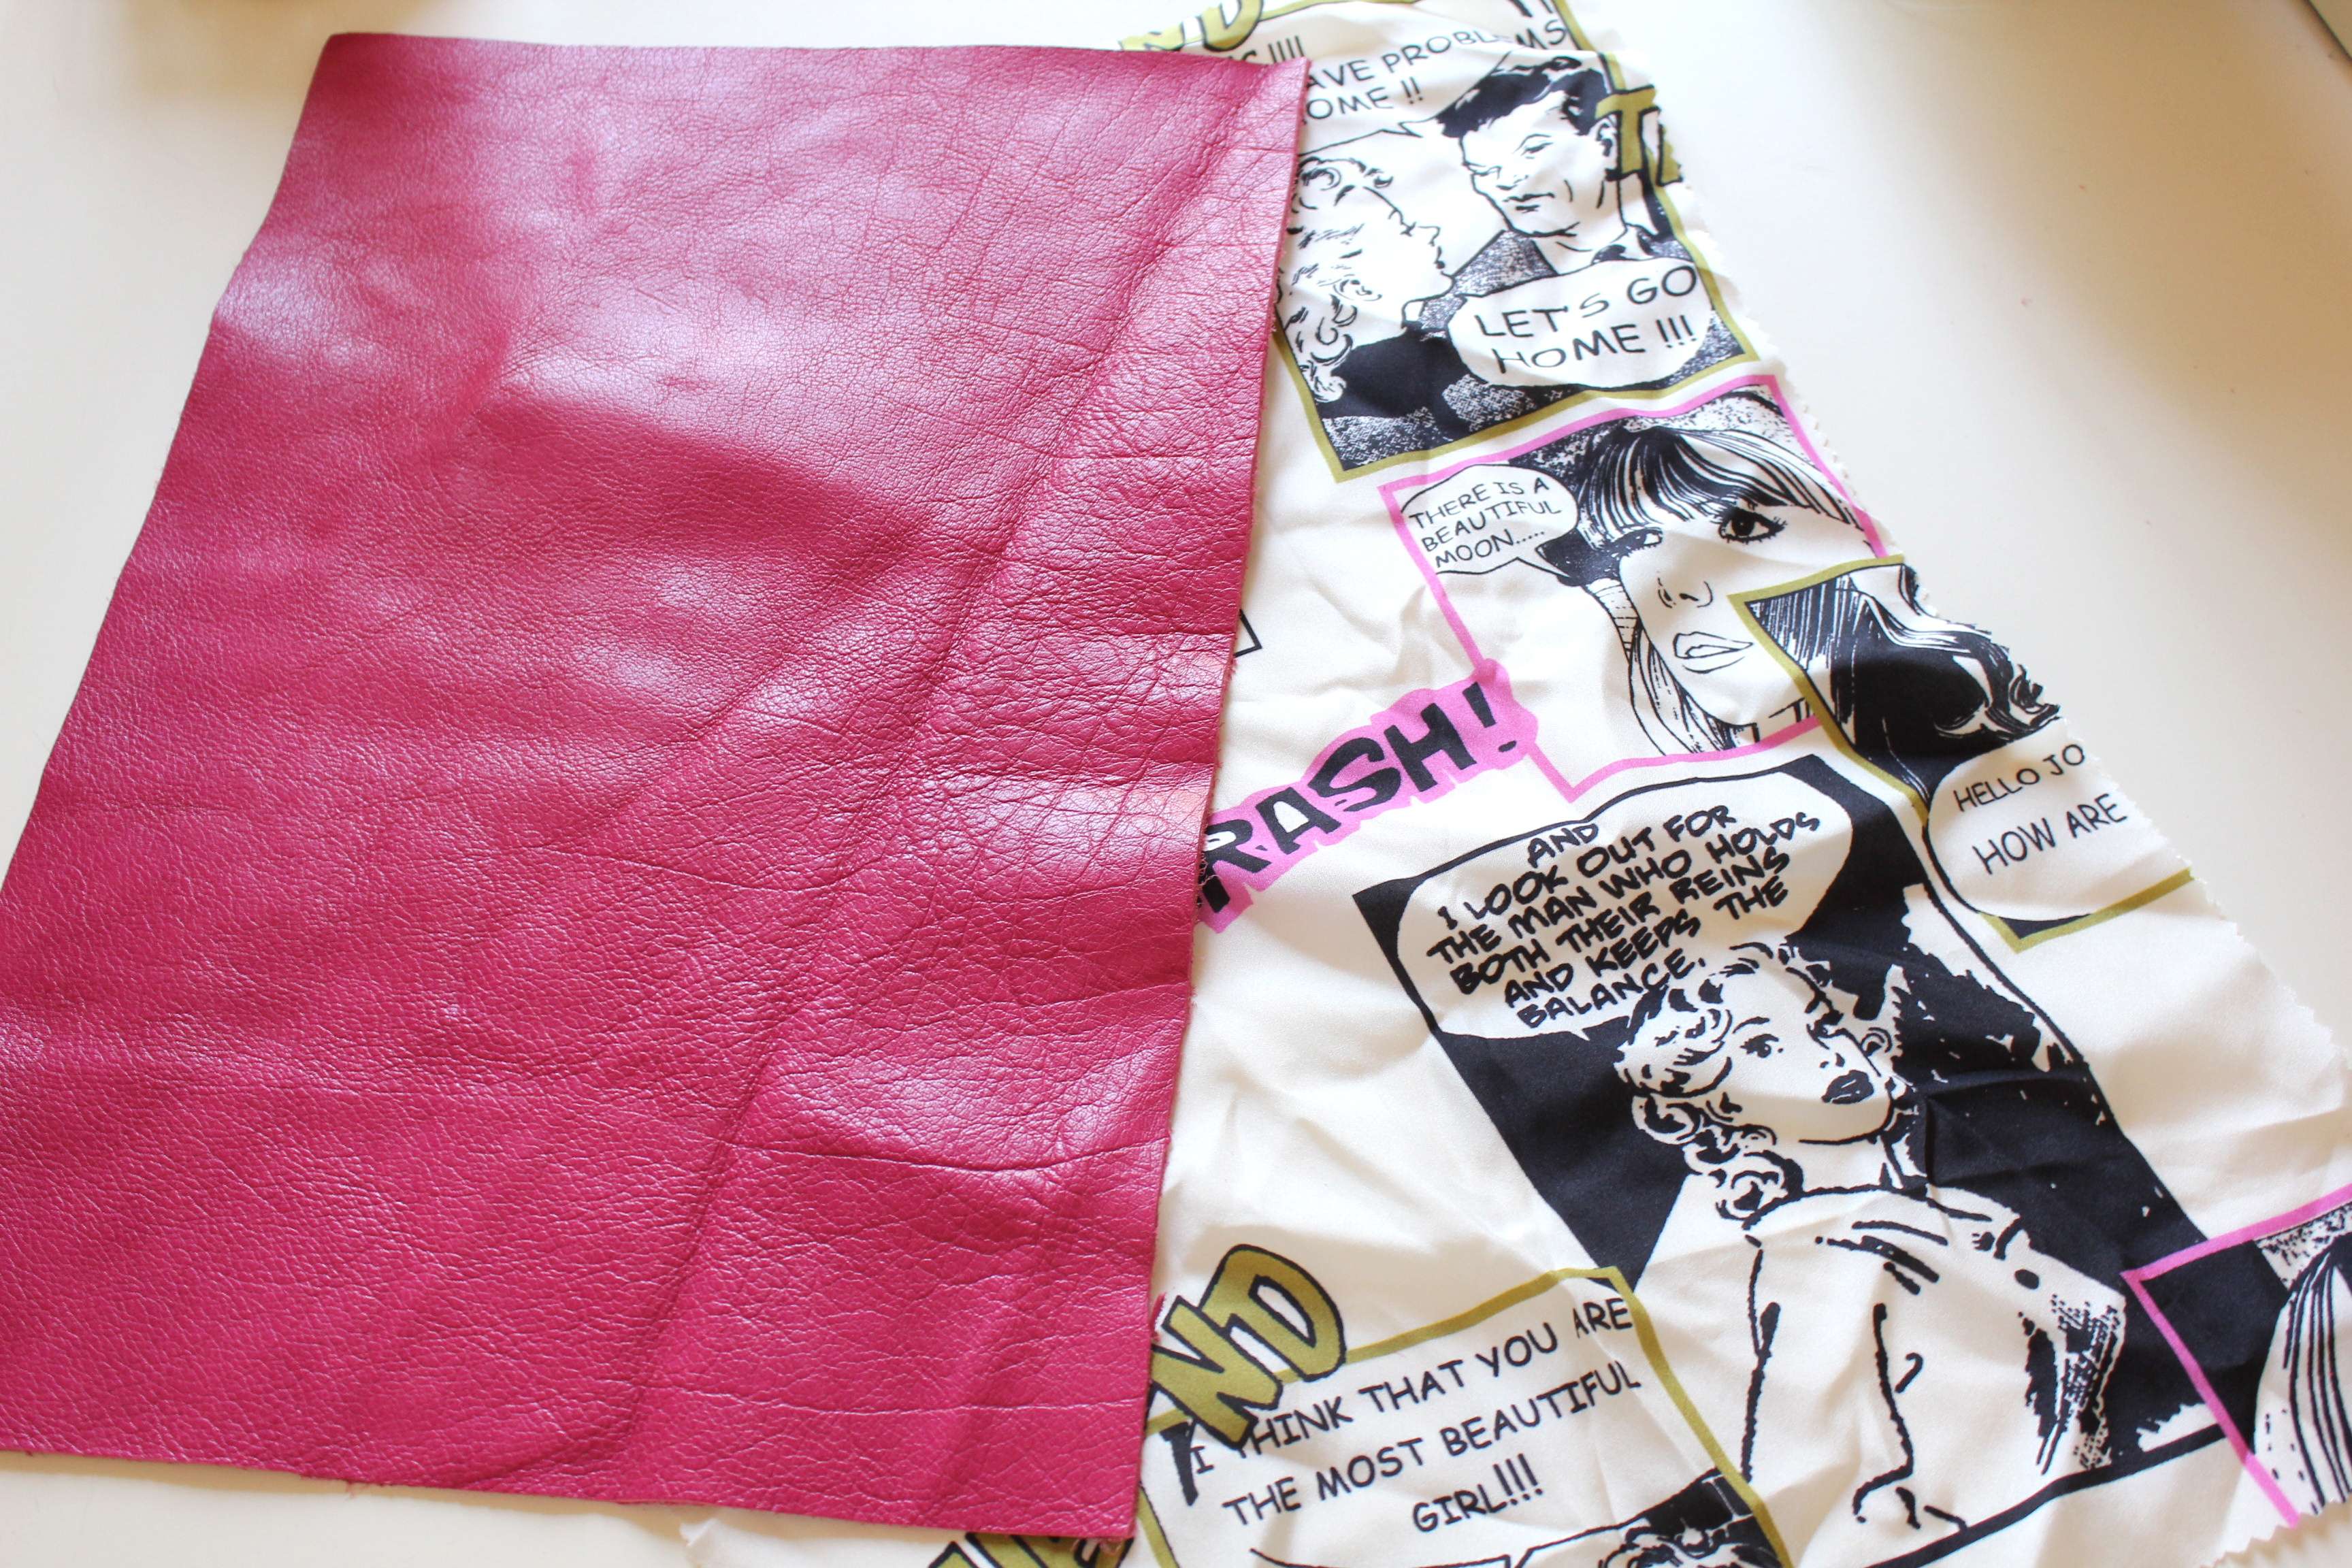
- a big piece of LEATHER ( the color you like );
- a piece of SATIN in the color you like;
- ZIP of the color you choose the leather;
- a CHAIN the measure you like;
- one RING;
- THREAD;
- leather NEEDLS;
- a PENCIL;
- a piece of PAPER;
- a RULER;
- a TAPE MEASURE.
CHE COSA VI OCCORRE:
- un pezzo grande di PELLE;
- un pezzo di RASO molto spesso;
- delle ZIP dei colori di cui avete scelto la pelle;
- una CATENA nella misura che più vi piace;
- un ANELLINO;
- COTONE;
- AGHI per la PELLE;
- una MATITA;
- un pezzo di CARTA ( meglio ancora il cartoncino );
- una SQUADRETTA;
- un METRO da sarto.

1st STEP:
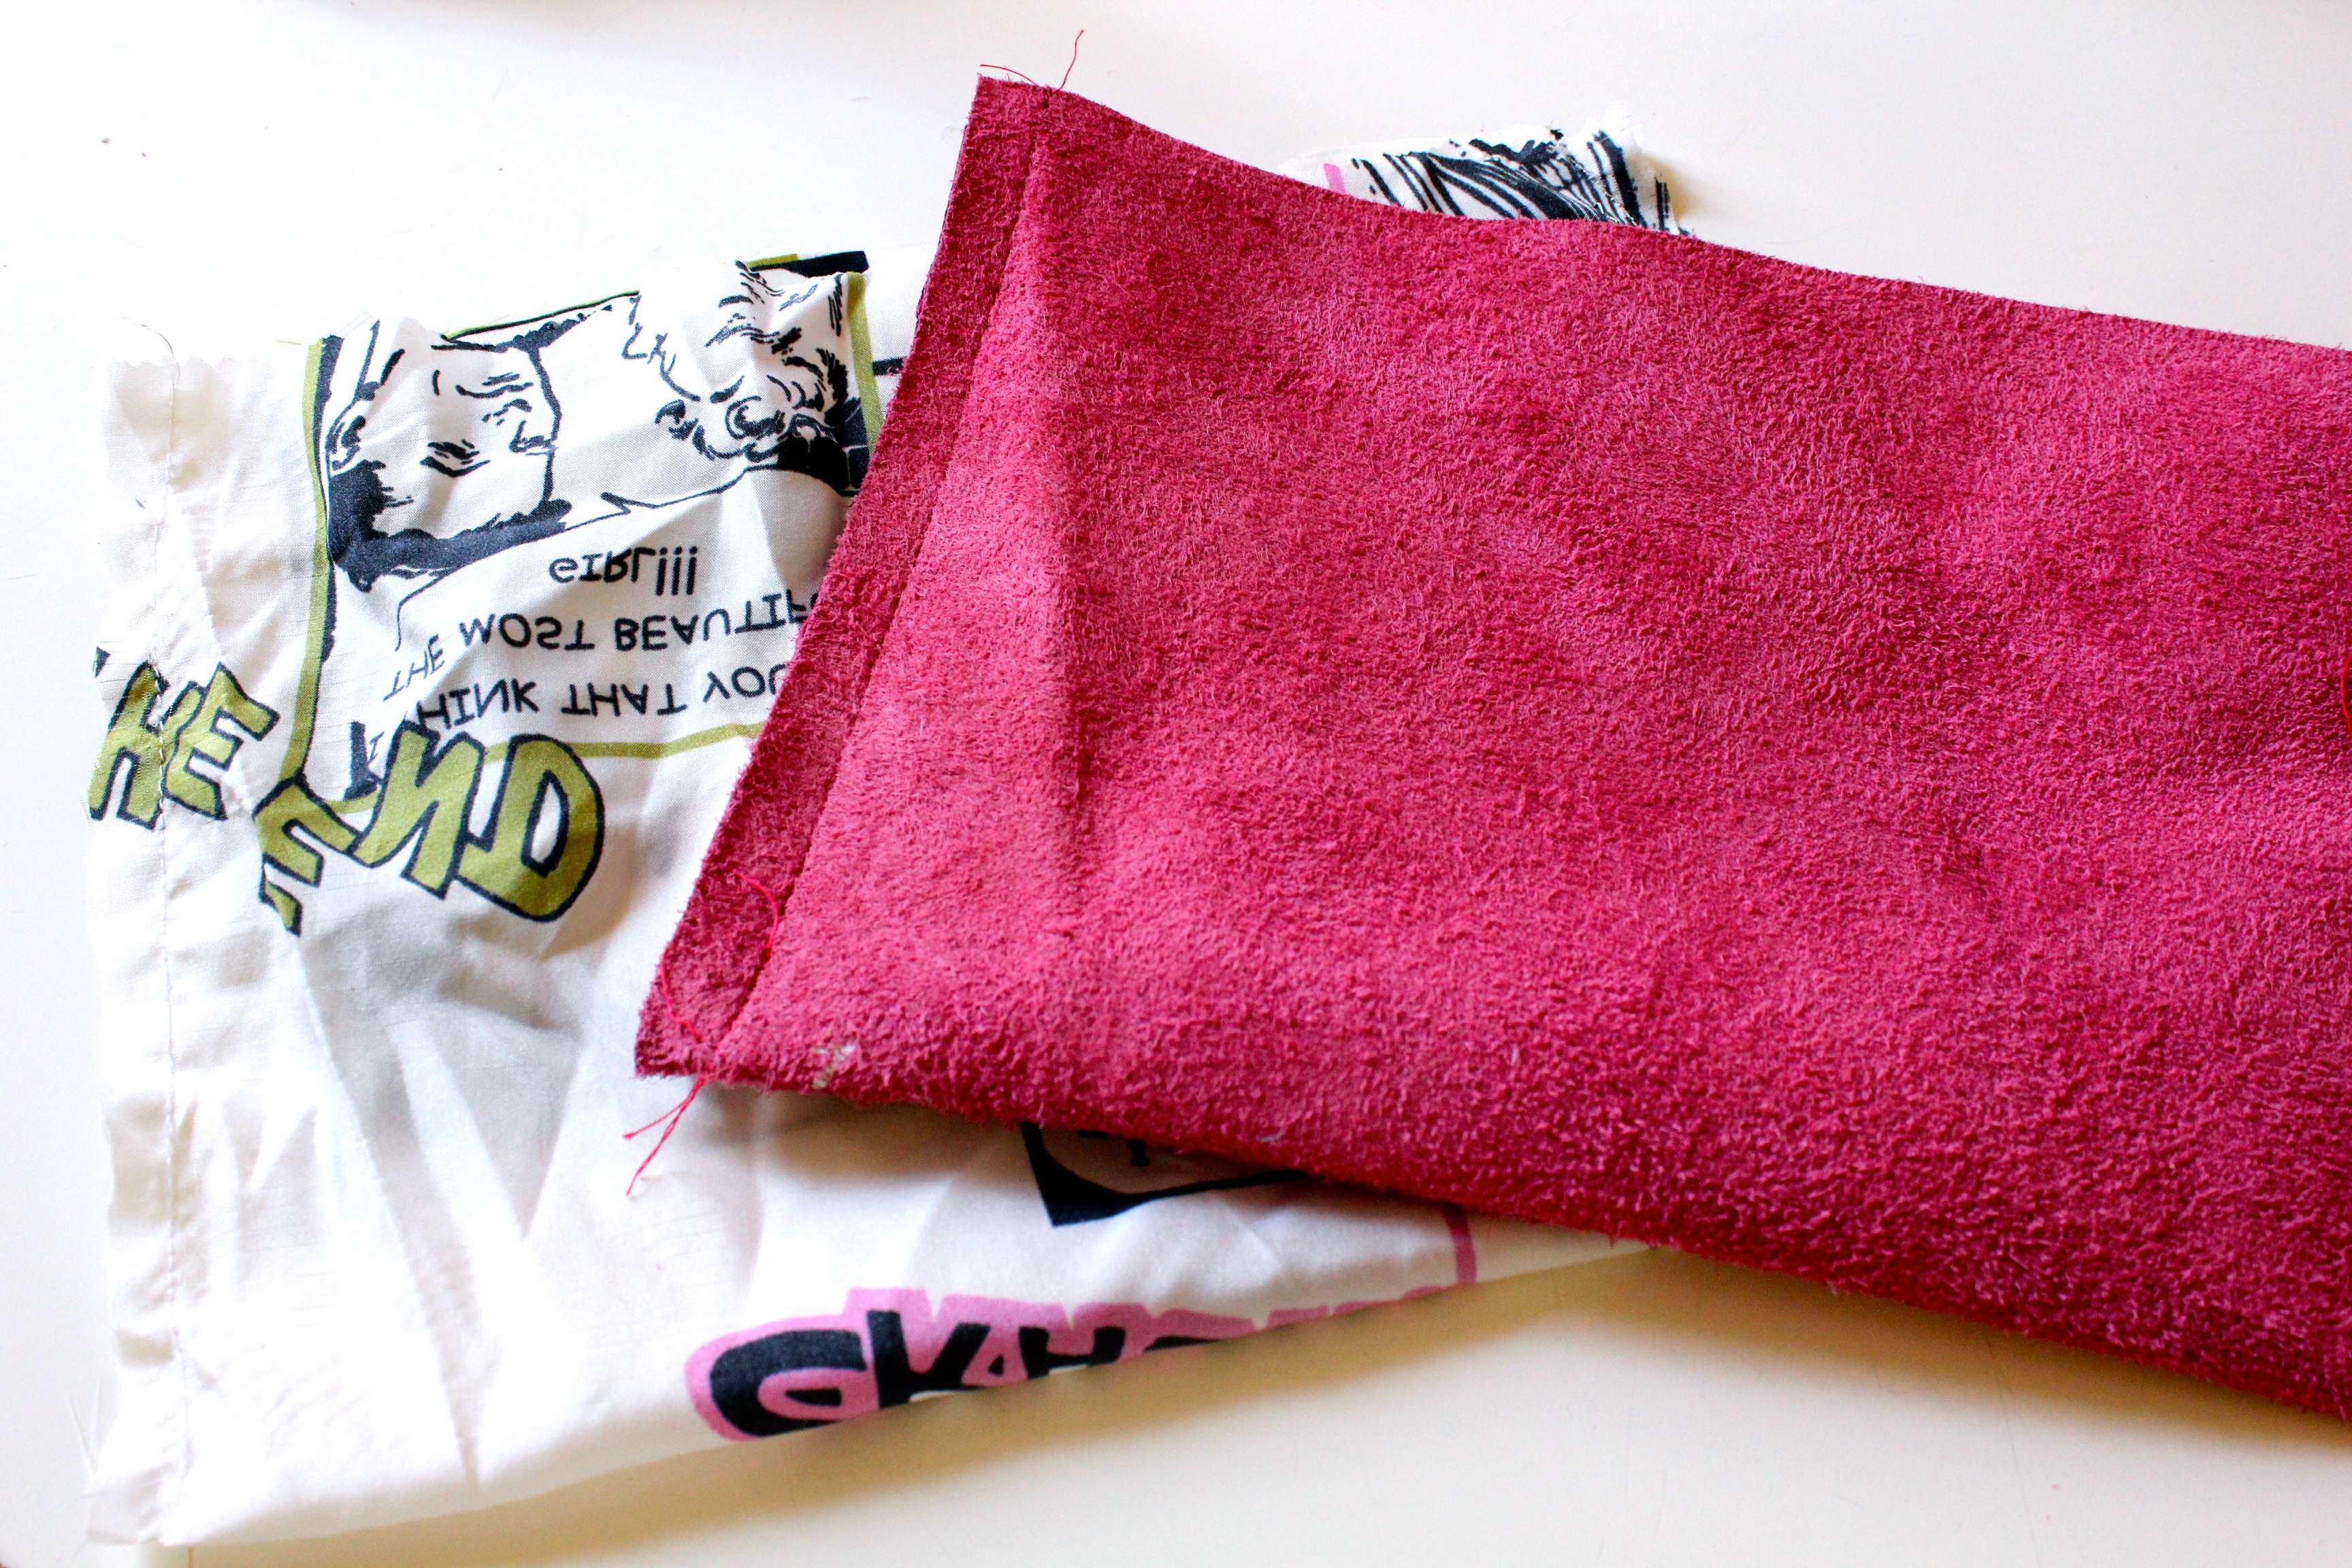
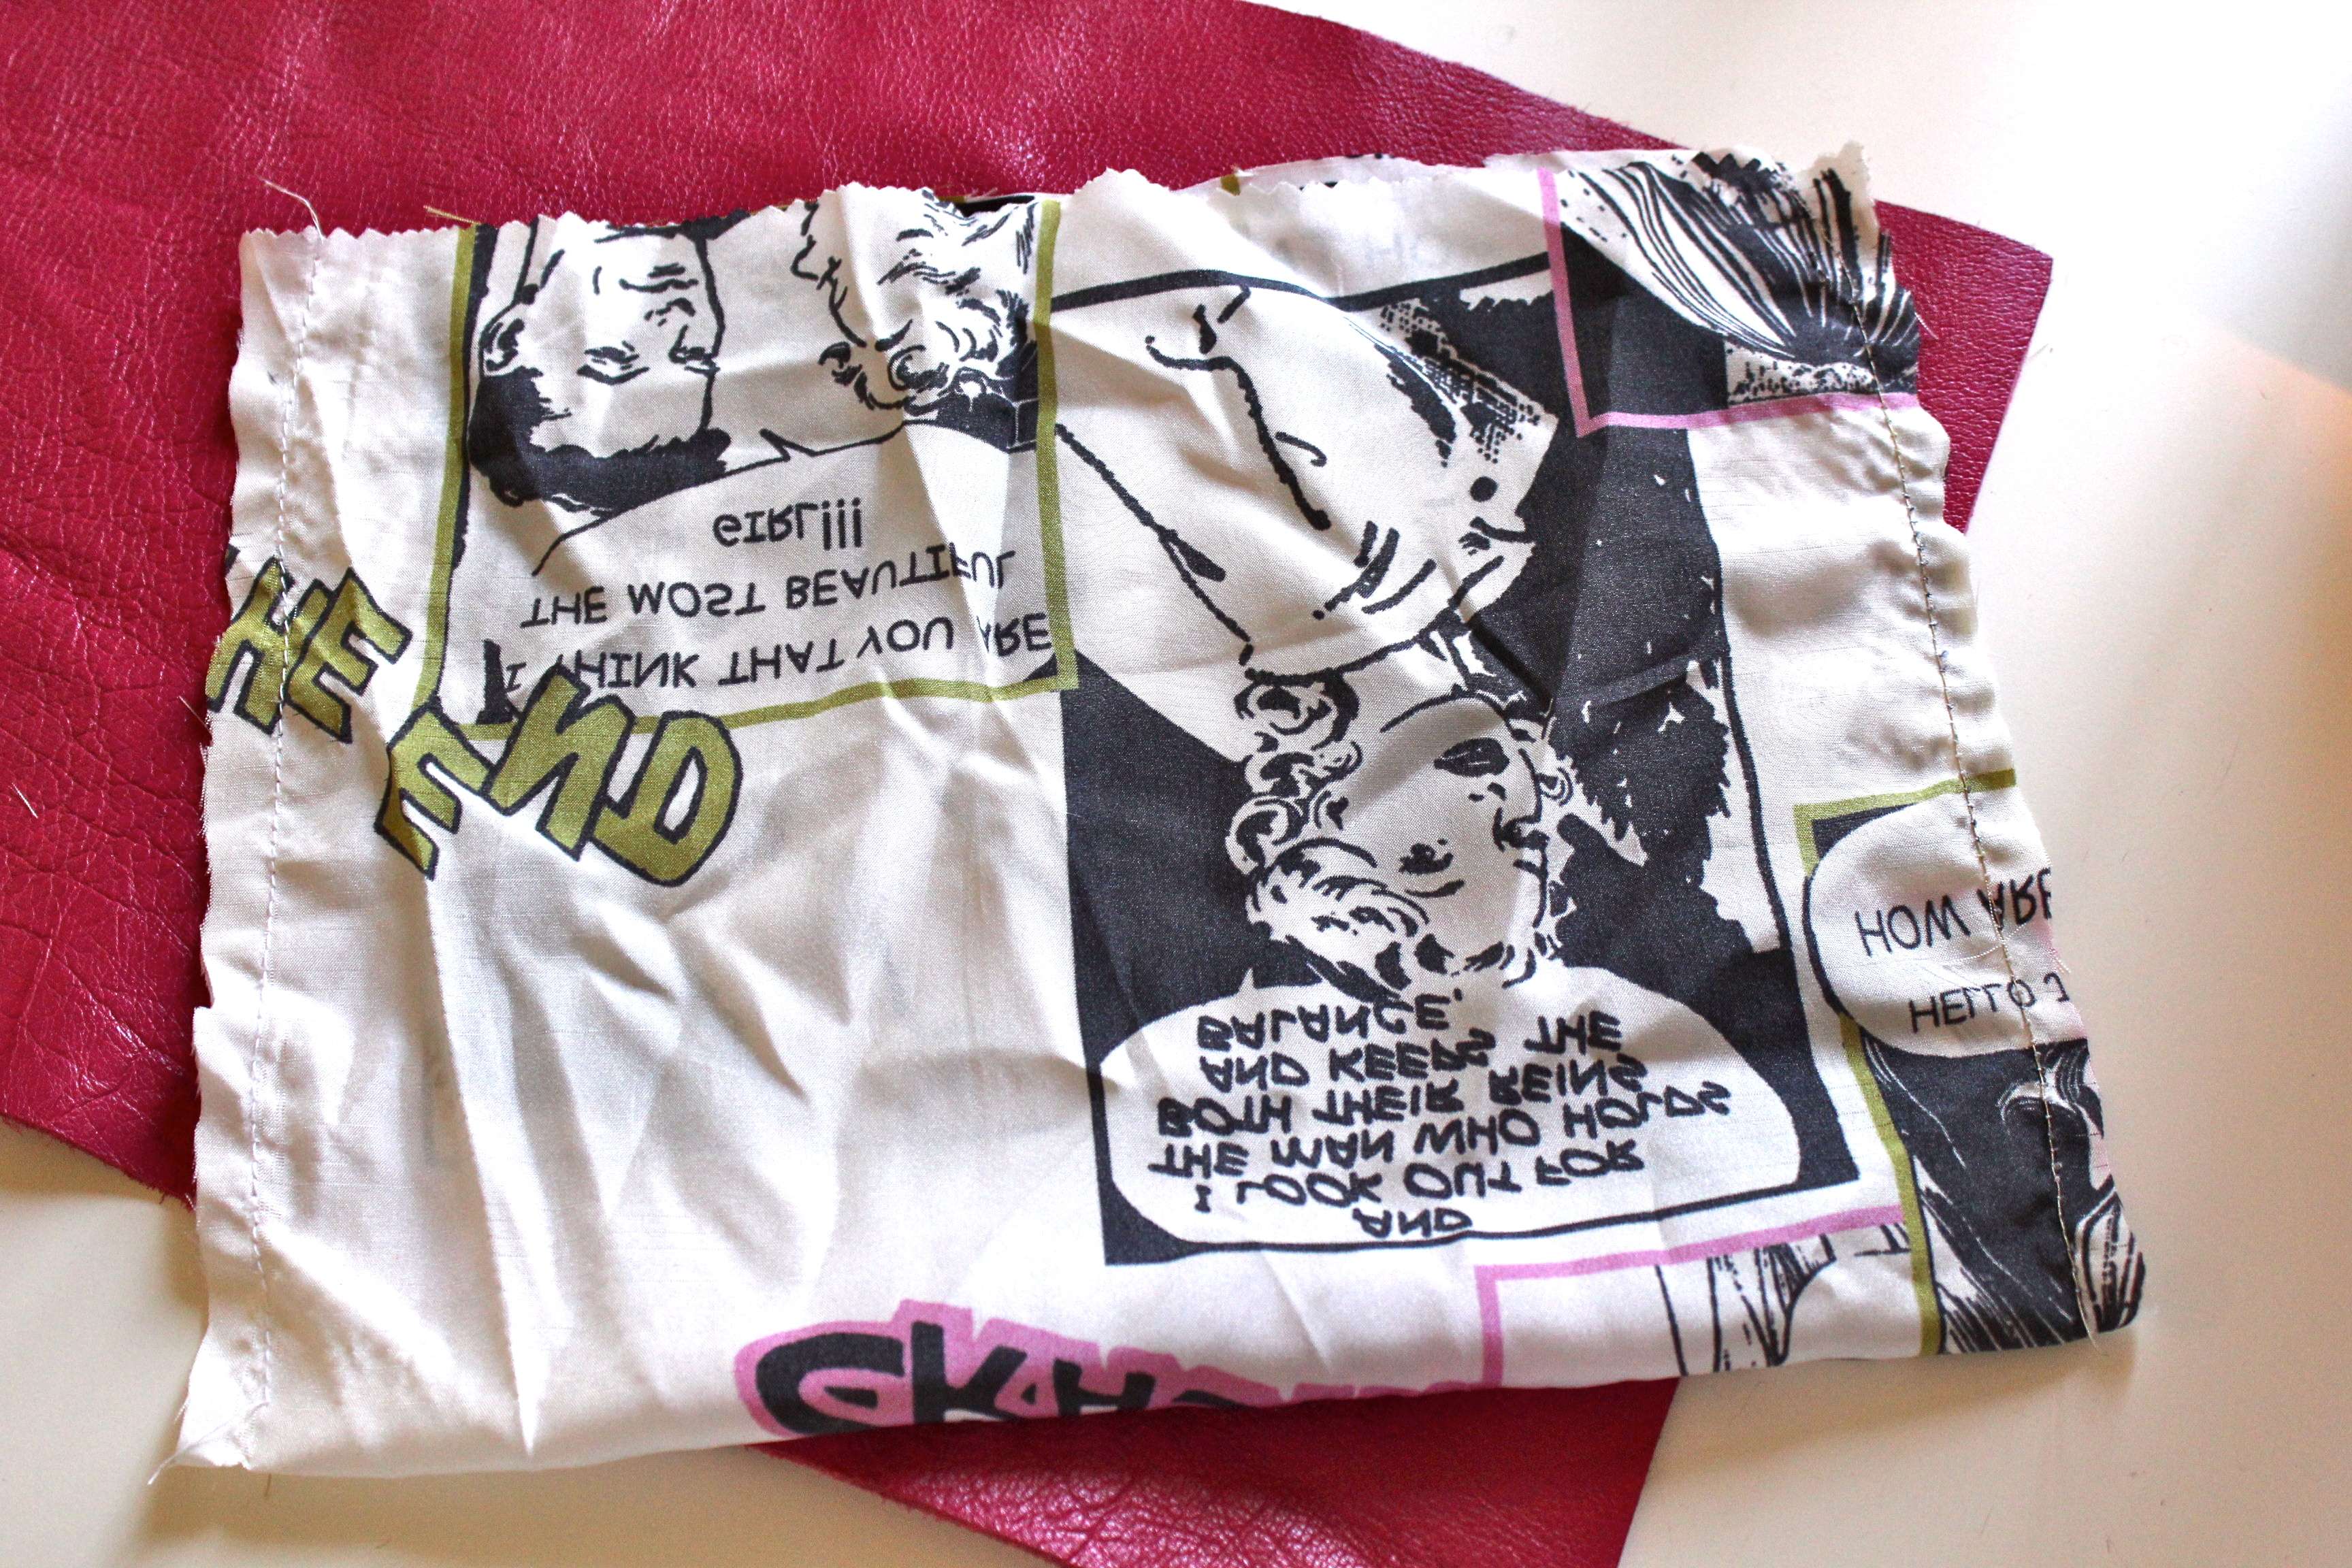
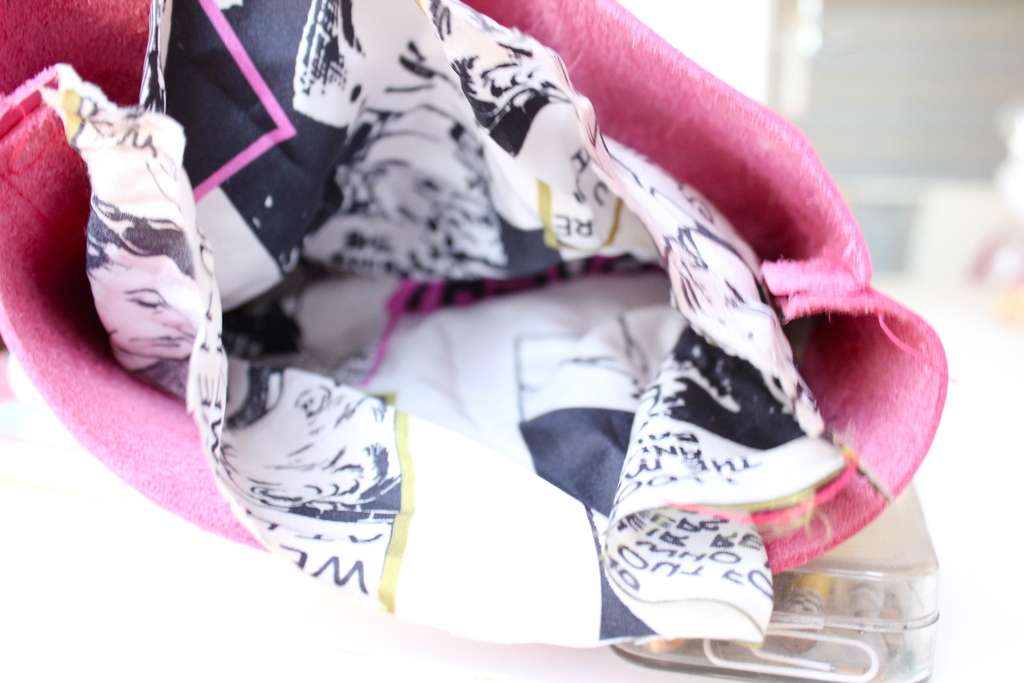
Sew first the leather ( once you’ve chosen the measures and cut the piece of leather you’ll need ) in both the sides of the bag! Then sew the satin lining, because it will be a little bit smaller then the bag!
The leather has to be sewed in the side that will be inside; then you will fold it up! The lining has to be sewed always in the back side, but you won’t fold it up!
Then place the lining into the almost-bag for the next step!
—
1° FASE:
Cucite la pelle ( una volta che avete scelto le misure e tagliato il pezzo di pelle che vi occorrerà per costruire la vostra borsa ) su entrambi i lati! Quindi cucite la fodera di raso che dovrà essere appena appena più piccola del pezzo di pelle! La pelle va cucita al rovescio e poi rigirata! La fodera va anch’essa cucita la rovescio, ma non la rigirerete su di essa perchè la parte lucida sarà quella visibile all’interno della borsa! Ora ponete la fodera al’interno della quasi-borsa per prepararci alla fase successiva.
2nd STEP:
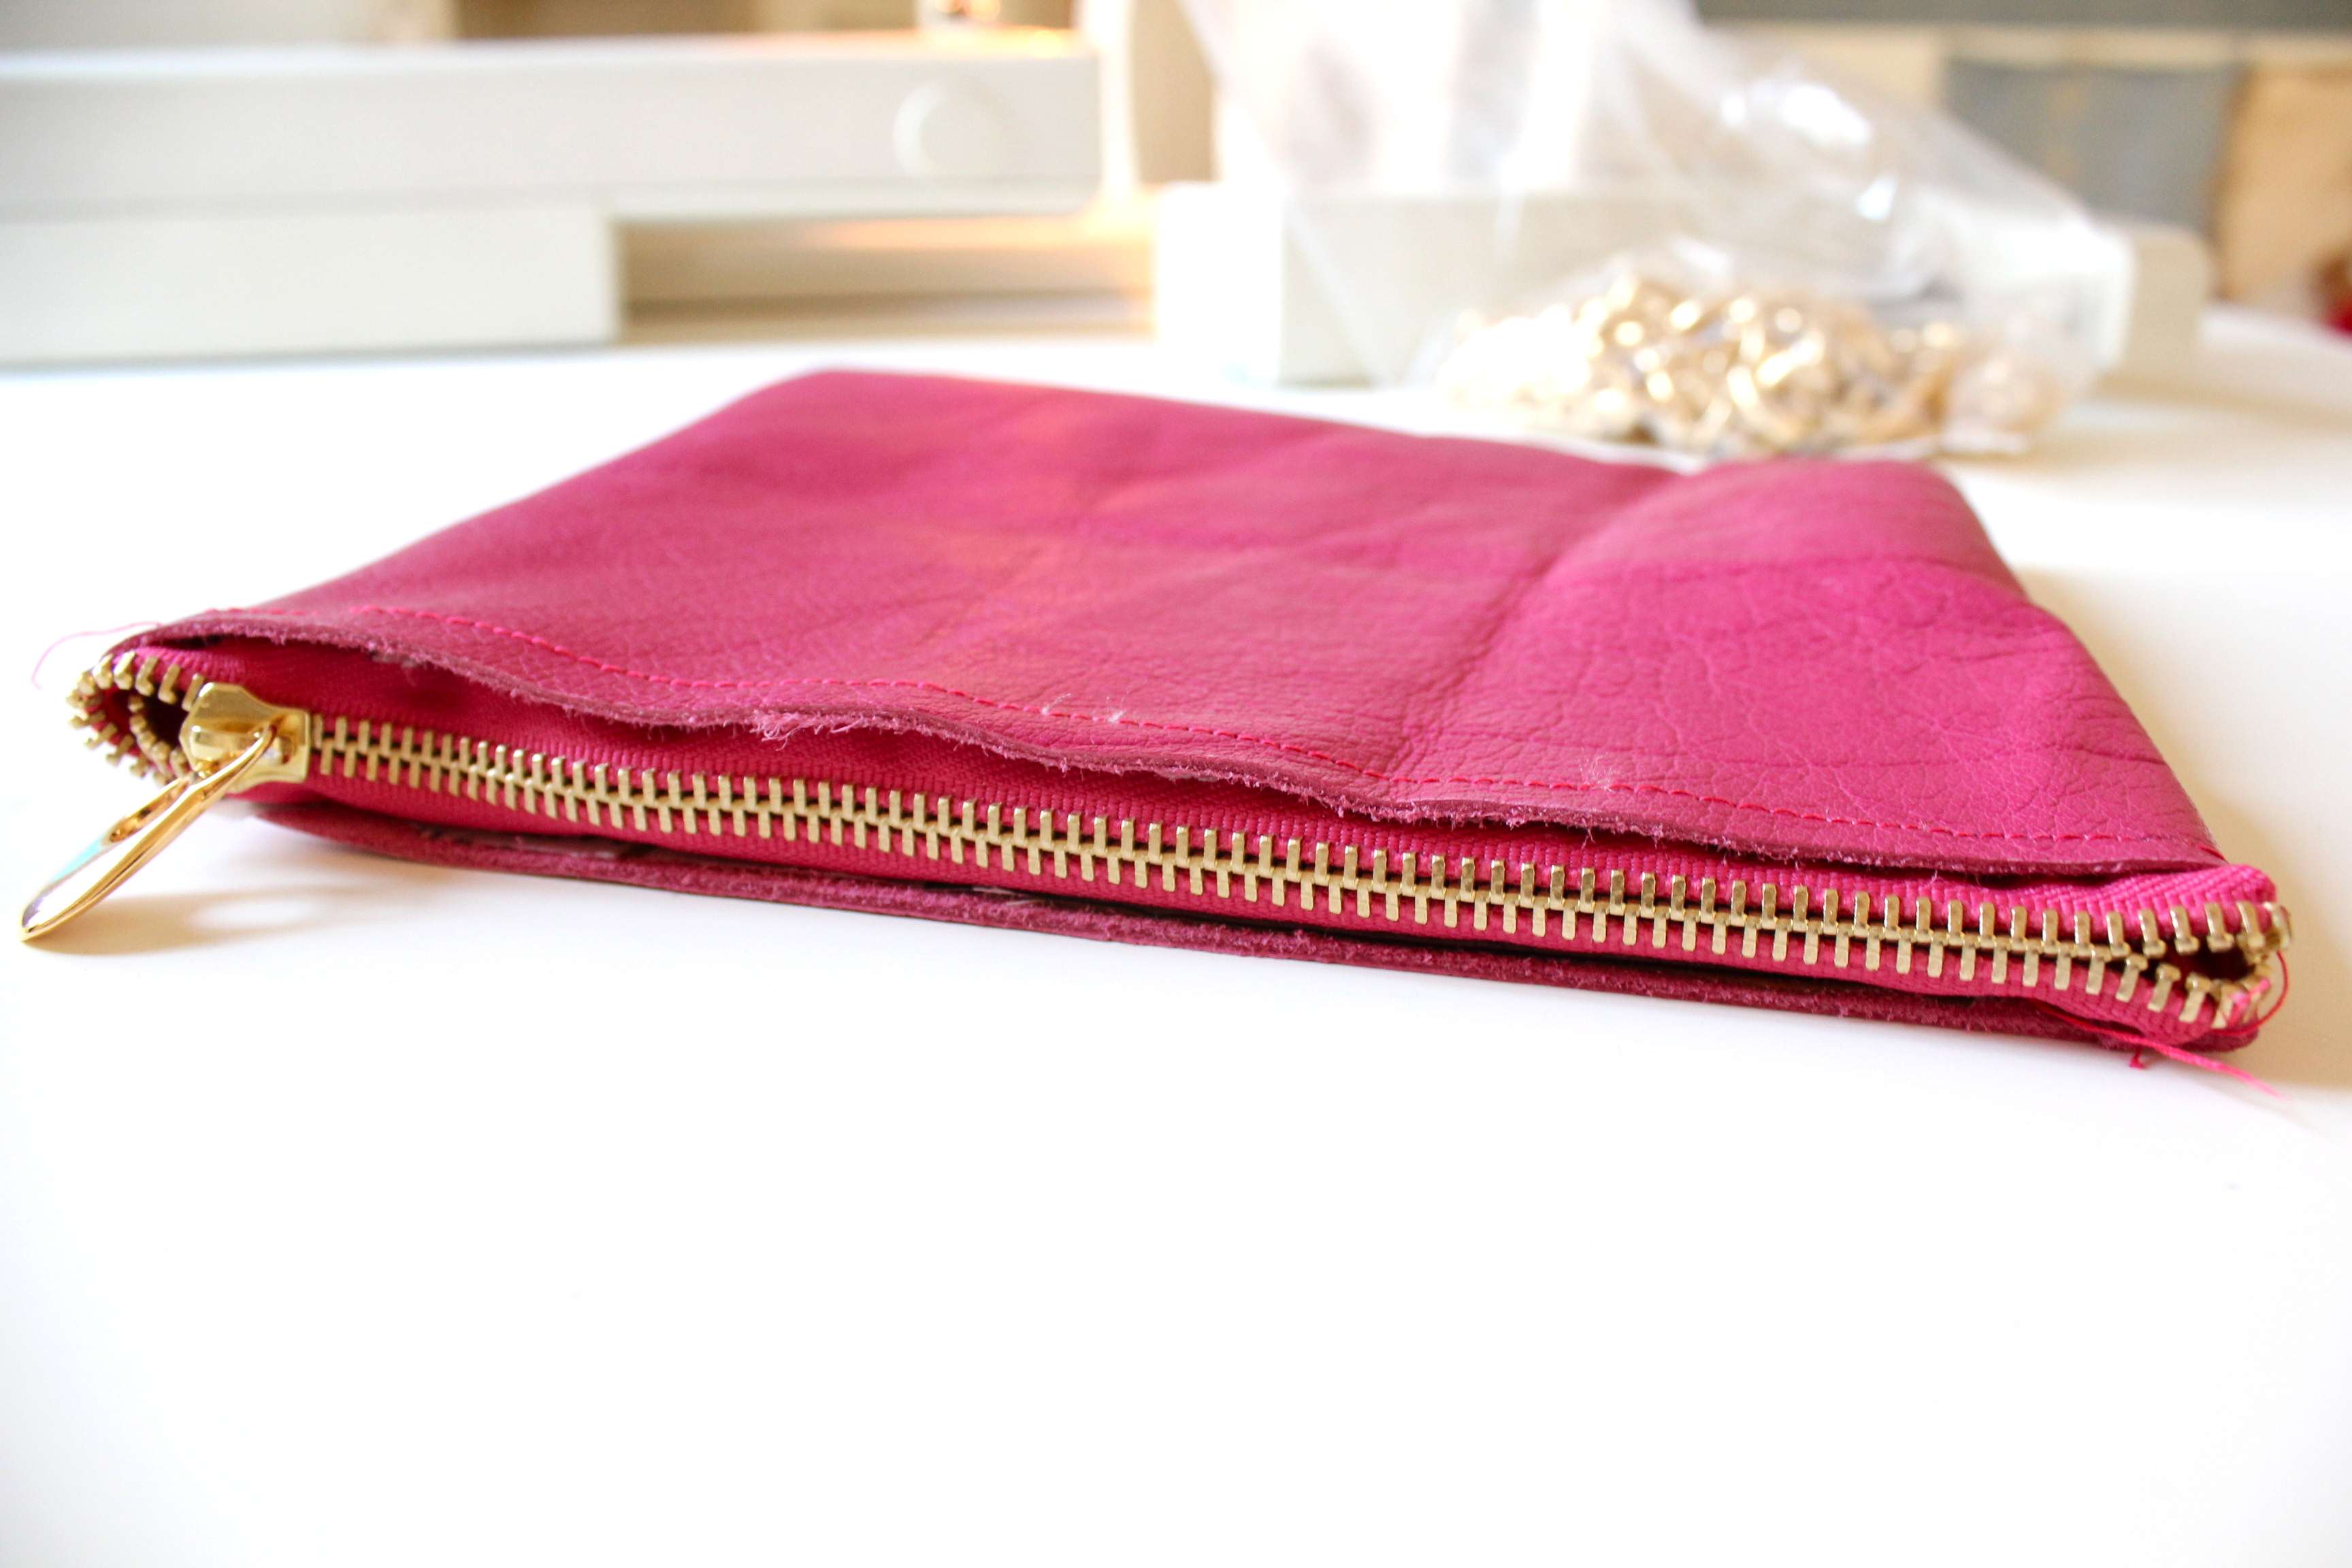
After you’ve placed your lining into the bag, place the zipper on the border of the bag and sew it! I remember you to leave a piece of zipper going out from the bag, then you will sew it inside as last!
—
2° FASE:
Dopo che avete posto la fodera ll’interno della borsa, ponete sul bordo la zip e cucitela! Ricordatevi di lasciare un pò di zip in più ai due lati, in modo che possiate infine cucirla all’interno della borsa!
3rd STEP:
Well, now the last step! the easier one!
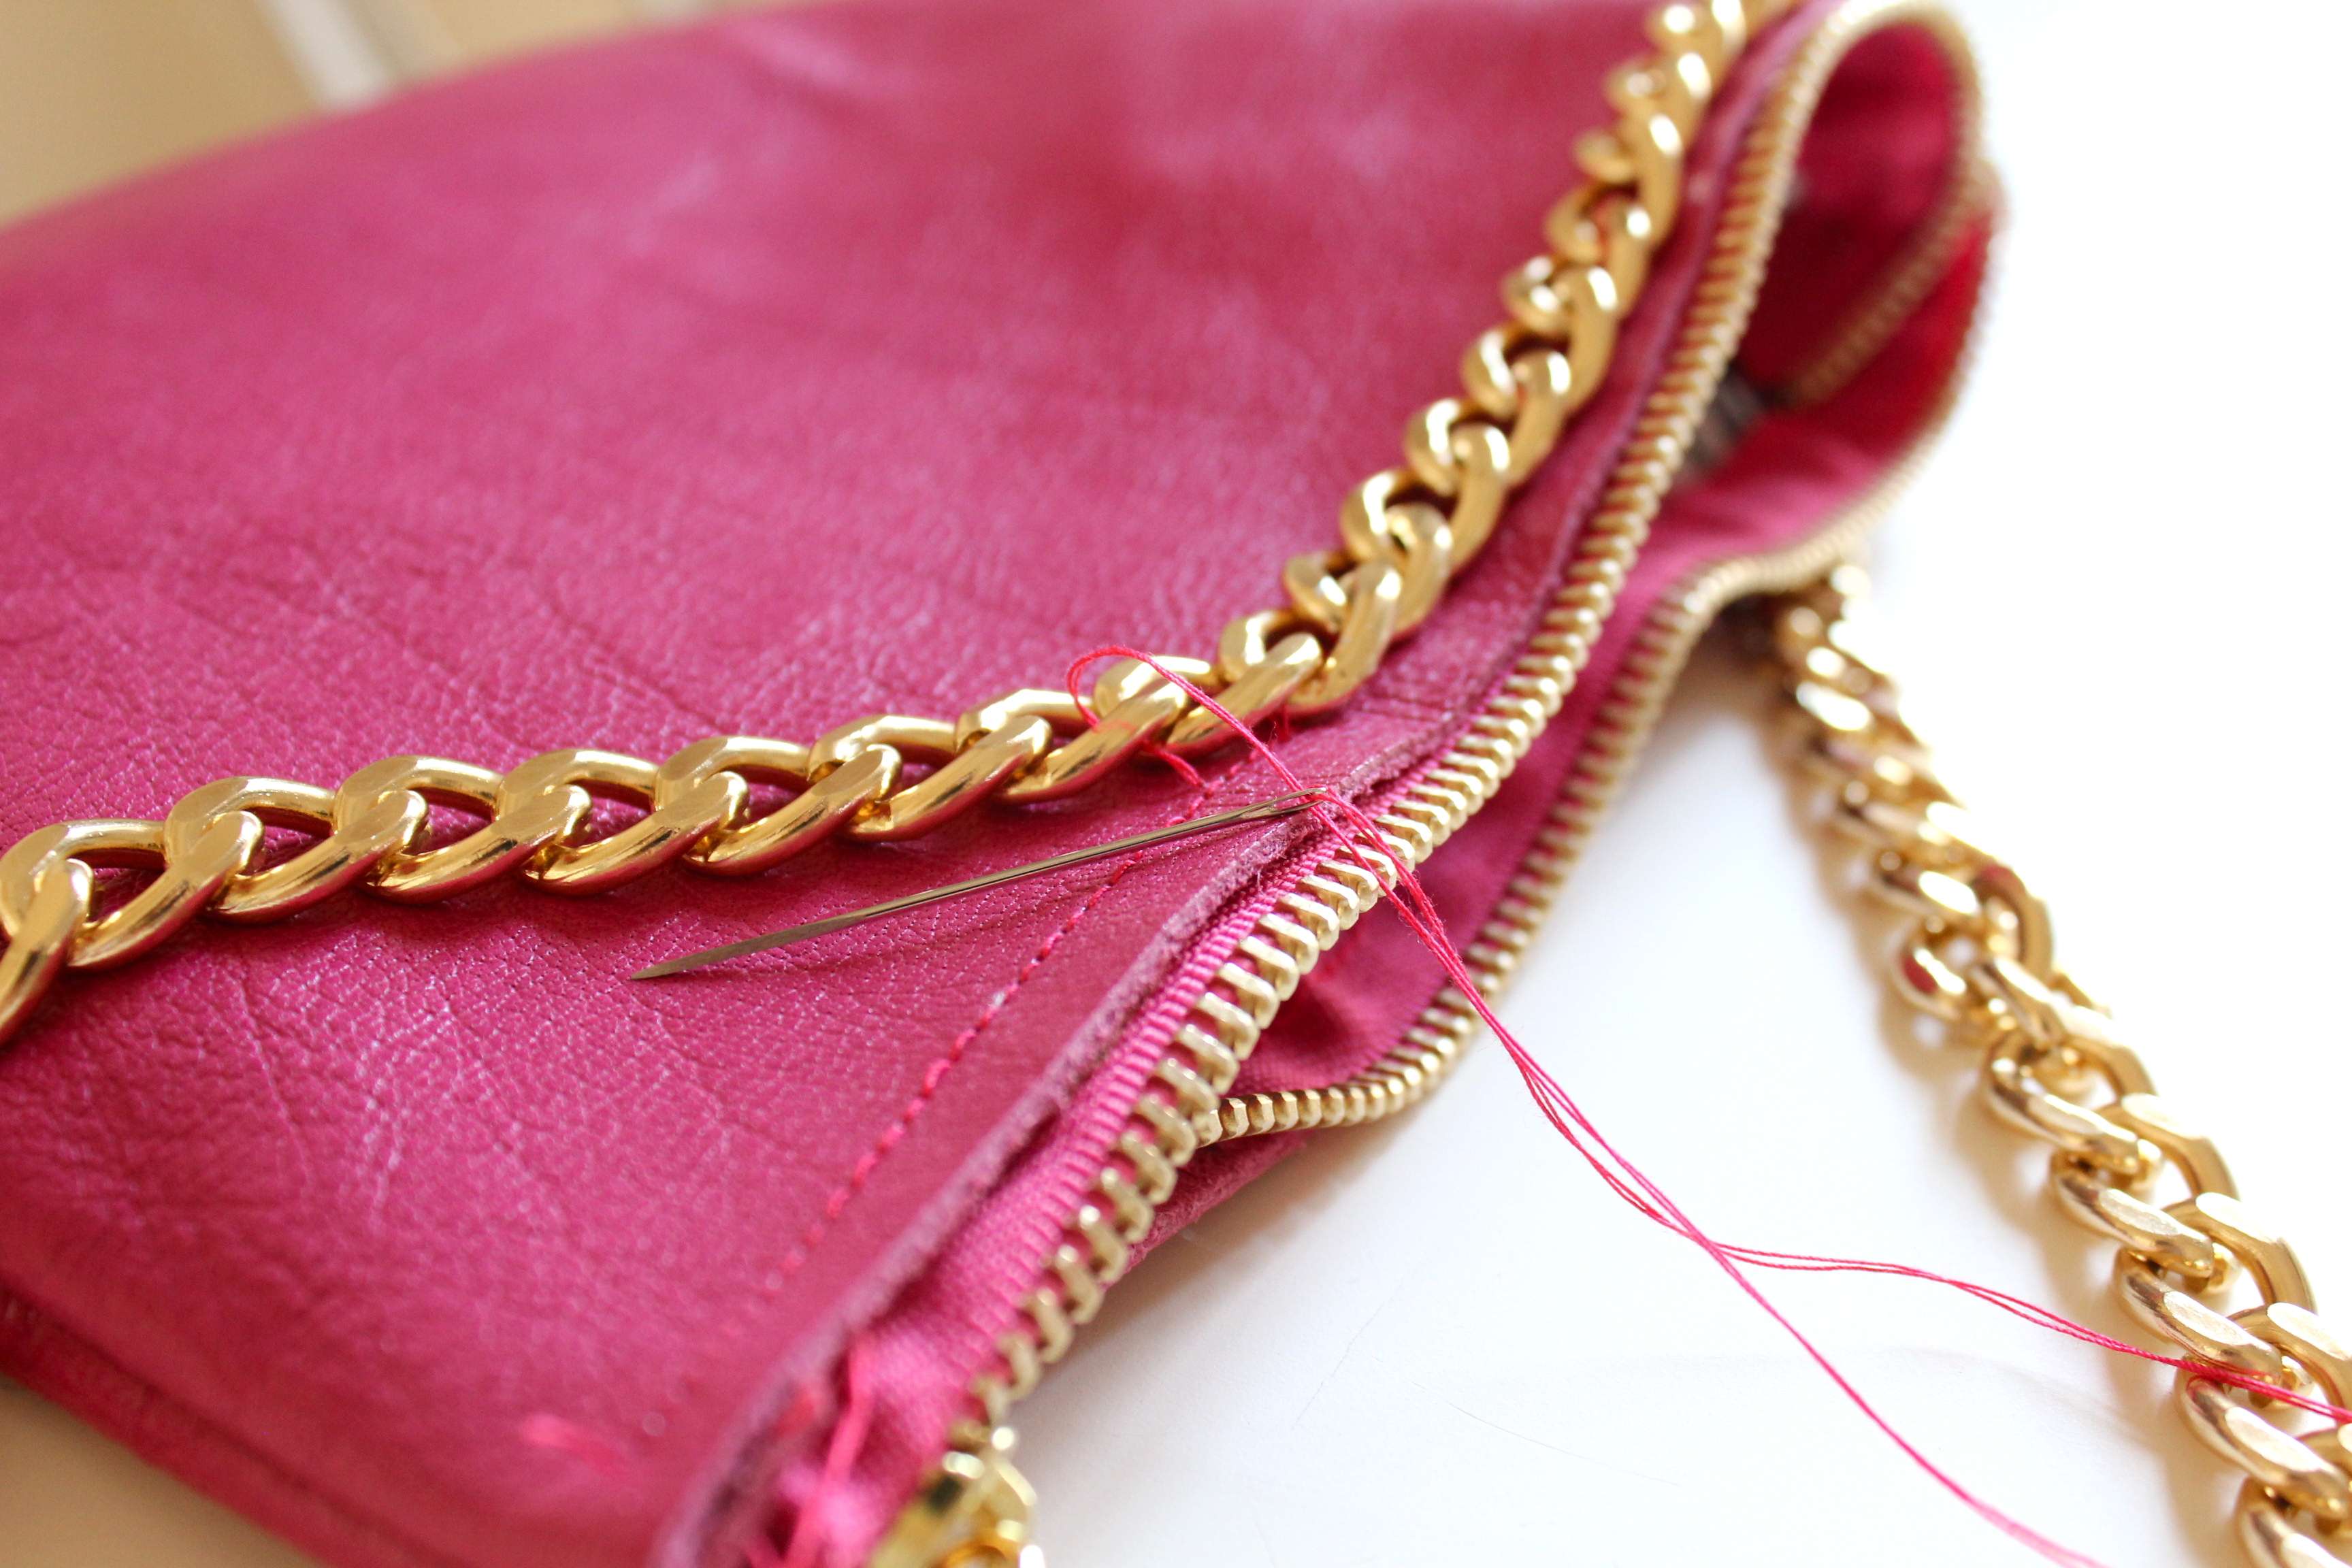
place your chain on the border ( where the seam is ) and using a leather needle swe the chain on the bag!
Once you’ve done this, put a little ring on the end of the bag, where you will put the hand for grabbing the bag!
—
3° FASE:
Bene, ecco l’ultimo passo! il pIù FACILE!
ponete la catena sul bordo della borsa ( dove si trova la cucitura ) e con un ago per pelle cucitelo!
Una volta fatto questo, prendete l’anellino e ponetelo alla fine della cucitura ella catena,per tenere uniti i due pezzi di catena, cioè dove poi porrete la mano per mantenere la borsa!
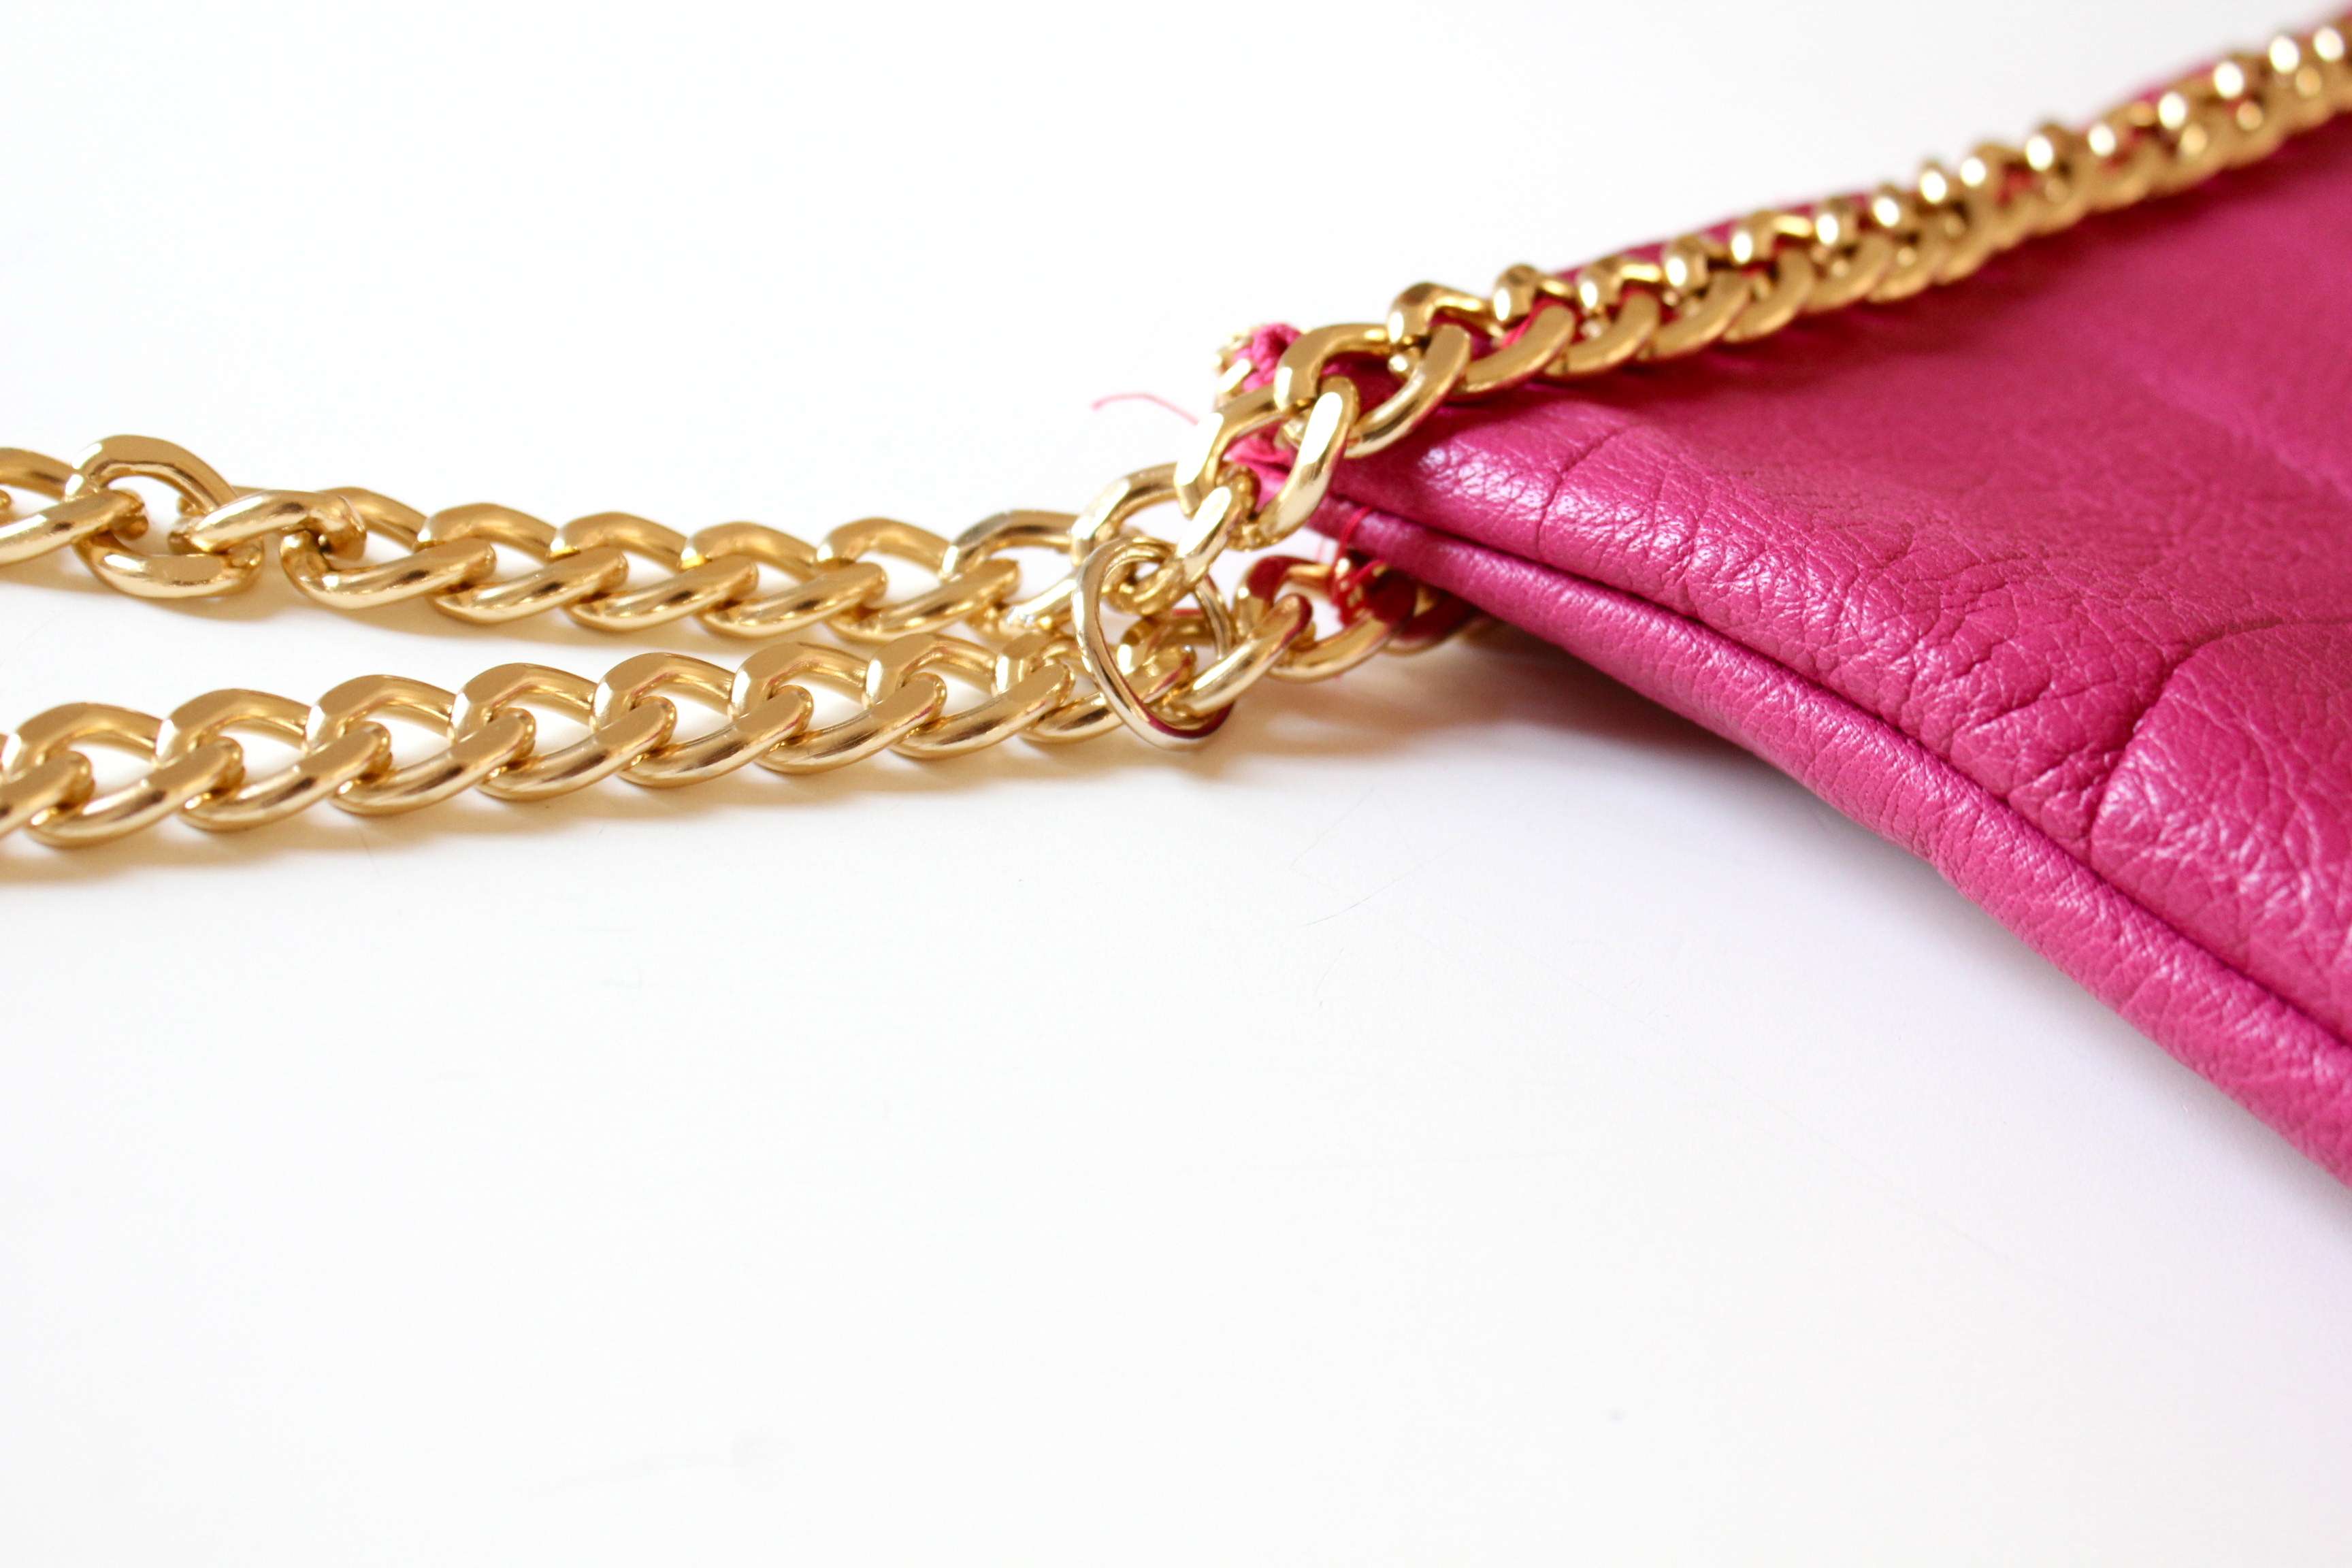
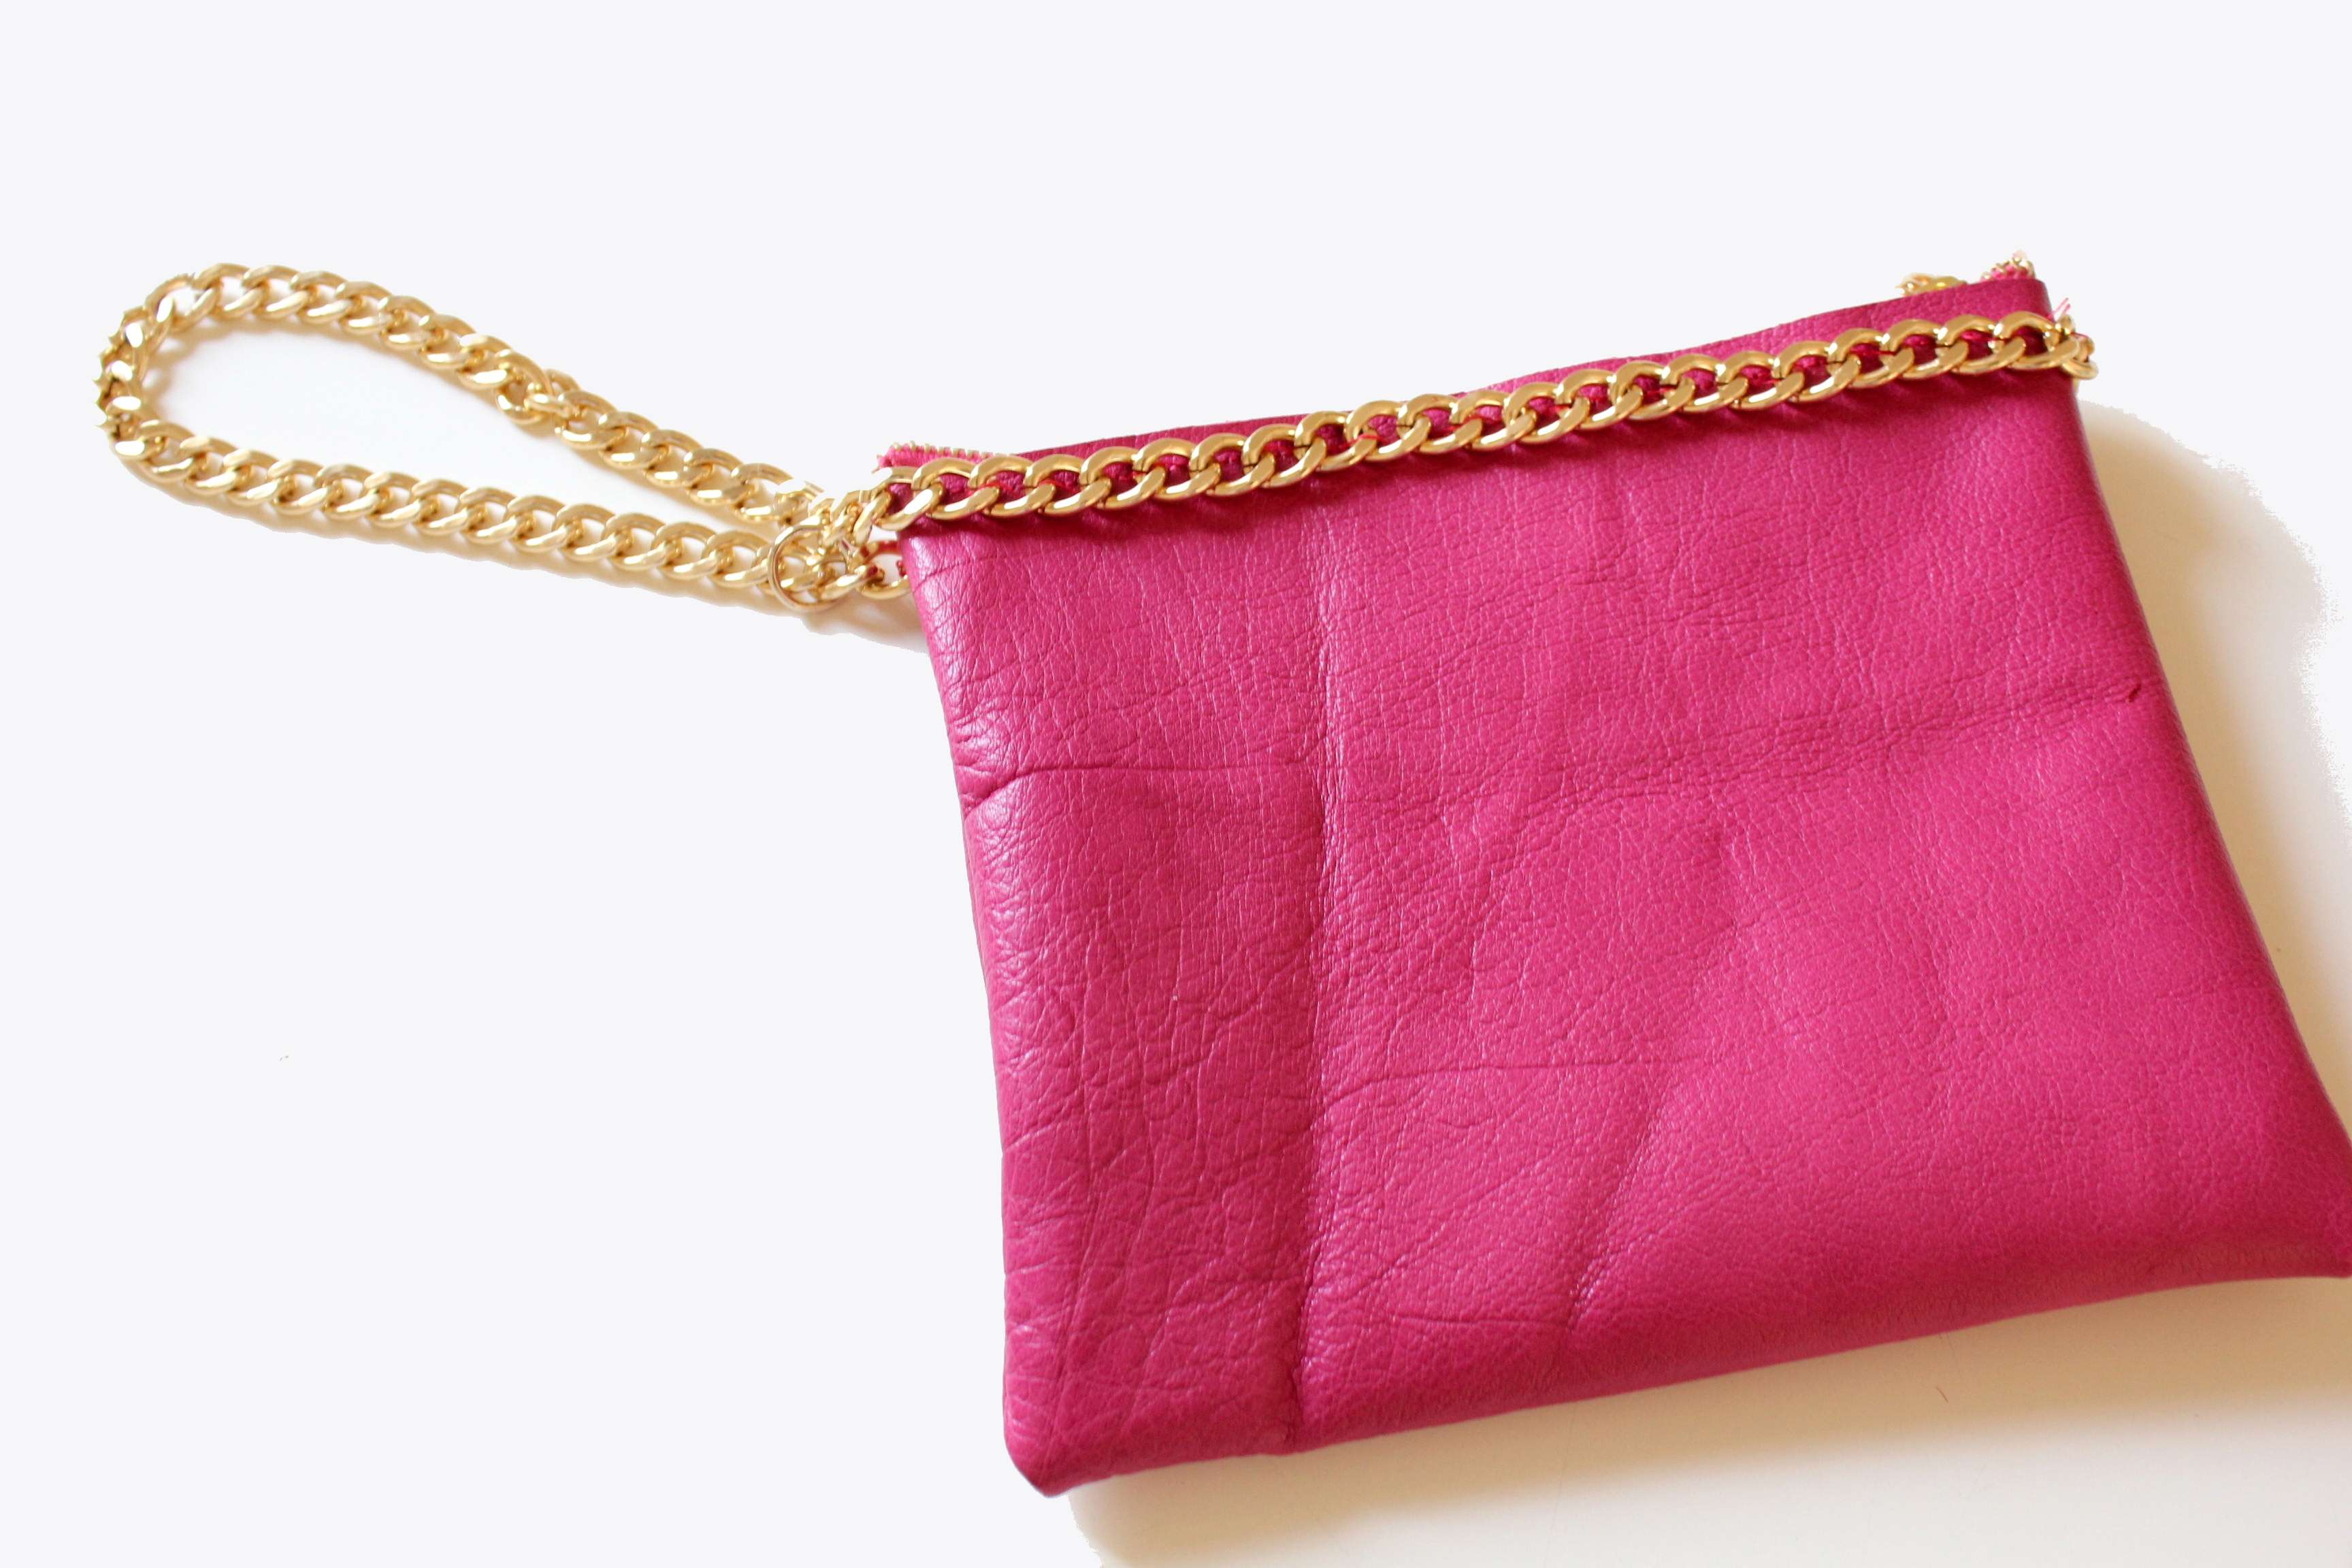
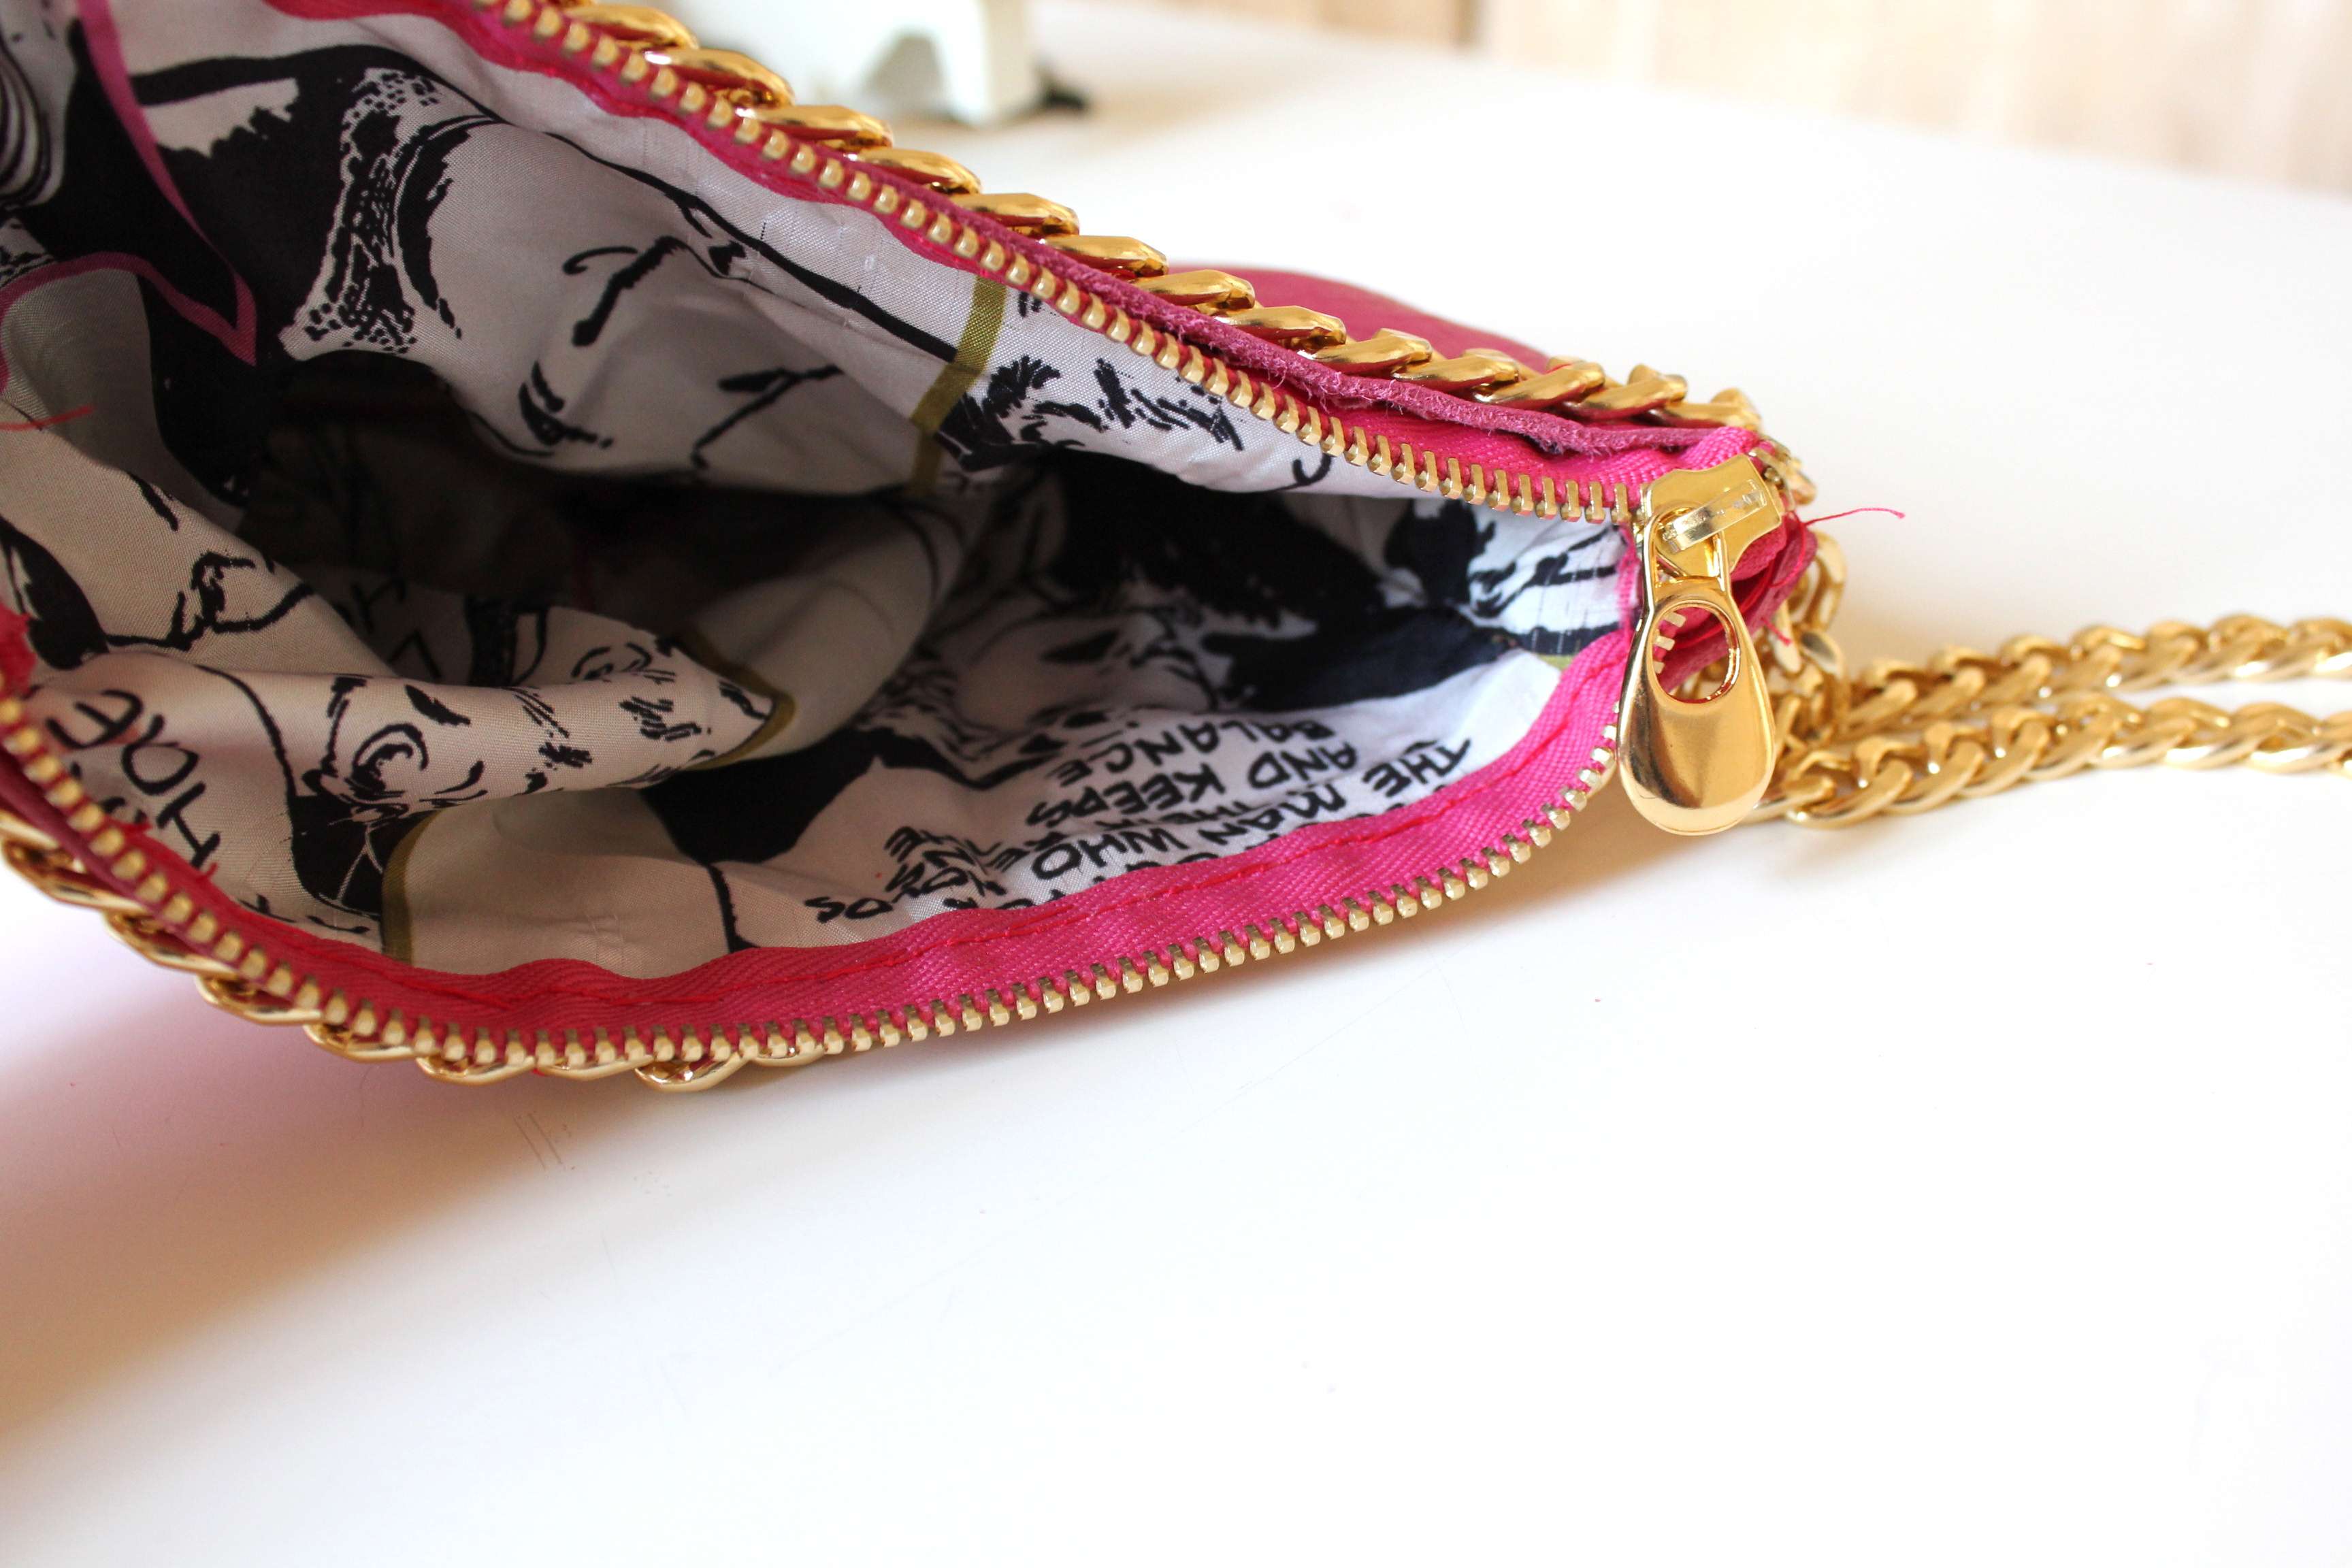
Here you can see the details of the bag done!
Qui di seguito potete vedere i dettagli della borsa finita!
and for the laziest ones I opened my DIY SHOP!
I’ll wait for you there!
e per i più pigri, ho aperto il mio DIY SHOP!
Vi aspetto lì!


Rossella - Fashion, not victim!
19/07/2011non so se sarò mai capace di farne una da sola XD
però questo tutorial è davvero molto utile!
xoxo
Neifile
19/07/2011Non ci riuscirò mai, sei troppo brava, mi piace anche un sacco quella borsa (Magari però nera)!
Bellissimo post, come sempre, mia cara :)
http://www.neifilef.blogspot.com
Rossella - Fashion, not victim!
19/07/2011ciaooo c’è un premio x te! passa!
xoxo
Chiara Lanero
21/07/2011La pochette che mi hai regalato *___* <3
Meravigliosa!
E ovviamente tutorial perfetto!!
Books in my bags
fidyabeauty.com
24/07/2011Voglio provarci! Sono una frana, ma voglio provarci, utilissimo!