

Here we are to my very first DIY tutorial!
As seen that my DIY bag ( that you’ve already seen HERE ) had a great success, I wanted to explain how to do it!
It was the first time I made a bag by myself so it took a lot of time to me ( half a day ), but I’m sure that the next time it will be easier/faster and so for you!
I even wanted to do it with special details so, it was a little bit more difficult to do!
So let’s start!
—
Eccoci al mio primissimo DIY tutorial!
Giacchè la mia borsa DIY ( che avete visto QUI ) ha fatto scalpore, ho deciso di spiegare anche a tutti voi come farla!
Devo tuttavia specificare , che visto che era la prima volta che ne facessi una, ci ho messo davvero un sacco di tempo ( mezza giornata ), ma sono sicura che la prossima volta sarà molto più facile/veloce da fare e così anche per voi che avrete le mie istruzioni!
Inoltre l’ho voluta fare ricca di dettagli, cosa che ha reso l’impresa appena appena più ardua!
Ma ora cominciamo!
—
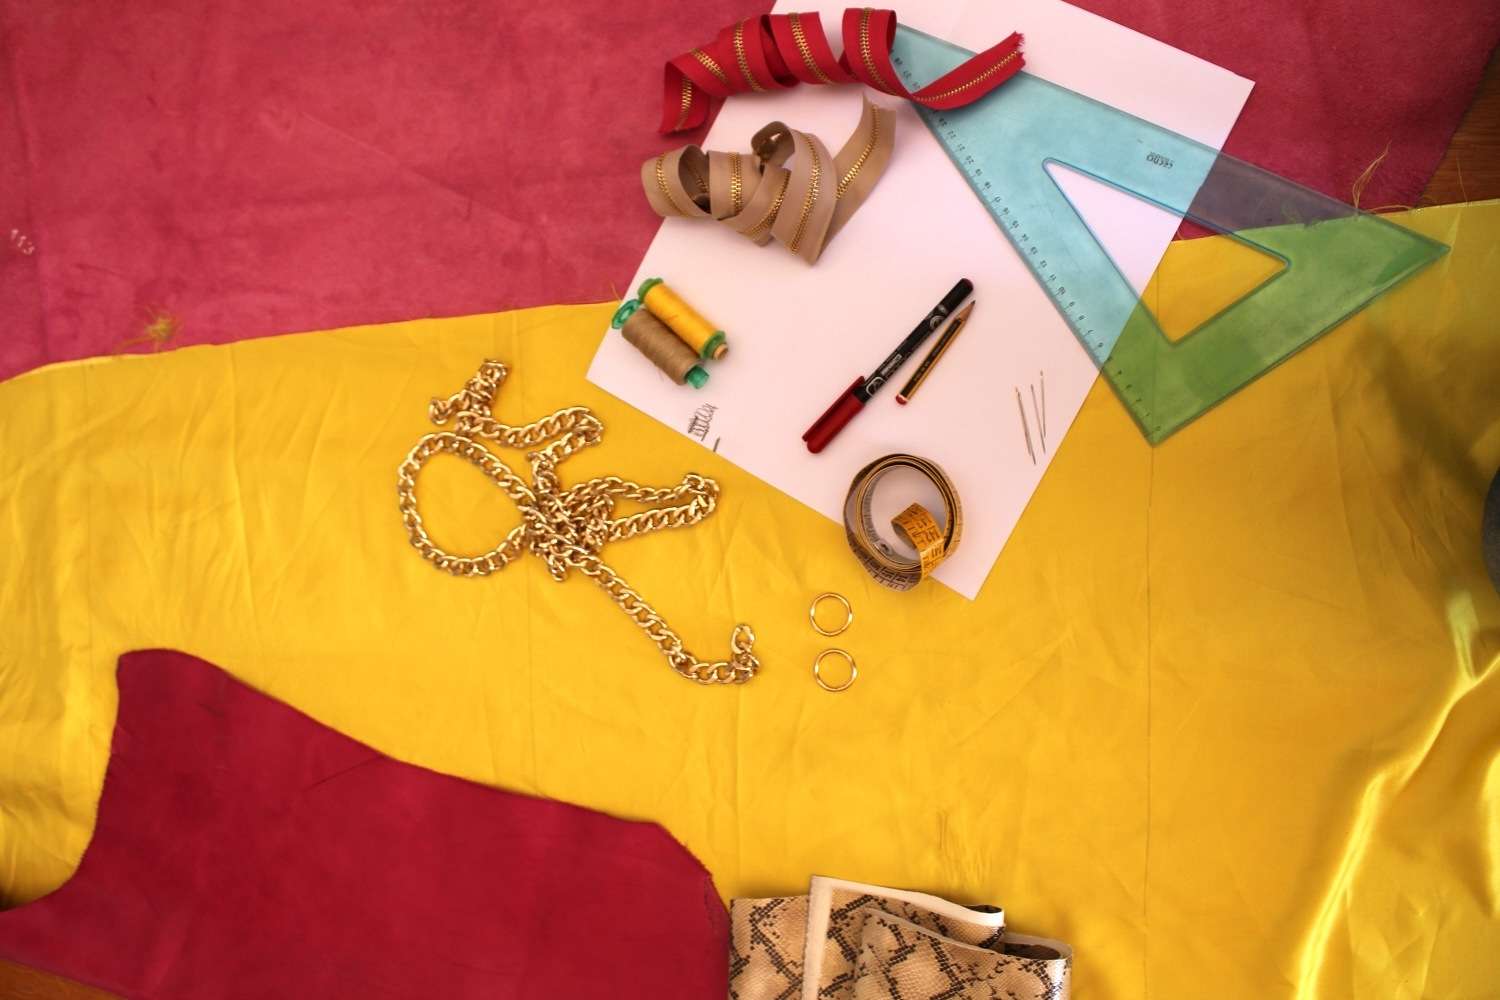
WHAT YOU NEED:
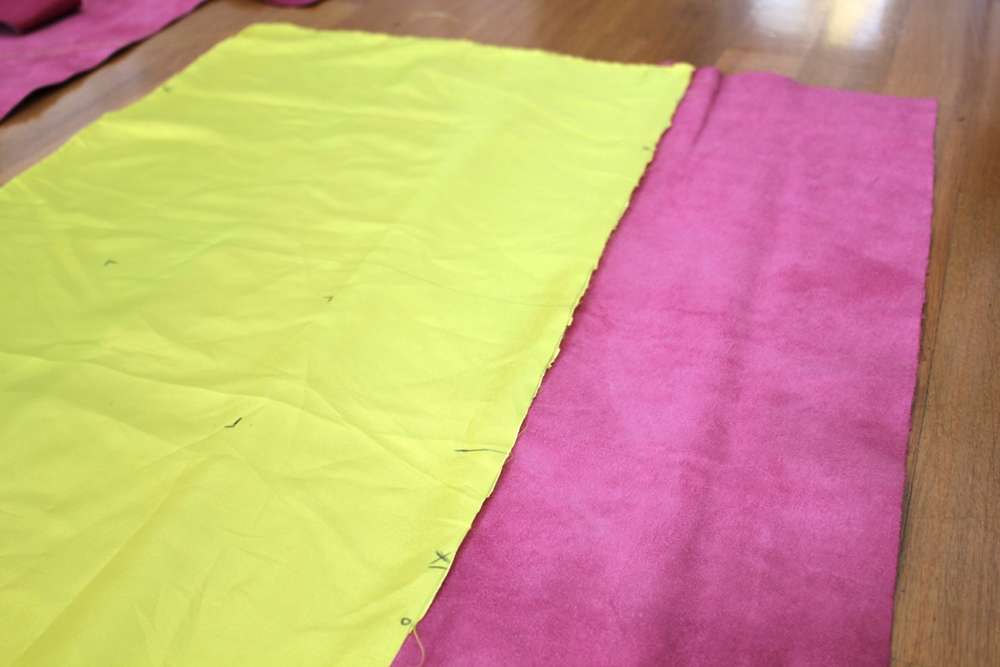
- a big piece of LEATHER ( the color you like );
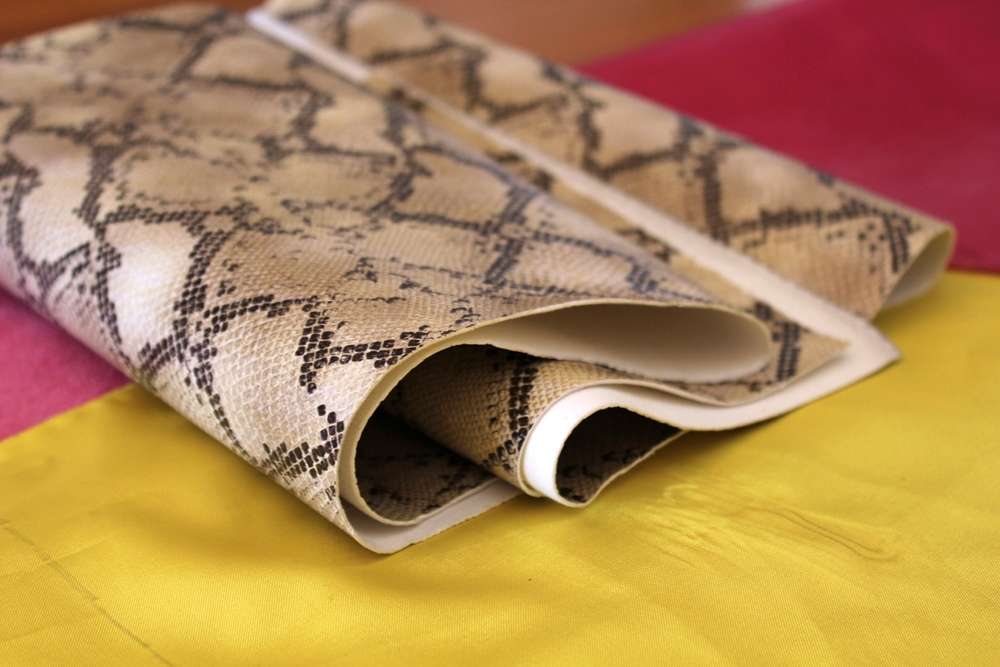
- a piece of LEATHER or faux leather ( I choose a python one ) of another color;
- a piece of SATIN in the color you like;
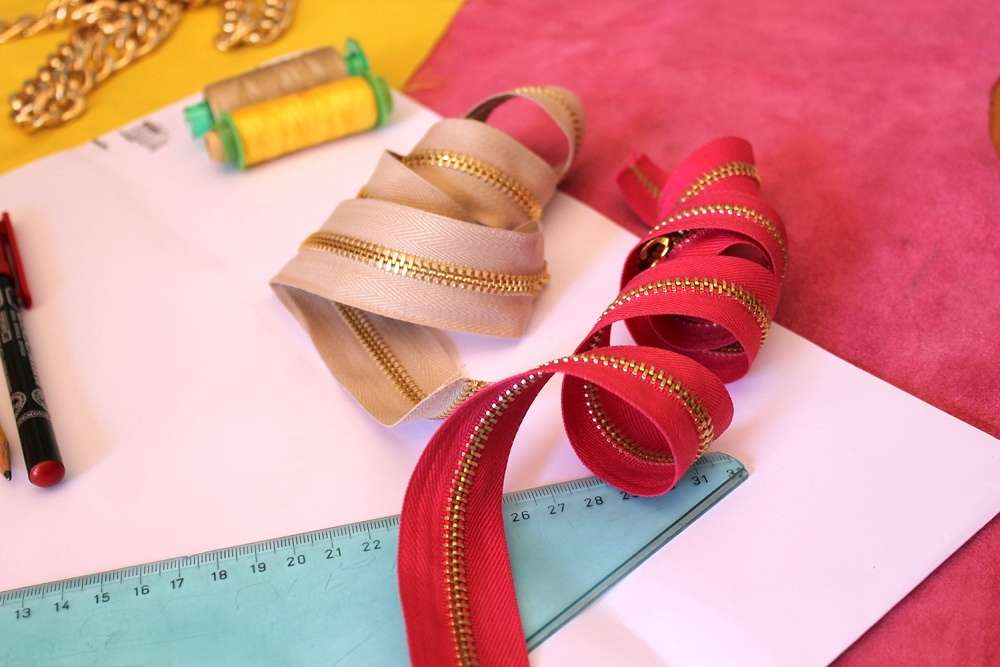
- ZIP of the color you choose the leather;
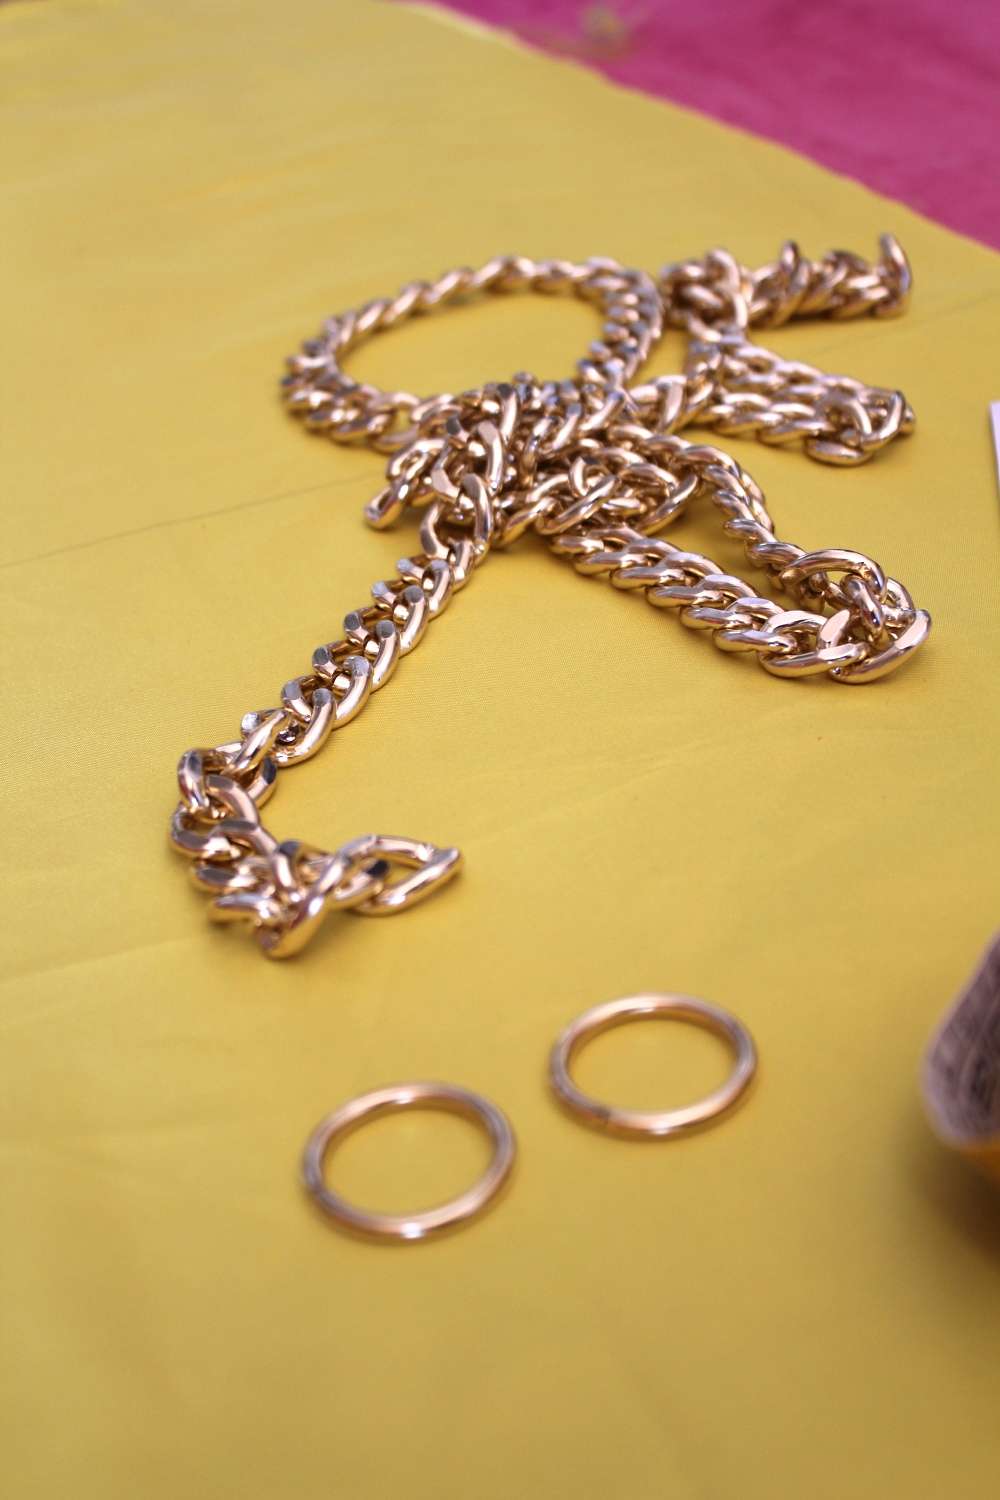
- a CHAIN the measure you like;
- two RINGS;
- THREAD;
- leather NEEDLS;
- a PENCIL;
- a piece of PAPER;
- a RULER;
- a TAPE MEASURE.
CHE COSA VI OCCORRE:
- un pezzo grande di PELLE;
- un pezzo di PELLE più piccolo di un altro colore o fantasia ( io l’ho scelto pitonato );
- un pezzo di RASO molto spesso;
- delle ZIP dei colori di cui avete scelto la pelle;
- una CATENA nella misura che più vi piace;
- due ANELLINI;
- COTONE;
- AGHI per la PELLE;
- una MATITA;
- un pezzo di CARTA ( meglio ancora il cartoncino );
- una SQUADRETTA;
- un METRO da sarto.
1st STEP
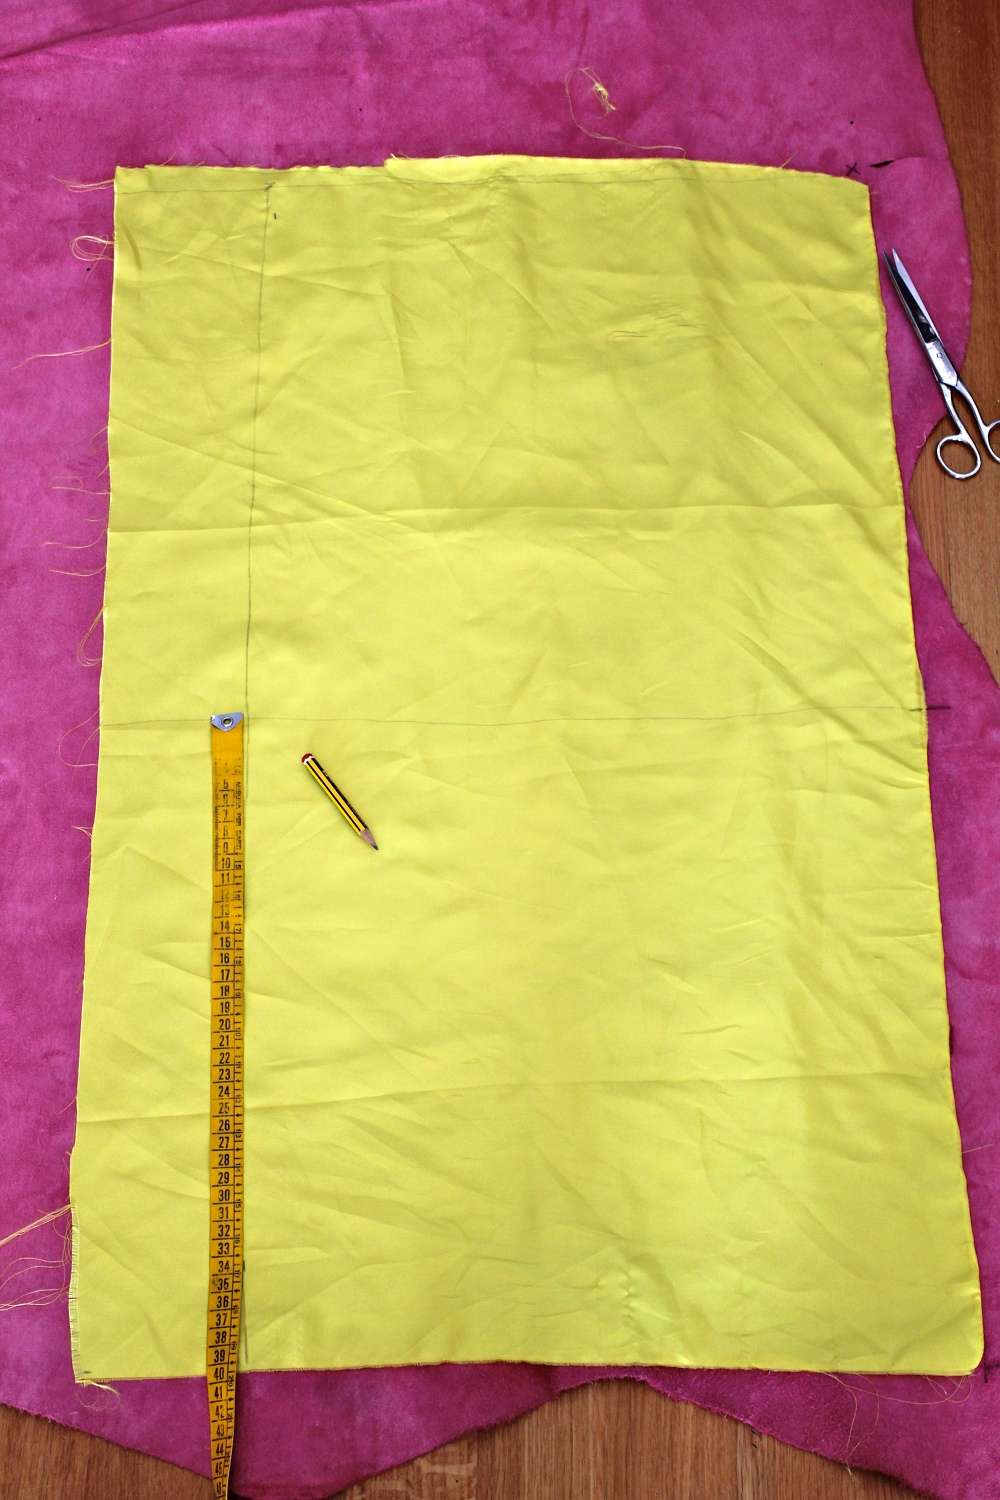
Helping yourselves with a shit of paper, A3, decide the measures of the bag.
Remember to save 2cm per side because you will have to sew it!
I used these measures:
40×40 cm – bag
—
1° FASE
Aiutandovi con un cartoncino A3 stabilite le misure della vostra borsa! Ricordate di considerare almeno un paio di cm per lato per via delle cuciture!
Io ho usato queste dimensioni :
40×40 cm – borsa
15×20 cm – il taschino interno
17cm l’altezza a cui piegare la borsa misurandoli partendo dalla parte superiore della borsa!
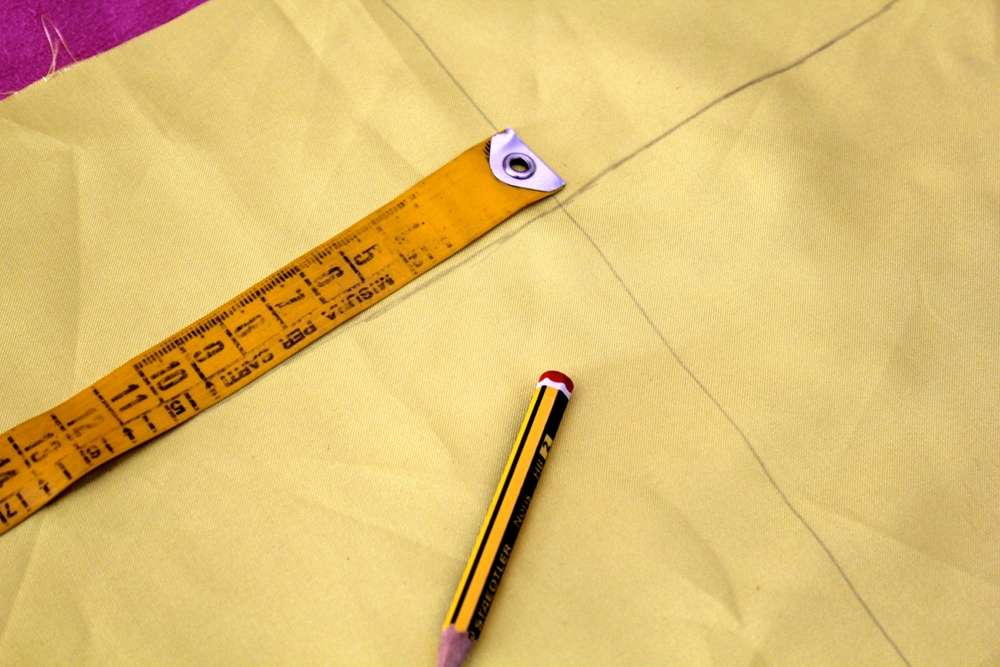
Draw with you pencil the lines you will follow for the cut!
Disegnate con la matita le linee da seguire per il taglio!
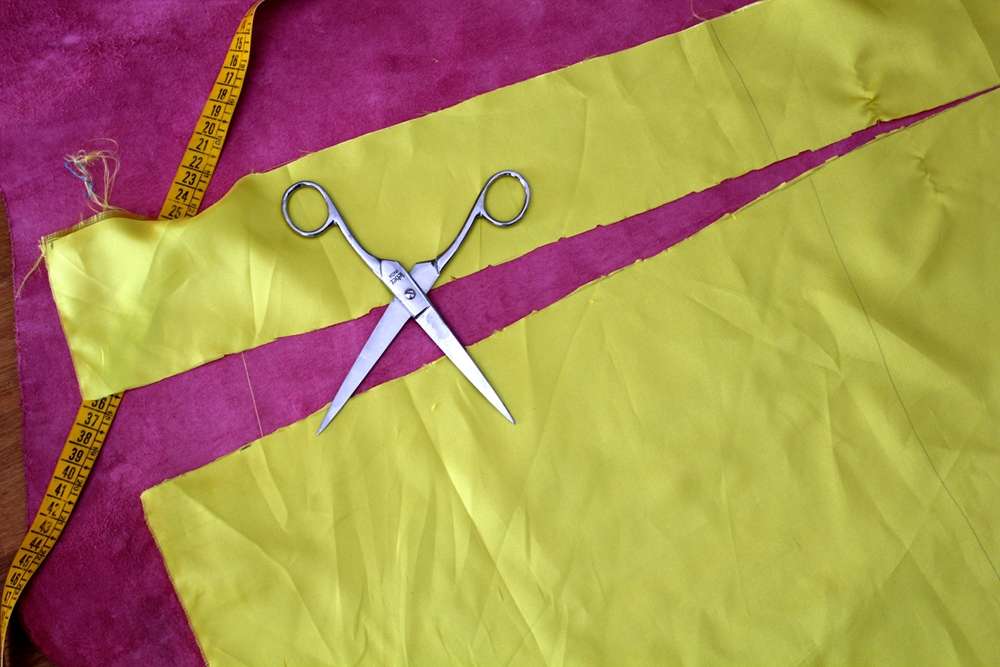
Cut!
Tagliate!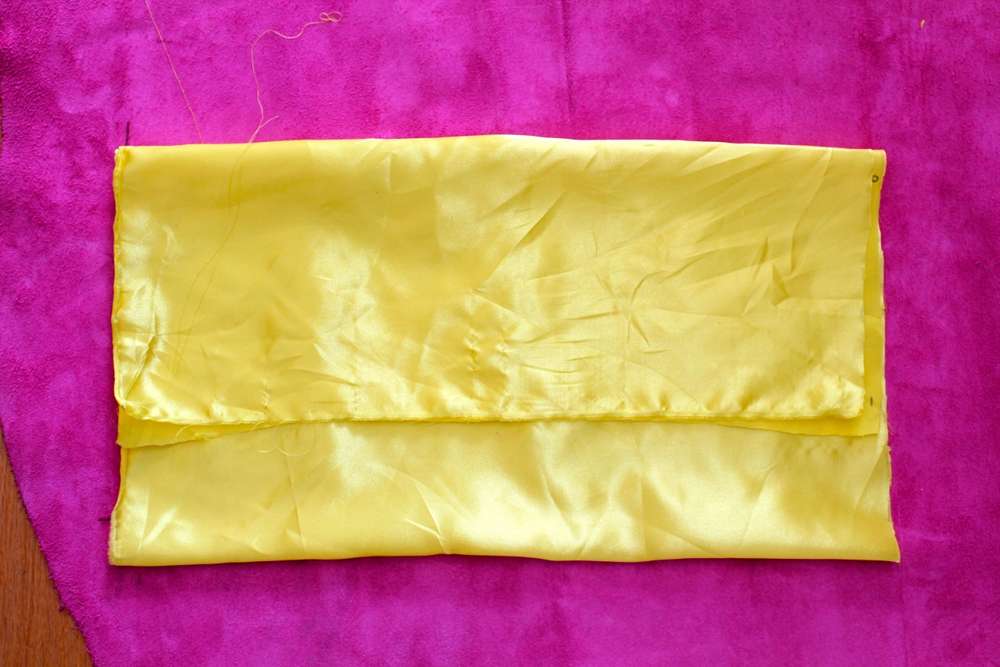
This is how your bag will look like!
Questa è una prima bozza di come sarà la vostra borsa!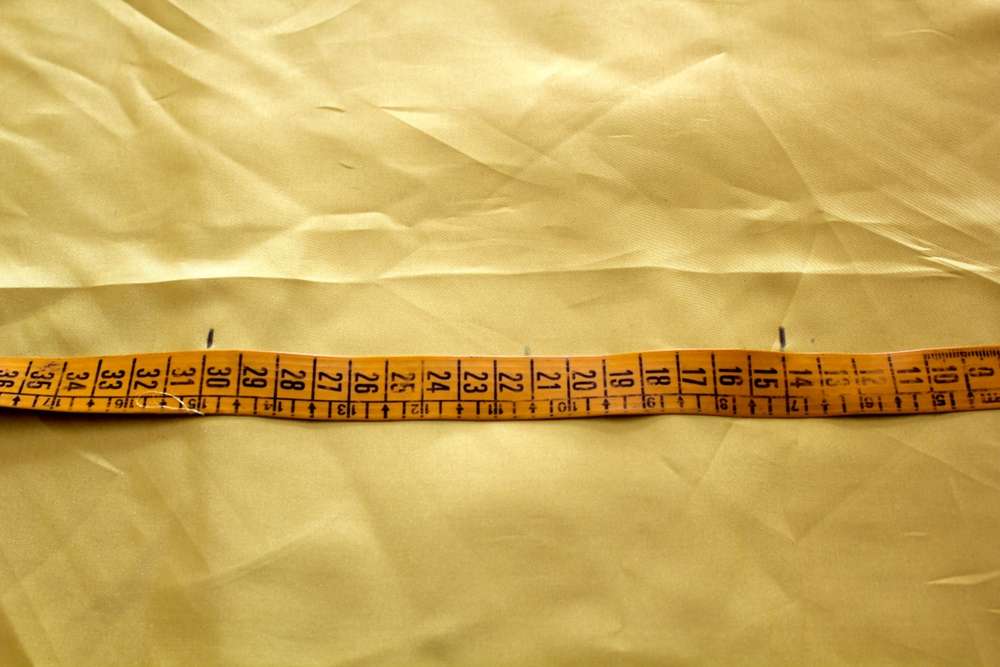
Decide where your inside task will be placed!
Obviously you will have to put it in the part of your bag that won’t be up-down, so above, in the middle!
—
Stabilite all’interno della fodera a che altezza andrà il taschino!
ovviamente vi conviene metterlo nella metà della borsa che non verrà capovolta, quindi sotto, più o meno centrata!
–
use your ruler!
aiutatevi con la squadretta!
Cut it!
Tagliate!
This is where the task will be placed.
Il taschino andrà posto in questi quattro punti.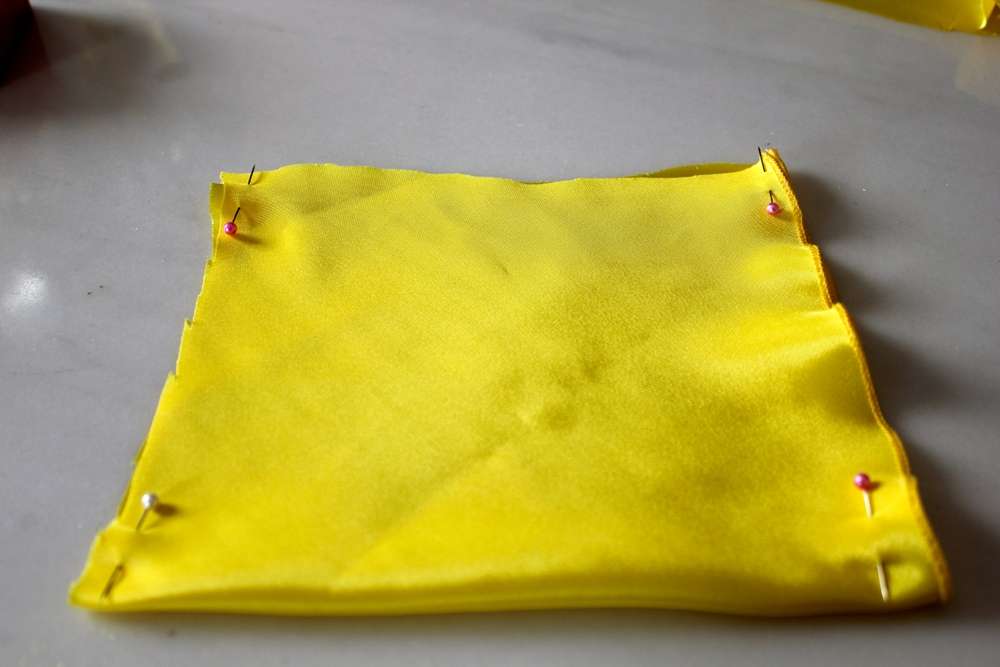
Cut a piece of satin ( 30cm height ) and put some needles where to fix it.
tagliate un pezzo di raso ( 30cm di altezza ) e ponete degli spilli alle estremità per fissarlo.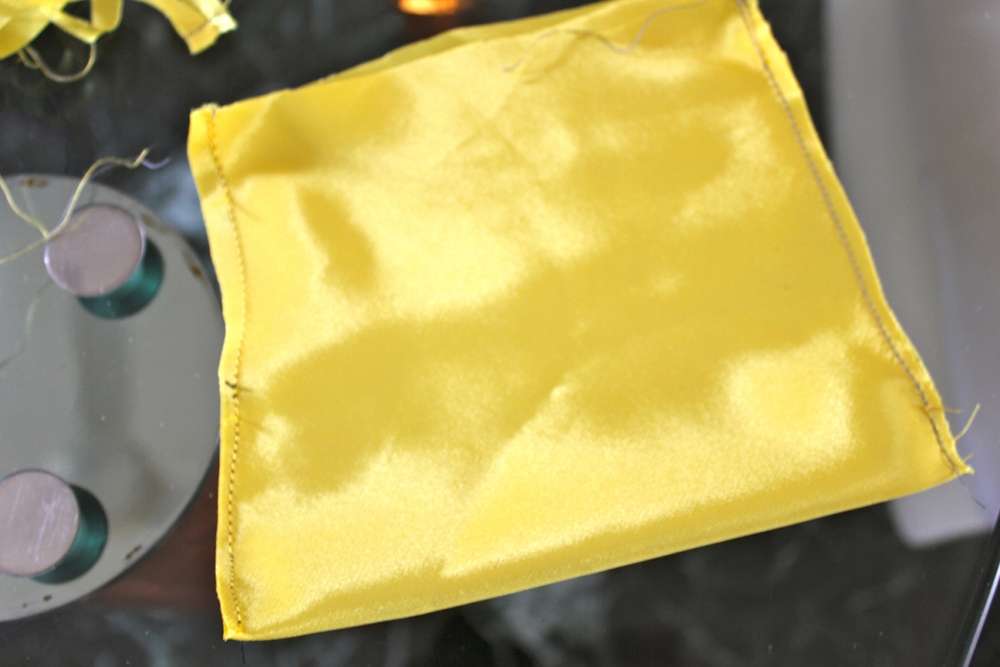
Sew both the sides ( I used my mom’s sewing machine ).
Cucite entrambi i lati ( io ho usato la macchina da cucire di mia madre ).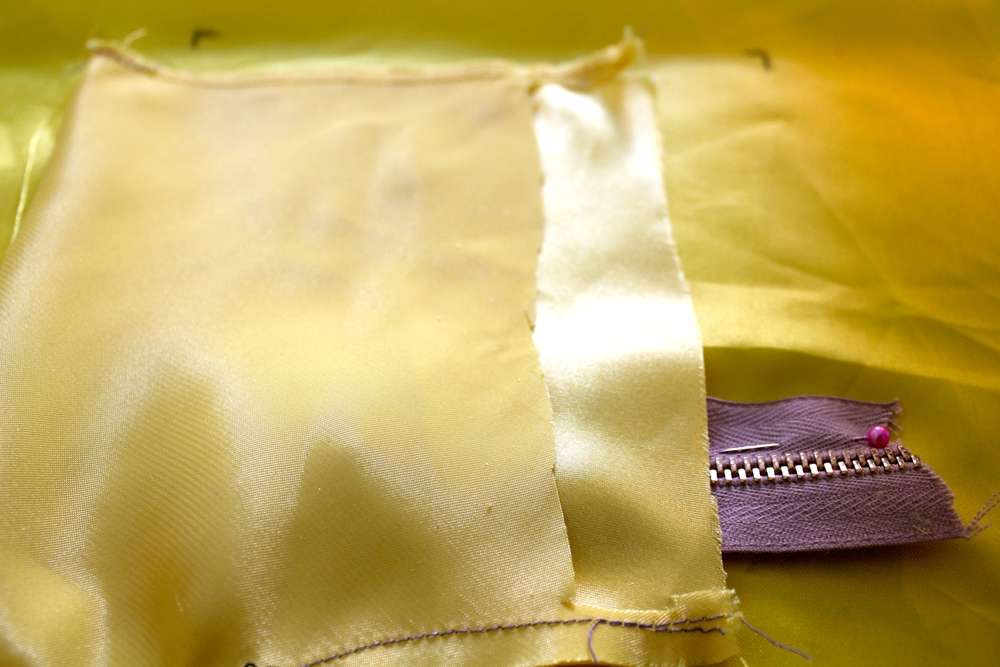
Cut a piece of the task, you will need it for sewing the zip!
Tagliate una piccola parte della tasca perchè sarà lo spazio necessario per poter cucire la zip!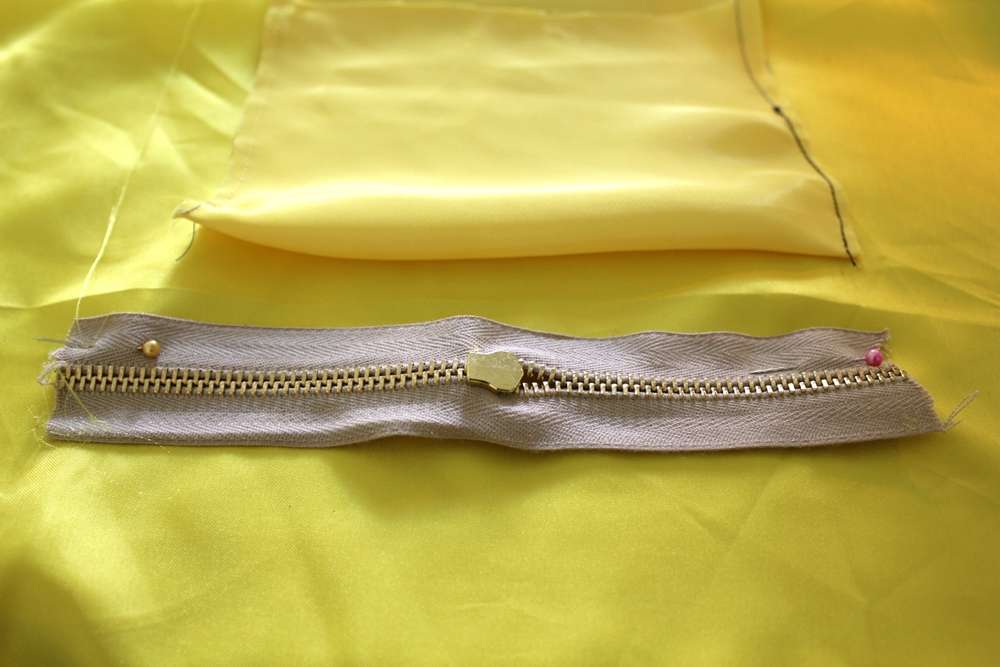
Put the zip where you will have the task helping youserlves with some needles!
Cut the satin where you will have the opening of the zip!
Put the task on the back, and sew it all!
–
Fissate la zip nel punto in cui deve andare il taschino aiutandovi con degli spilli!
Tagliate quindi il tessuto dove andrà l’apertura della zip!
posizionate sul retro anche il taschino e infine cucite tutto!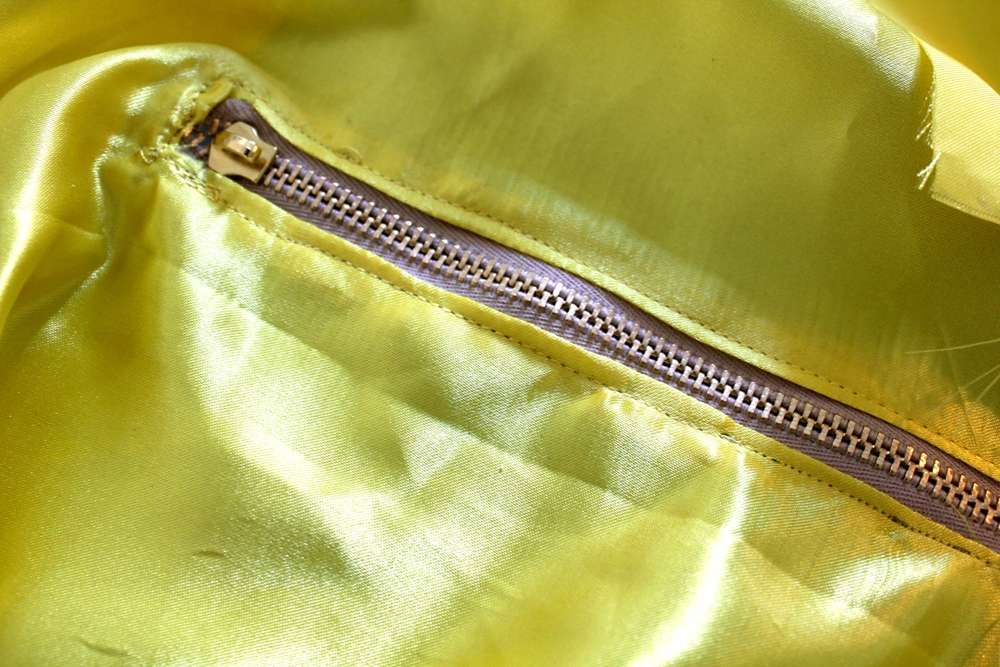
It will look like this!
Sarà più o meno così!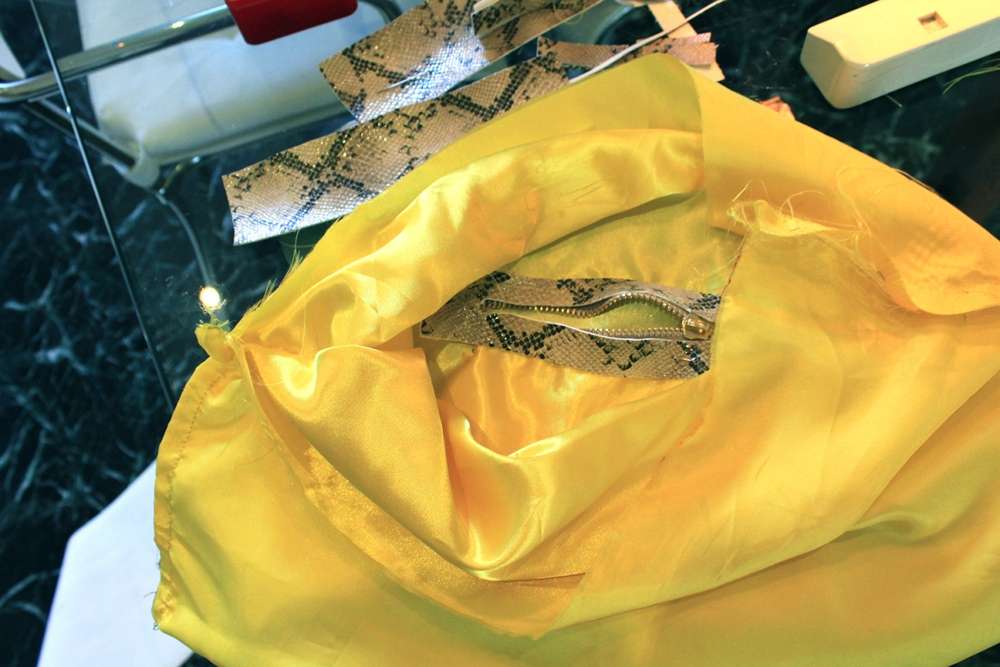
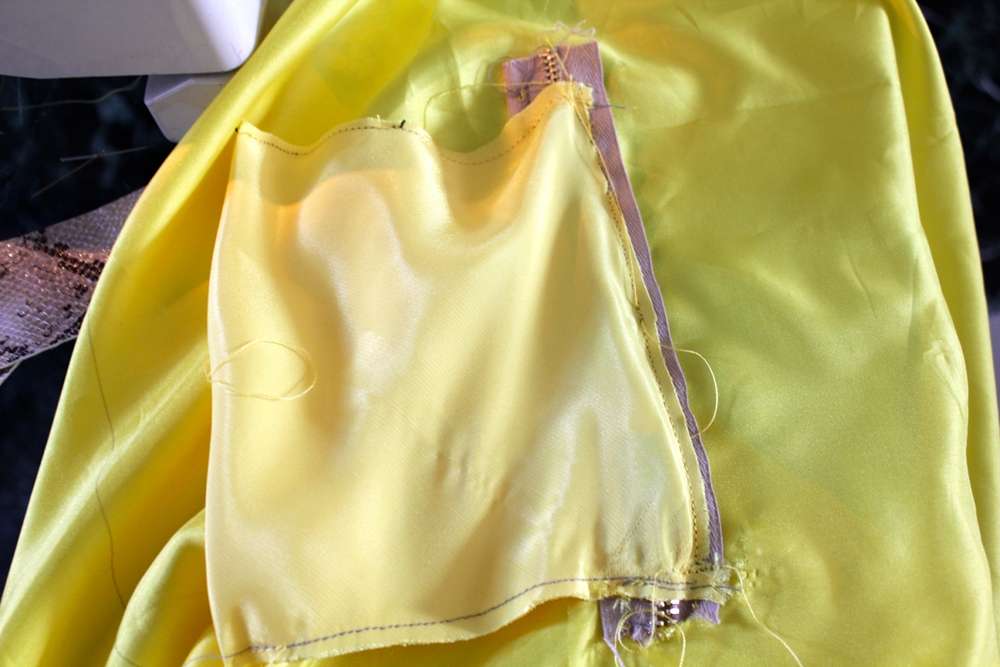
Cut a piece of leather ( I used the python one for the details ) and fix it on the zip.
Then sew both the sides of the satin lining!
Tagliate un pezzettino di pelle ( io ho usato quella pitonata per i dettagli ) e fissatela dove avete cucito la zip!
Quindi cucite i due lati della fodera di raso!
–

Before you will sew both the sides of leather ( only the leather ), pick two pieces of the leather you’ve chosen for the details, fold’em, sew them in the middle and than place the ring for the chain, and then put them, as they will come outside the bag, where you will fold your bag!
So sew it!
–
Prima di cuire i due lati della pelle a rovescio ( solo la pelle ), prendete due striscioline della pelle che avete scelto per i dettagli, piegatele a doppio , fate una cucitura centrale, inserite un anellino di metallo ( che vi occorrerà per fissare la catena ) e posizionateli, in modo che vengano all’esterno, esattamente dove vorrete che si pieghi la vostra borsa!
Quindi cucite!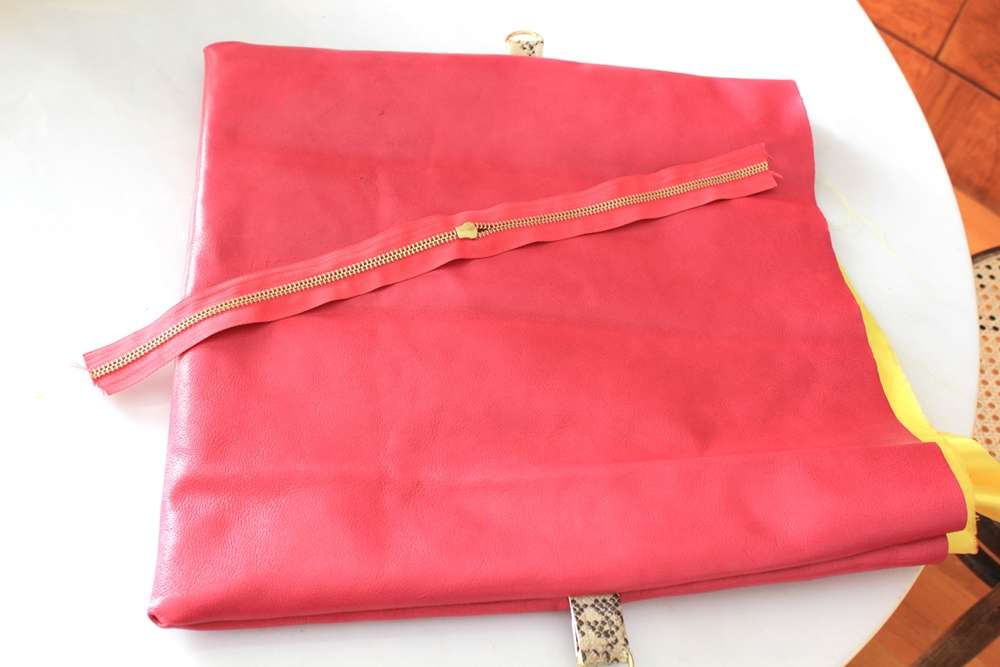
turn your bag and it will appear like this!
rigirate la borsa e vi apparirà così!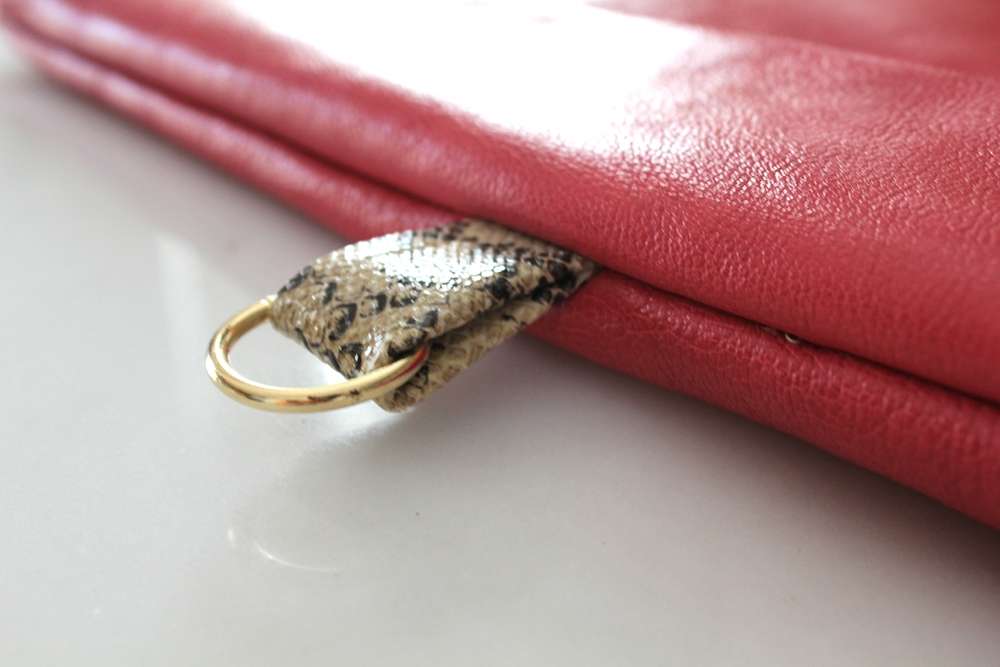
Place the satin lining you sewed into the bag!
Ponete all’interno ella borsa la fodera di raso che avete precedentemente cucito!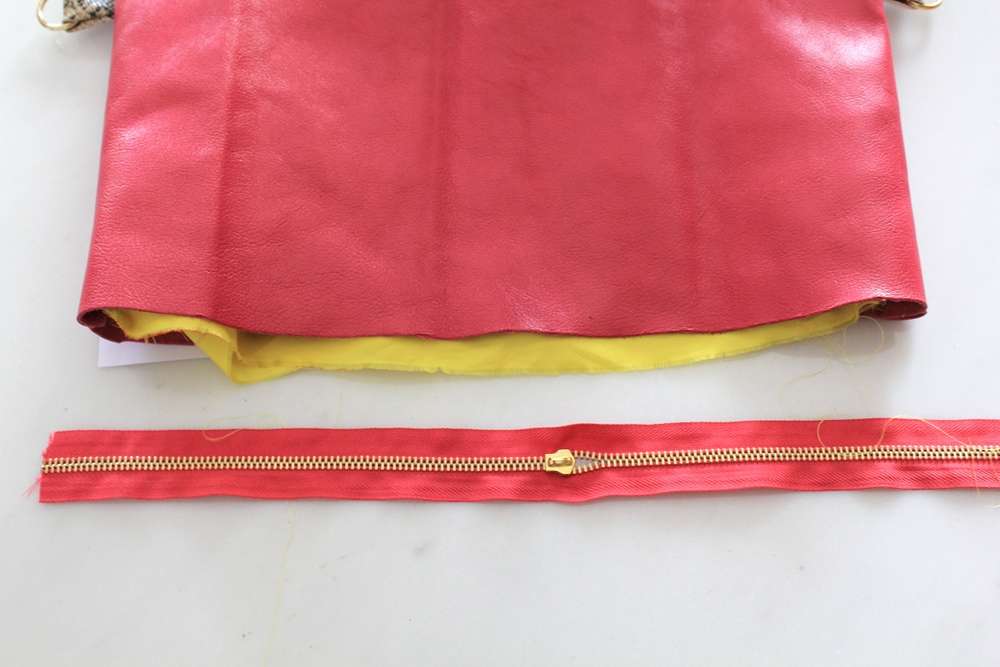
Open the zip and place it on the border of the bag, taking together even the lining, helping yourself with some needles!
Aprite la zip e ponetela sul bordo della borsa, tenendo unito anche la fodera, aiutandovi con degli spilli!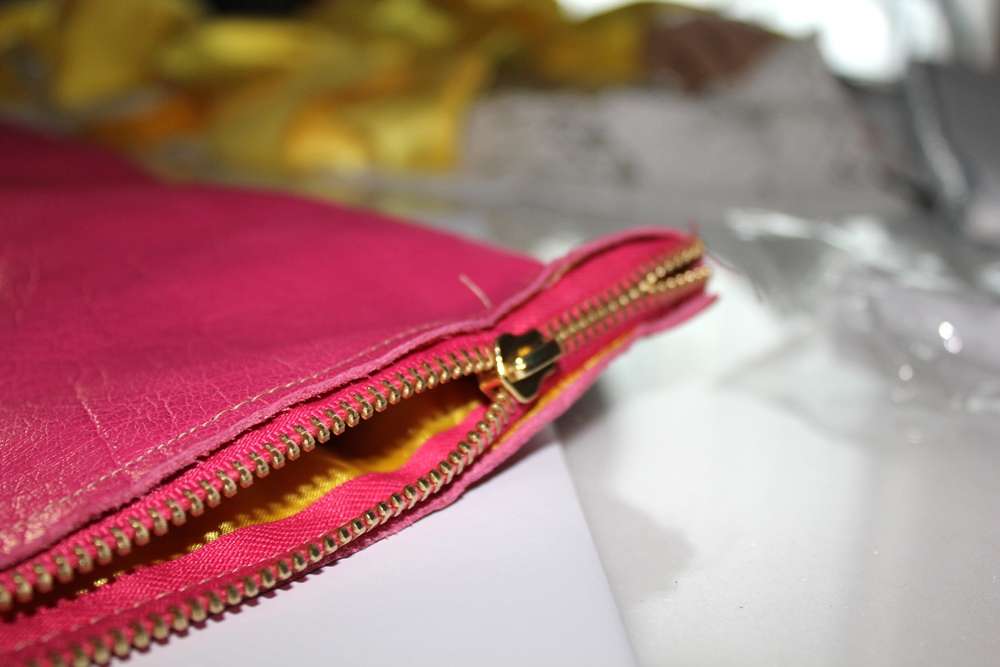
SEW IT!
CUCITE!
–

Cut a piece of leather of the same lenght of your chain! Fold it and sew it in the middle!
Then put the leather into the chain! Leave some leather out of your chain at the borders because you will fix it sewing it!
–
Tagliate un pezzo di pelle della stessa lunghezza della vostra catena! Piegatela in due e cucitela al centro!
Infine fate passare la pelle all’interno della catena! Lasciate giusto un pò di pelle all’esterno della catena alle due estremità poichè dovrete cucirla su se stessa per poterla fissare!
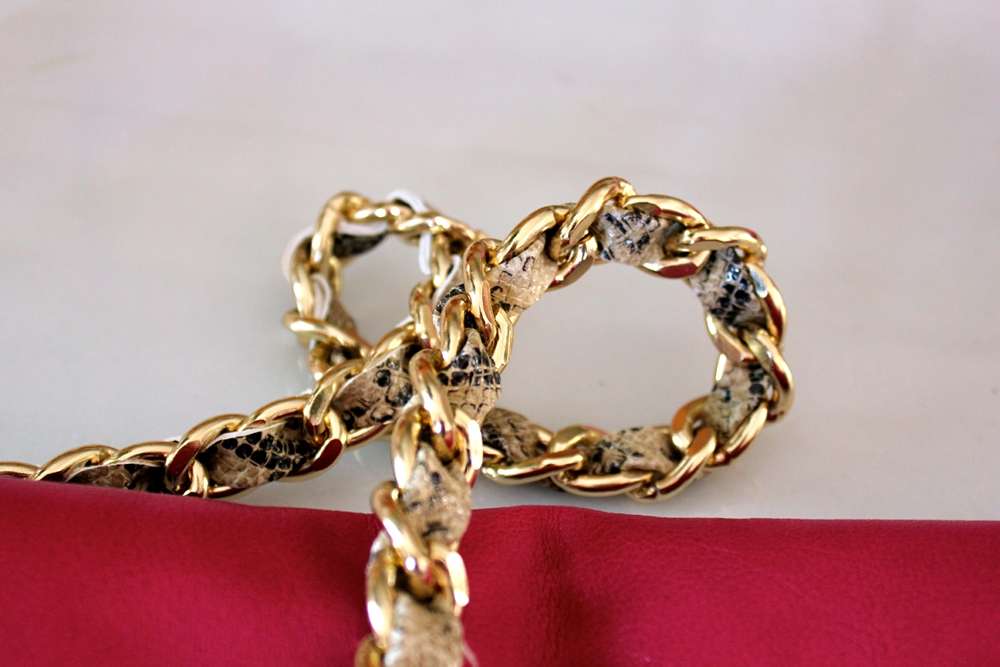

Helping yourself with some pins put the chain into the ring!
Aiutandovi con delle pinze, fate entrare l’estremità della catena all’interno dell’anellino.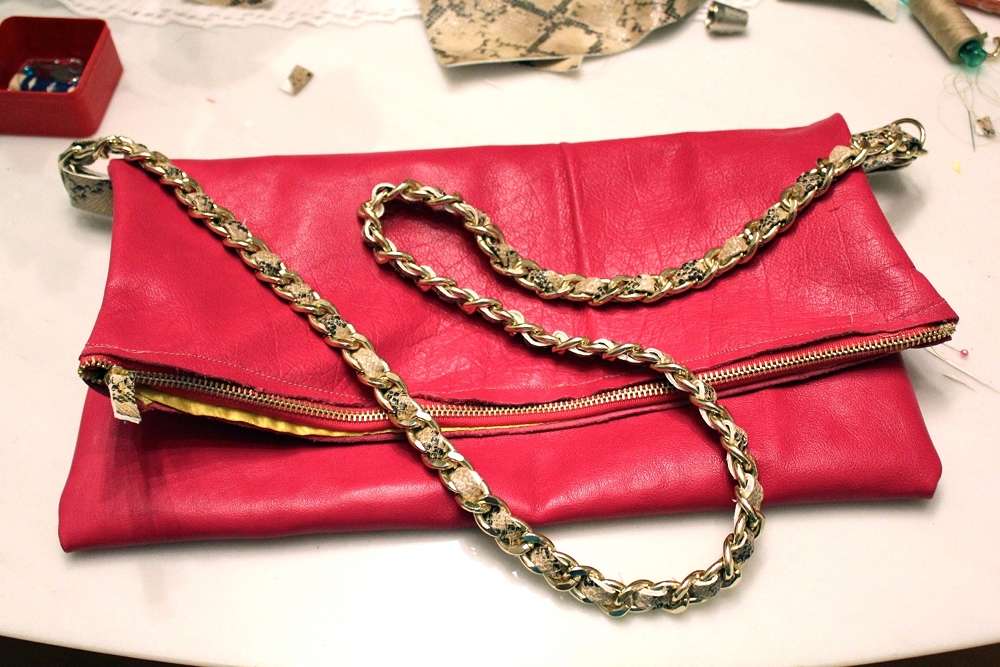
Only one step is left!
ma manca un ultimo passaggio!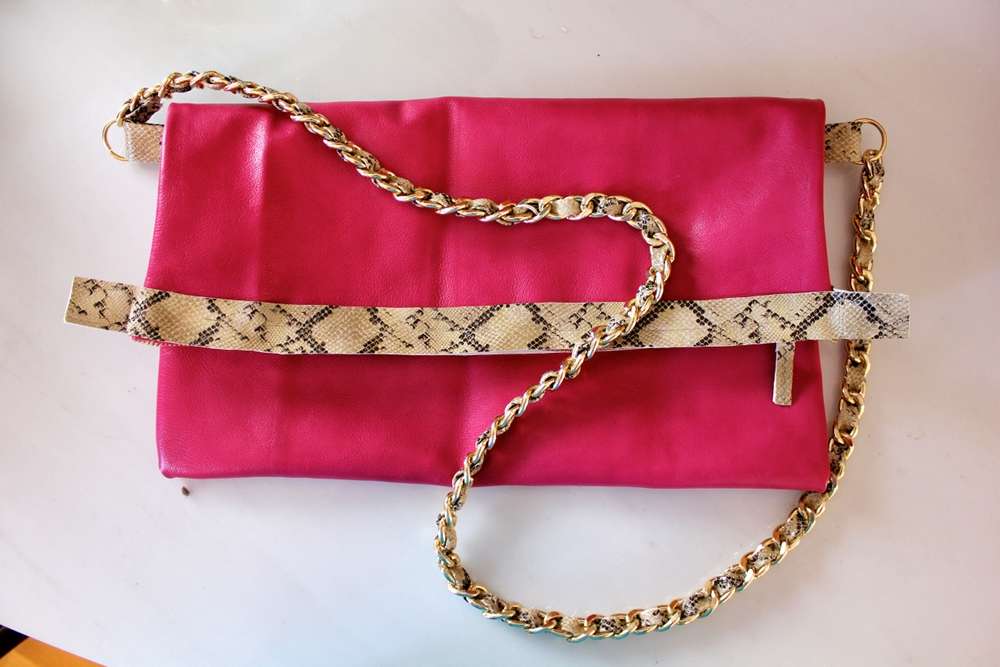
Cut two stripes of leather and sew them on the border of your bag!
THE END!
–
Tagliate due strisce di pelle e cucitele sull’estremità della borsa!
FINE!
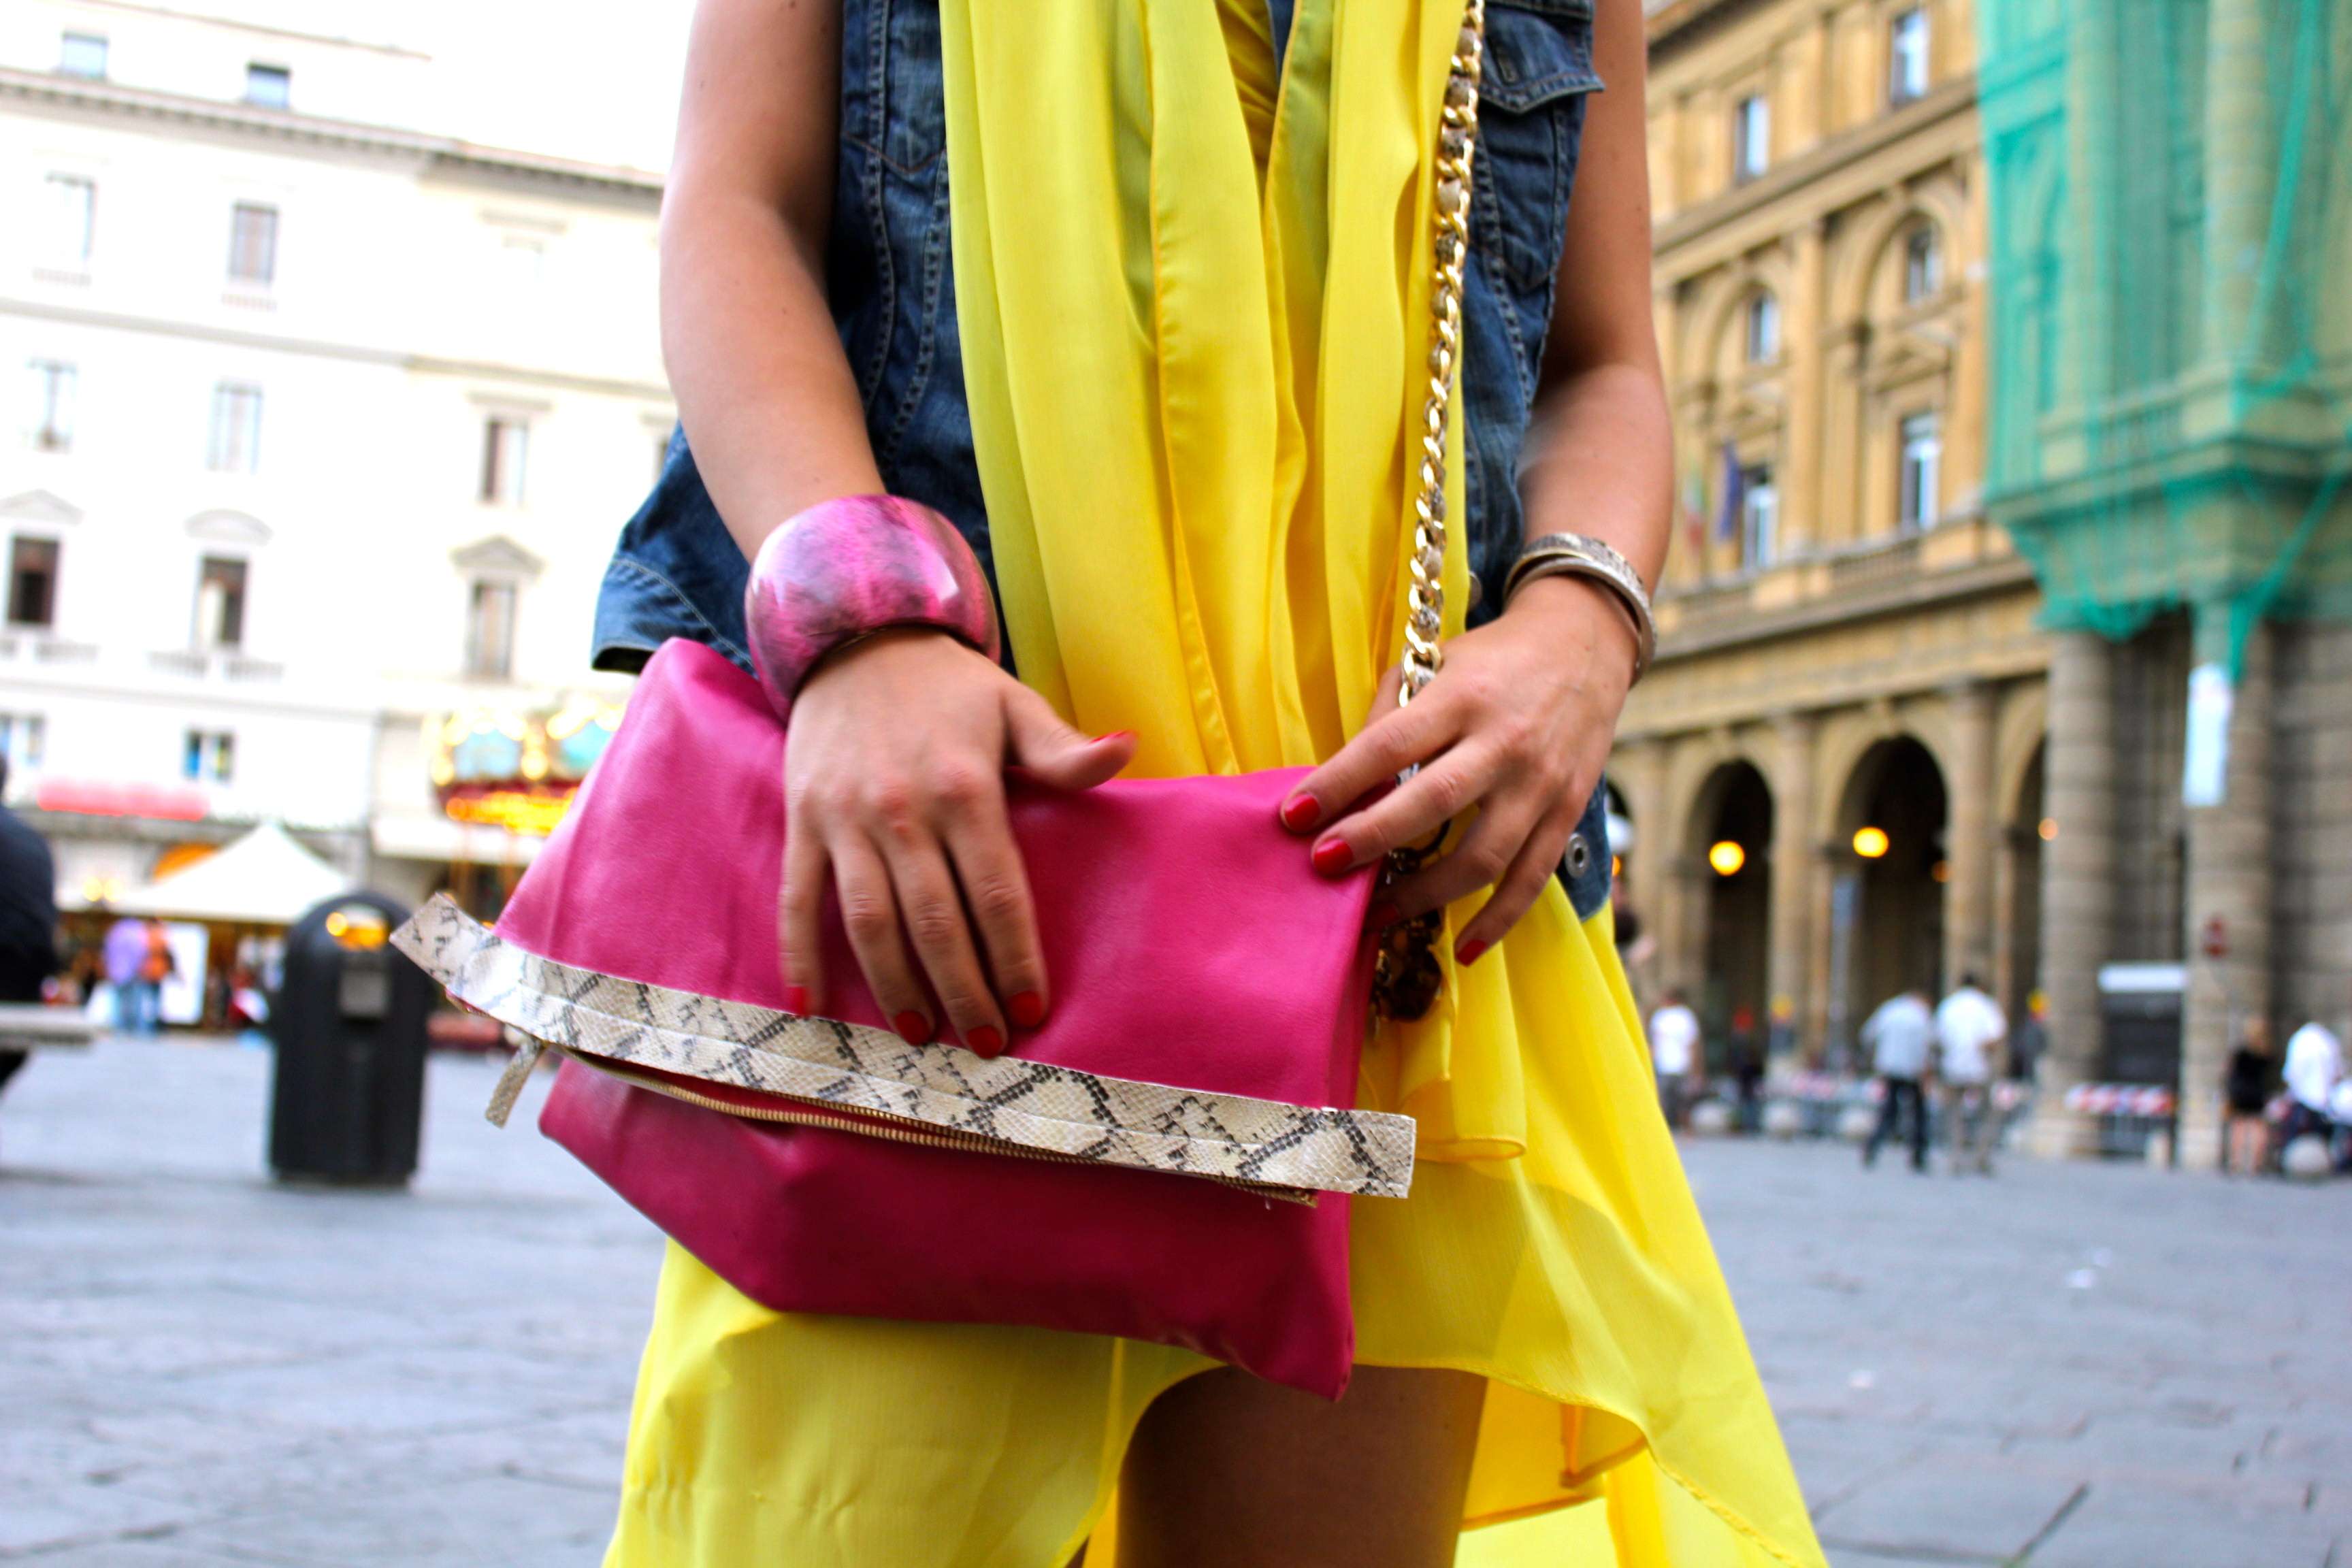 |
| me with my bag! / io e la mia borsa! |
What do you think? Did it look hard?

Get FASHIONIZED <3


The Fashion Curl
21/06/2011Braaaaaaaaaaaaaav Braaaaaaaaaaaaav!!!! =)
lanciacoriandoli
21/06/2011:D bellissima!!! voglio farla anche io, ma non riesco a trovare la pelle a buon mercato >.<
Megan
21/06/2011Wow so cool! I’m definitely going to make this one when I find the time!
http://THEBLONDESIDEOFLIFE.BLOGSPOT.COM
Chiara Lanero
21/06/2011E’ perfetto questo tutorial tesoro!! BRAVISSIMA <3
Mimma
21/06/2011Carinissimo il tuo blog, ti seguo!
baci
http://www.myfashionsketchbook.com
Plami
21/06/2011Great tutorial and great result! Thank you for sharing!!! I’ll definitely try to make it as well!
xoxo
Plami
http://fashion-thrill.blogspot.com/
Valentina Laninna
21/06/2011bel tutorial! anche se secondo me è più bella senza quelle strisce finali!
baci
laninna bijoux
Erika
21/06/2011brava.. ma hai fatto una scuola di cucito??? perchè io userei la colla a caldo ahah
LarissaG
21/06/2011Grande Ross :)
Complimentiiii <3
GIVEWAY sul mio blog!
http://www.acupofashion.com/2011/06/giveway-with-wendy-in-wonderland.html
MissTaken
22/06/2011you’re so handy! It looks good :)
MIRIAM
23/06/2011Bravissima…complimenti!!!!! :-)
Miriam
Fashion Crazy Ball:
http://fashioncrazyball.blogspot.com
Anonymous
24/06/2011bella idea…già vista però..guarda qui:
http://www.mylittlefashiondiary.net/2011/05/diy-leather-clutch.html
Annalisa Babysan Laterza
03/07/2011Complimenti per questo lavoro (se l’hai realizzata davvero tu!!!) ma ti giuro…quella fascia pitonata che rimane senza rifiniture (un pò “destrurrurata”) è davvero orribile!!!!
Baci da Babysan
The Fashion Twice
03/07/2011sìsìs l’ho fatto io! :) in realtà anche a me non piaceva ma dovevo coprire le cuciture.. devo trovar un modo più carino ed efficace per la rifinitura :) dopotutto era la prima che facevo :)
Annalisa Babysan Laterza
03/07/2011Allora è perfetta così!!! ;)
Ti “specializzerai” con le prossime e verranno sempre più carine…e poi te ne commissionerò una io!!! :D
Bacio ^^
Elsewhere
11/07/2011Sei davvero brava, dovresti sfruttare questo talento! Ad esempio anche il cerchietto per quanto fosse il “primo esperimento” mi è piaciuto moltissimo e l’idea mi è sembrata davvero intelligente! Brava!